When you set up a network, Windows 7 automatically creates a workgroup and gives it a name. You can join an existing workgroup on a network or create a new one. Workgroup is a group of computers connected over a network and share resources such as files and printers. You can change the workgroup in Windows 7 by either joining an existing one or creating a new one.

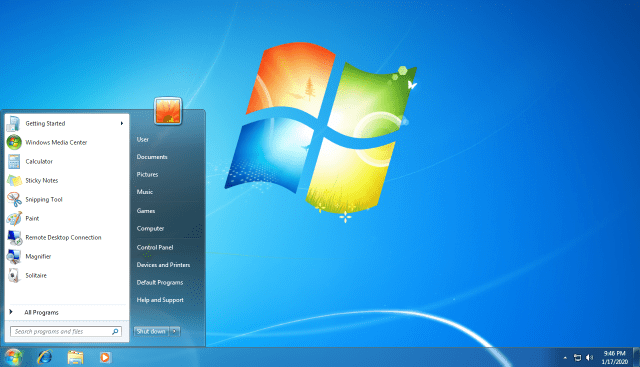
To change workgroup, open system properties, Control Panel-> System or right click on My Computer is start menu and select properties. In the properties window, you can see an option “Change settings” on the right side.

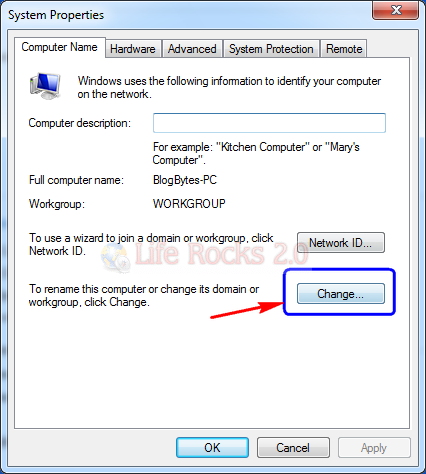
The System Properties window will now open. In the Computer Name tab, click on the Change button.
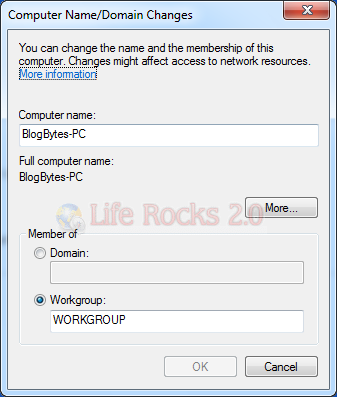
In the Computer Name/Domain Changes dialog box, under Member of, click Workgroup, and then do one of the following:
- To join an existing workgroup, type the name of the workgroup that you want to join, and then click OK.
- To create a new workgroup, type the name of the workgroup that you want to create, and then click OK.
Once you have clicked OK, the prompts a confirmation and then asks you to restart the PC for the new workgroup to take effect.

Once the computer is restarted, Windows will have the newly assigned workgroup.


