Office 2010 is in RTM stage and the general availability is slated for mid June 2010. If you have purchased Office 2007 after March 2010, you are eligible for a free upgrade to Office 2010. If you are a Office 2007 user, it is best that you upgrade to Office 2010 version directly from Office 2007. The upgrade also allows you to retain some applications of the previous version as well. In this article we are providing step by step method on how to upgrade to Office 2010 from Office 2007.
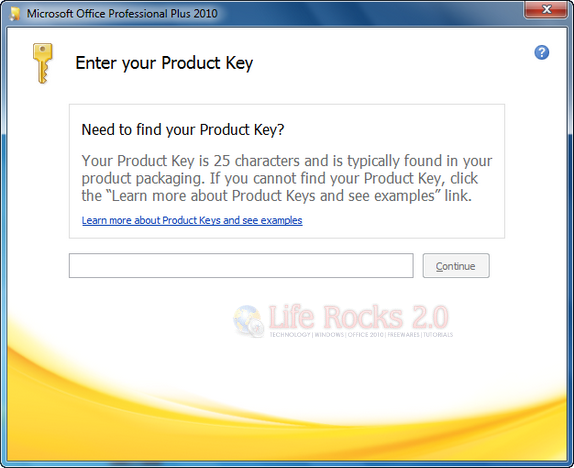
Start the set up file and you will be prompted to enter the license key. Once the key is validated, click Continue button.
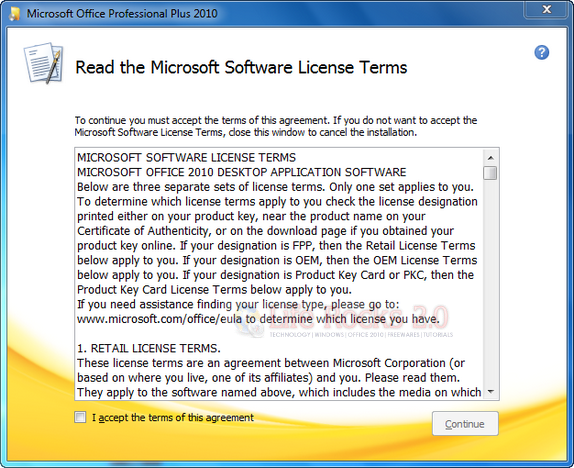
Accept the terms of agreement (check the box) and click Continue.
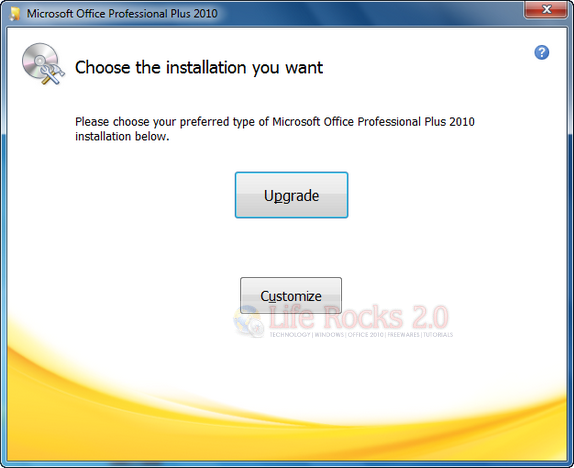
In the next step, you will be prompted on which method to follow.
1. Upgrade– This will automatically upgrade from Office 2007 to Office 2010.
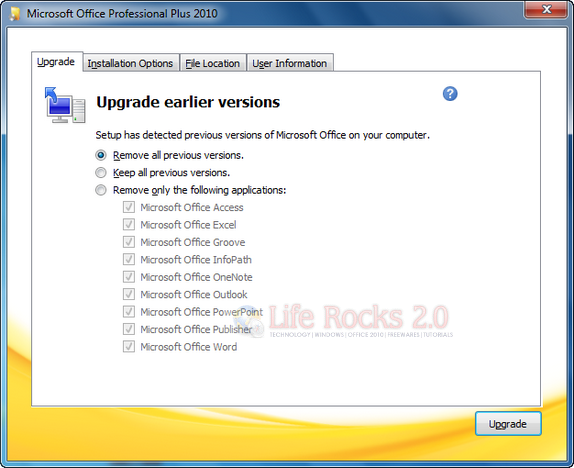
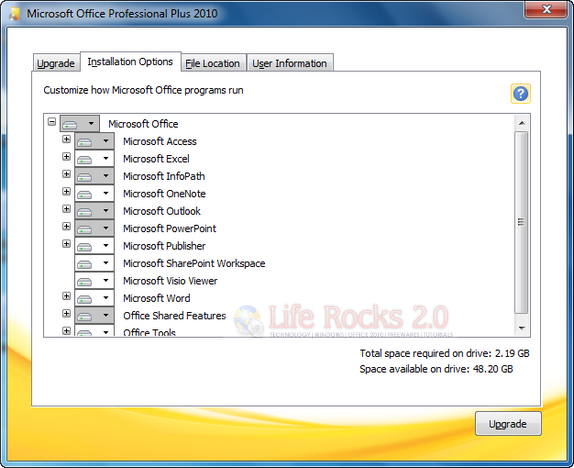
2. Customize– On selecting customize, you have the option to either remove previous version and install Office 2010, or keep all previous versions and install Office 2010 or remove only selected application. If you are selecting options second or third (from the image below), you need to know that Outlook cannot have both versions working, so Outlook will upgrade to Outlook 2010. You can keep a copy of other applications like Word or Excel in the previous version.
You can also select the installation option and location to install Office 2010.
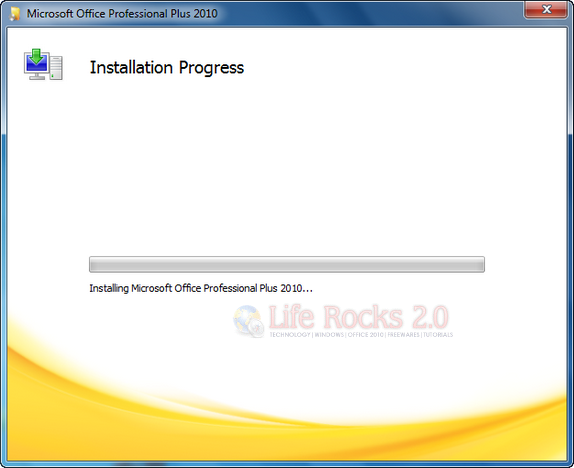
When you click upgrade, the installation process starts. This might take few minutes to complete.
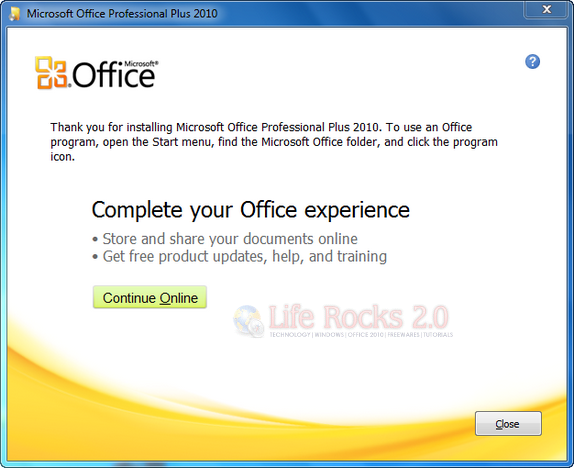
Once the installation is finished, close the set up and Office 2010 will be installed based on the options you have selected.
Office 2010 has vast improvements over the previous version and we strongly suggest you to upgrade from the previous versions.

