The Windows Live Messenger beta version has been released along with Windows Live Messenger and it comes with new features and also a new interface. Social network integration is another new feature available in Live Messenger. Apart from this, you can also customise the look and feel of messenger by adding your own images, themes and badges. Windows Live messenger comes with preinstalled themes and also you can create your own theme.
Change Themes in Live Messenger:
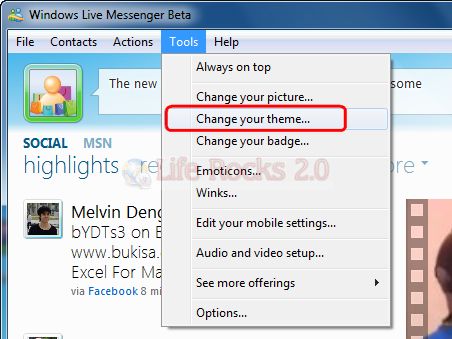
To change themes in Messenger, click on the tools menu and select “Change your theme”. You can also access themes by clicking your name on the top right corner and select Personalize Messenger-> Change your theme.
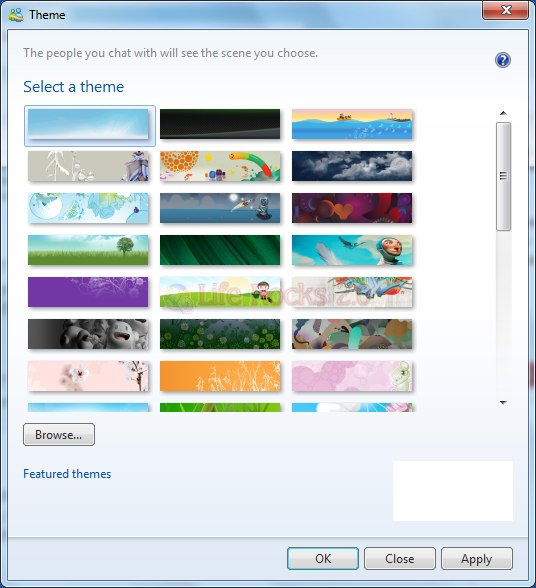
This will open up the themes window where you have lots of preinstalled themes available. You can select any of them and click the Apply button to see the theme in action.
Install new Themes:
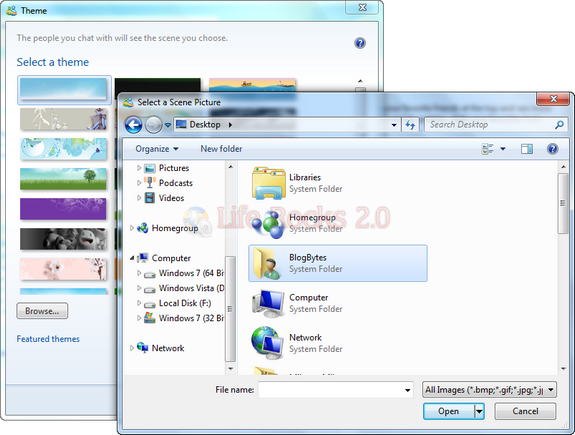
To install themes, click on the browse button in the themes window and select the image you want to apply as background. You can use jpg, gif, png and bmp image as background. Once you select the image, messenger will automatically resize the image to suit the size and width.


i use it in my own account, it’s a great tool, thank you for sharing
my window live messenger doesn’t have change themes on the tools…i can only change my background….
what is the size and width? i want to make my own theme in paint but i don’t know the right dimensions