If you are a Facebook user, then it makes sense to have all your photos also stored in Facebook account. If you have installed Picasa on your desktop or have an online Picasa web album, you can then upload photos easily to Facebook account. With Picasa Uploader, you can send your photos directly from Picasa and you’ll save time and effort, and your Picasa captions will be sent along too. This article with help you to upload photos easily from Picasa.
Instructions on how to upload Photos from Picasa to Facebook.
1. Download and install Picasa on your desktop.
2. Navigate to Picasa Uploader page and install the Picasa Uploader plugin. In case the install button is not available, restart the browser.
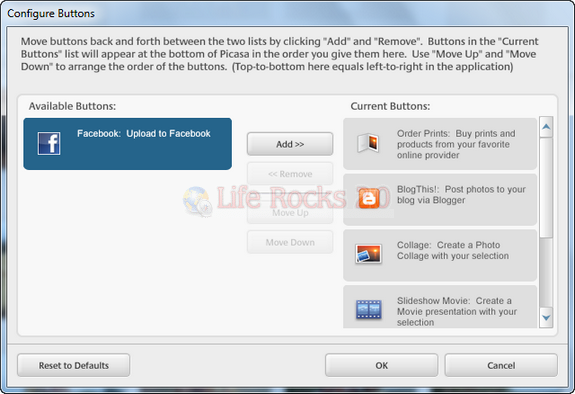
3. Once you have installed, you need to add the button to Picasa. A popup message will be displayed and you need to add Facebook Uploader to Picasa buttons list.
4. Once you click OK, Facebook button is displayed on the bottom bar in Picasa.
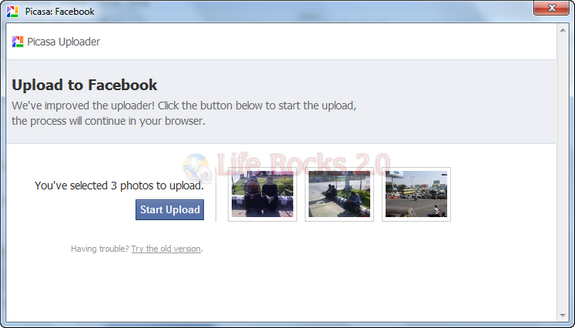
5. Now select the photos which you want to upload and click the Facebook button shown in the image above.
6. Click start upload and Picasa will do the job of uploading it. Once uploaded you need to provide access to Picasa Uploader for Facebook.
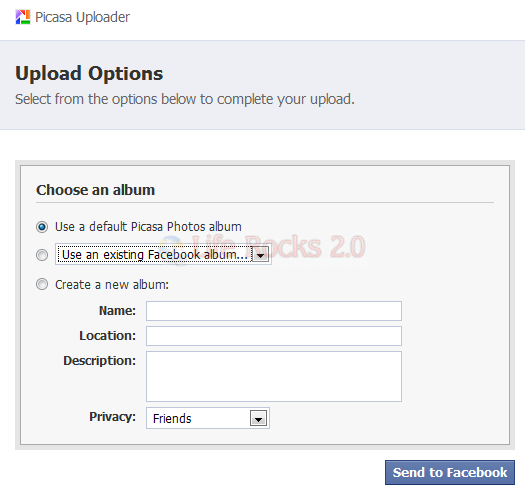
7. In the next step you need to specify the album you want to upload the photos to, you can select an existing album or create a new one.
8. Finally you must approve all photos uploaded to Facebook by third party applications before they’ll show up in your albums. After Picasa finished uploading your photos, you’ll be redirected to a page where you can confirm that you want your photos to show up.
You can also upload your Picasa Web albums the similar way, although it requires you to download them using Picasa desktop software using Google account.


![Allow Access[3] Allow Access[3]](https://cdn.nirmaltv.com/images/AllowAccess3.png)


wow… nice. I was using picasa but was not aware about this feature.