There are many popular fonts which are used in web designs and when they are used in CSS, it renders because the PC from where it is accessed have the fonts locally installed. But many of the popular fancy fonts which are available for download (open source) are not available in Windows by default and if you are to use these fonts in CSS, these wont show up in PCs which do not have them installed. To solve this problem you can use @font-face option, which basically asks the browser to use the fonts available on the server (of the website). But each browser has their own standards for using web fonts, so we will discuss on how to use them.
Font Face requires only few lines of CSS code to use them, but you need to have the fonts in different formats and then upload them to your website server, preferably in the same directory as the CSS files. Here is the code for @font-face;
@font-face{

font-family: 'MyWebFont';

src: url('WebFont.eot');

src: url('WebFont.eot?#iefix') format('embedded-opentype'),

url('WebFont.woff') format('woff'),

url('WebFont.ttf') format('truetype'),

url('WebFont.svg#webfont') format('svg');

}
Here, there are couple of simple things to understand, firstly the font-family directive in the first line, this specifies the name of the font you are going to use in the CSS. The next few lines are different versions of same font for different browsers.
Different web font formats:
There are basically four types of web font formats.
- Embedded OpenType (EOT)
- Scalable Vector Graphics (SVG)
- TrueType/OpenType (TTF/OTF)
- Web Open Font Format (WOFF)
Not all browsers support all formats and here is the break up of format supported by browser.
- Internet Explorer only supports EOT (IE9 supports WOFF)
- Mozilla browsers (3.5+) support OTF, WOFF and TTF
- Safari and Opera support OTF, TTF and SVG
- Chrome (4.0+) supports TTF, WOFF and SVG.
So in order to have your fonts rendered in all browsers, you need to embed fonts in all the 4 formats, which means for each new font you want to embed, it should be available in all the 4 formats and the code above helps you in the purpose. Now that you have written the @font-face in your CSS (insert this code at the starting), you need to make sure that your font is available in all the four formats and uploaded to your server.
Now you can use this web font in your stylesheet (CSS) file;
p { font-family: 'MyWebFont', Arial, sans-serif; }
Make sure you use the same name as mentioned in the font-face.
Where to get fonts in all the formats:
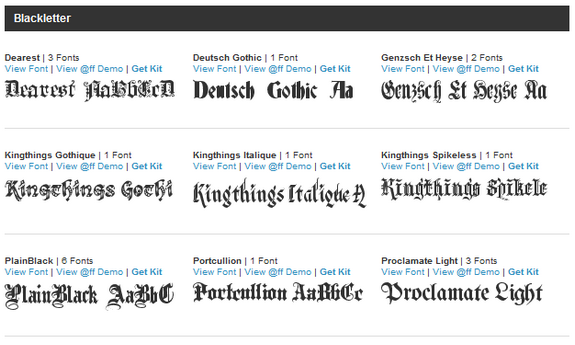
If you are wondering where to get these fonts in various formats, Font Squirrel has hundreds of font-face kits available for free download. These font face kits contain fonts in all the formats along with sample code for you to embed them easily.
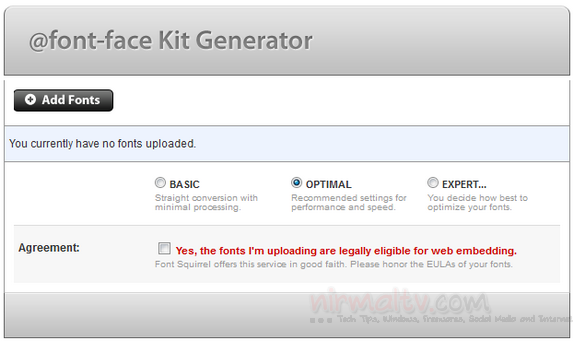
If you have the fonts available, you can use Font Squirrel @font-face kit generator to create the kit.
You can also use the awesome Google Fonts directory to embed all the fonts available there. The fonts available in Google Fonts directory are open source and needs no licensing. The advantage of using Google Fonts is that you do not have to worry about hosting the fonts as Google hosts all of them on their server.
Licensing Issues:
Although using this method, you can use any font available in the web, but make sure you use only the open source ones as there might be licensing issues. If you need to use @font-face for licensed fonts, you can check out paid services like TypeKit.
So next time you design your blog or website, try using the awesome web fonts rather than going for traditional fonts.
With inputs from Themeforest.


