Photo Stream is a feature in iOS where in you can sync your photos across multiple iOS devices and also Mac. With iCloud, when you take a photo on one device, it automatically appears on all your other devices. And with Shared Photo Streams, you can easily choose which of your photos you want to share and who you want to share them with. You can share your photos through email, but at the same time you can also create a public website using your shared photos and then showcase your photos.
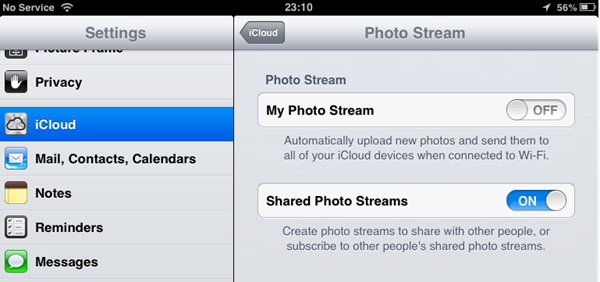
So if you want to share your photos to public, this is one of the best way as it takes little effort to set it up. You can set this from either iPad or iPhone. For this, you need to enable Shared Photo Streams in the iCloud settings. Got to Settings-> iCloud- Photo Stream.
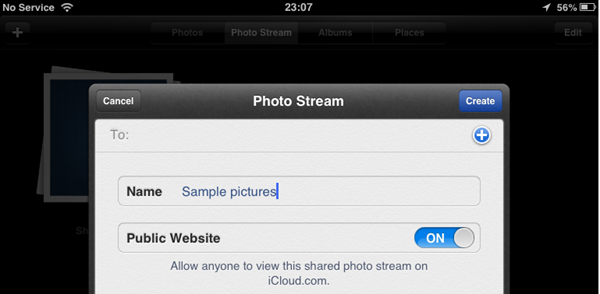
Now open the Photos app and click on the Photo Stream option (this is available both in iPad and iPhone). In the Photo Stream tab, click on the + symbol and create a new photo stream.
You can add any name for the stream, now make sure you turn on the Public Website option. This is important as your stream will be visible only if this option is enabled. Now add photos to your newly created stream. You can add any number of photos and iCloud will upload them to the server. If you have too many photos in the stream, you might have to wait till iCloud uploads them.
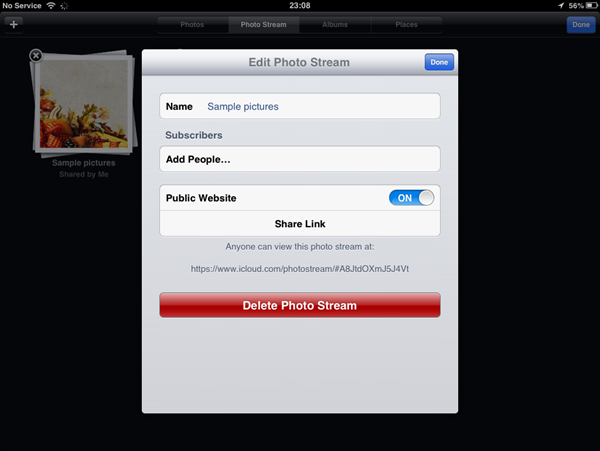
Once this is complete, go back to Photo stream tab and click on the edit button. After this, select the photo stream you just created and here you can see an option “Share Link”. Enter the email address of the person with whom you would like to share. If you just want the public link, you can see at the bottom.
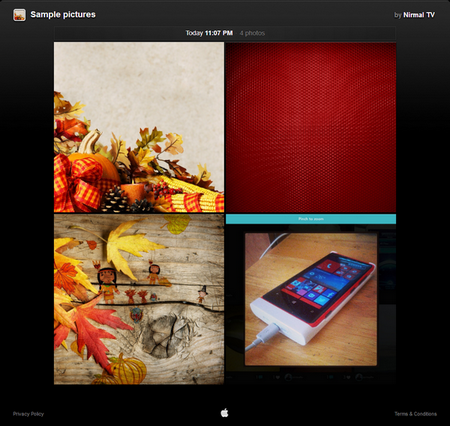
When you open this link, you can see all the photos you have added as a neat website. You can view the photos in full screen as well.
At any point if you want to take down the public photos, you can disable the public website option for the stream.
[Via OSX Daily
