Snipping Tool is a very useful too from Microsoft which has been included since Windows Vista. Snipping Tool captures a screen shot of anything on your desktop, like a picture or a section of webpage. You can use the tool to snip a whole window, a rectangular section of the screen, or draw a freehand outline with your mouse or tablet pen (or your finger, if you are using a PC with a touchscreen). Then you can annotate, save, or e-mail the image using buttons right in the Snipping Tool window.
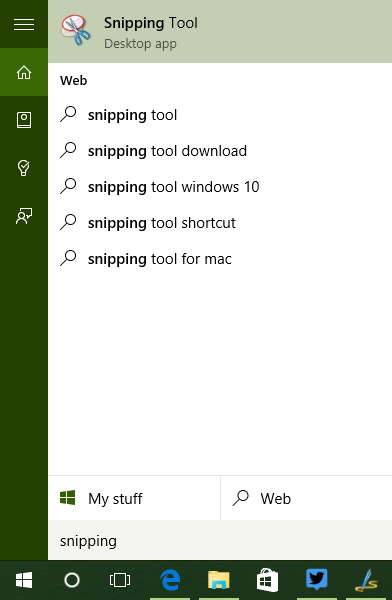
Snipping Tool has been improved in Windows 10 and here is a quick look into the tool. To open the Snipping Tool, just type Snipping in the start menu and you can see the desktop app.
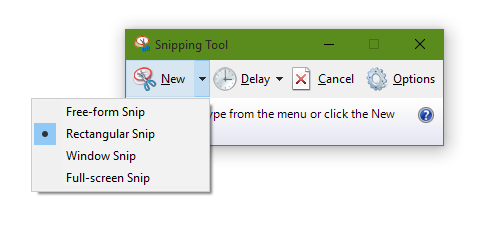
Once the app opens, you can click New to start a snip. There are 4 types of Snip.
- Free-form Snip. Draw any shape around an object with your finger, mouse, or tablet pen.
- Rectangular Snip. Drag the cursor around an object to form a rectangle.
- Window Snip. Choose a window—like a browser window or a dialog box.
- Full-screen Snip. Capture the entire screen.
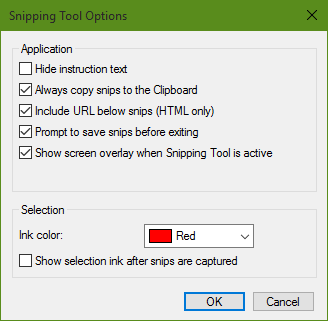
The app offers some basic options in the settings. You can select the ink color for annotation.
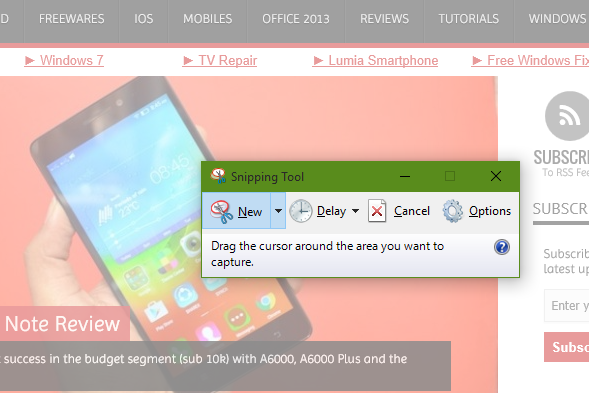
Once the tool is active, you can see a screen overlay (which can be disabled) and you can start snipping. You can start snipping tool by pressing Ctrl + PrtScn.
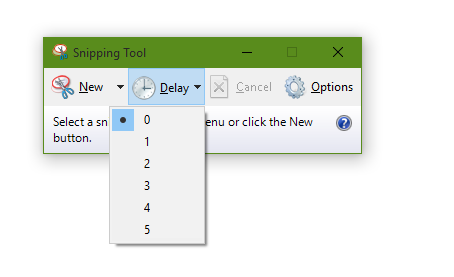
In Windows 10, there is an option to set a delay time before the actual capture is done. If you want to pick any image for capture after you have selected the capture mode, you can do that with the delay.
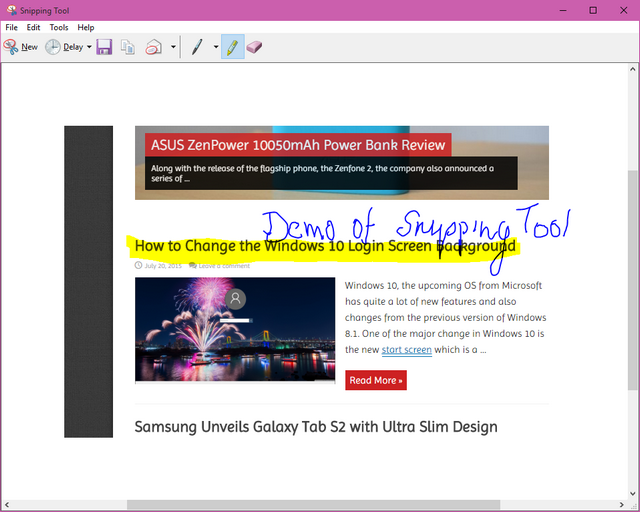
You can do some annotations in the Snipping tool.




Thanks for the tip.
With this tool is it possible to snip area spanning multiple pages [above and/or below]?