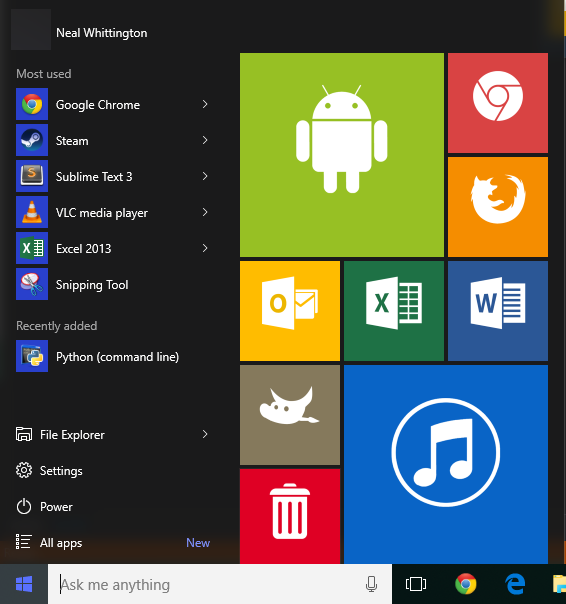
Windows 10 has lot of feature carried forward from the Windows 8.1 and one of the most prominent one is the start menu which is customizable with tiles. You can add or remove application tiles to the start menu and also rearrange them using drag and drop. There is also option to change the size of the tiles in Windows 10. Now, what if you want to have a custom tile for a application? While this option is not available by default, you can always do this using the third party app called TileCreator.
This program does exactly what you wanted, it creates tiles to your Windows 10 Start Menu that open any application when clicked. The app is pretty useful to have custom tiles in your start screen.
The process to create a custom tile in not a straight forward option using the app, but still easy to do it.
Steps to Create Custom Tiles:
1. Download and install the Tile Creator app from the Windows Store- Download Link
2. Next step, you need to download the TileCreator Proxy app- Download Link
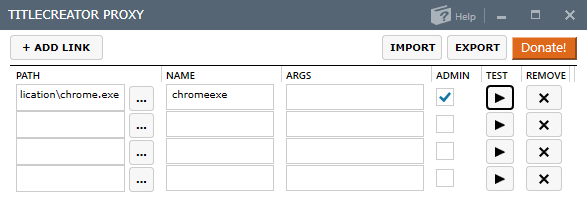
3. Install the Tile Creator Proxy app. Now run the app and add links of your app here. You will need to find out the location of the app (exe file) and then select it in the links section. You will see an option to called name in the app. Now copy this name from the proxy app.
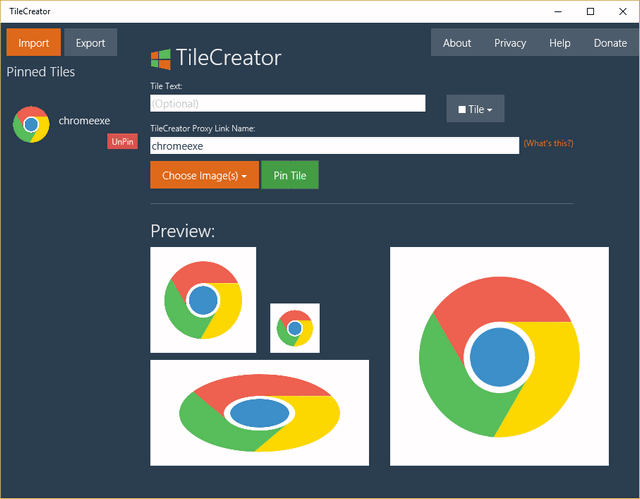
4. Now open the Tile Creator app downloaded in the step 1 and paste the name you have copied from step 3.
You need to add your own images for medium, small and wide tiles. Once this is done, you can simply press the Pin Tile button and the tile will be available on your start menu in Windows 10. Similarly you can add other apps to the start menu with custom images.
More details available here.


This is a very good tip particularly to those new to the blogosphere.
Simple but very precise info? Many thanks for sharing this one.
A must read post!