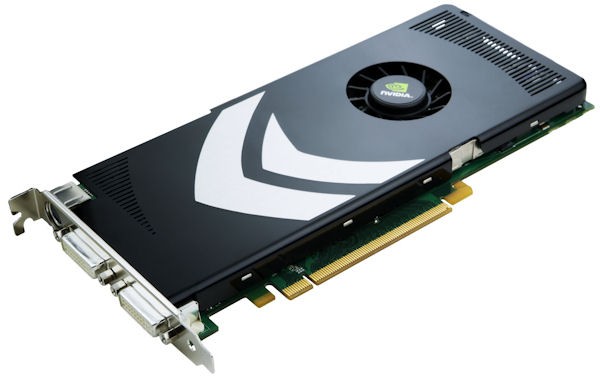
A lot of laptops and desktops come with a dedicated graphics card which means it has been graphics processing rather than using the default inbuilt graphics processing unit of your laptop or desktop. But even though you have a dedicated graphics processing card installed, you need to make sure that the laptop or desktop is using it when required to get the best performance. So in this post, we will show you how to Set Default Graphics Card on Windows.
Since the PC or laptop comes with default graphics card, it will be used for lighter tasks and when heavier tasks are required it will use the dedicated graphics card. But you can always specify it on your laptop or desktop.
How to Set Default Graphics Card on Windows:
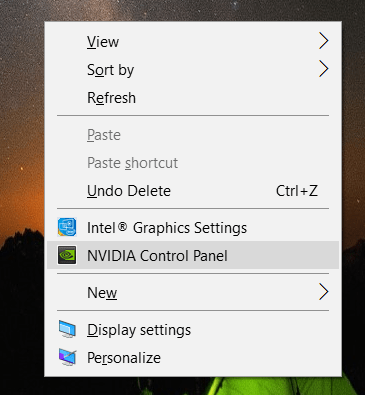
1. To set default graphics card, open the NVIDIA control panel from the system tray. We are showing this step for NVIDIA cards, for other cards, the process is similar, but interface might change. Alternatively, you can also right click on the desktop and open the control panel.
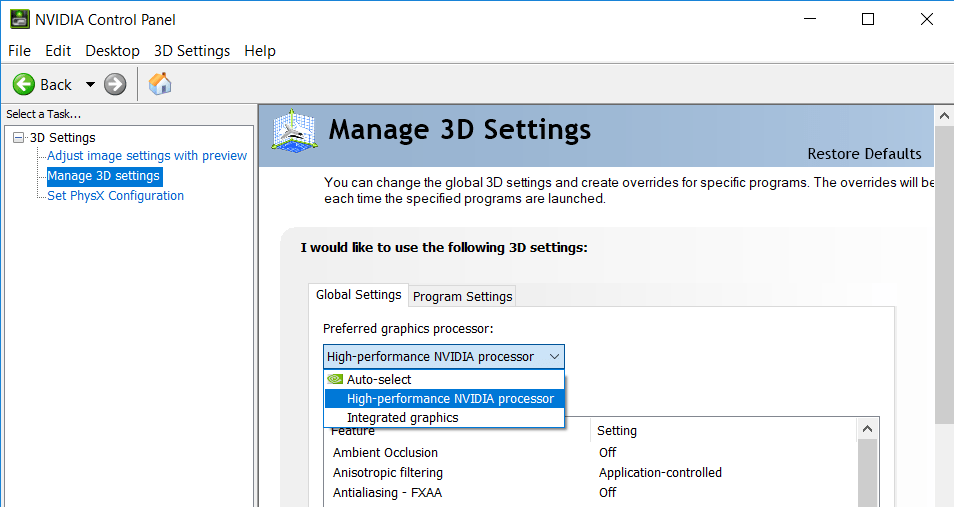
2. Once you have opened the graphics card control panel, navigate to “Manage 3D settings” as shown in the image. Here you can set the preferred graphics processor for default 3D tasks. If you have an installed graphics processor, it will be listed here.
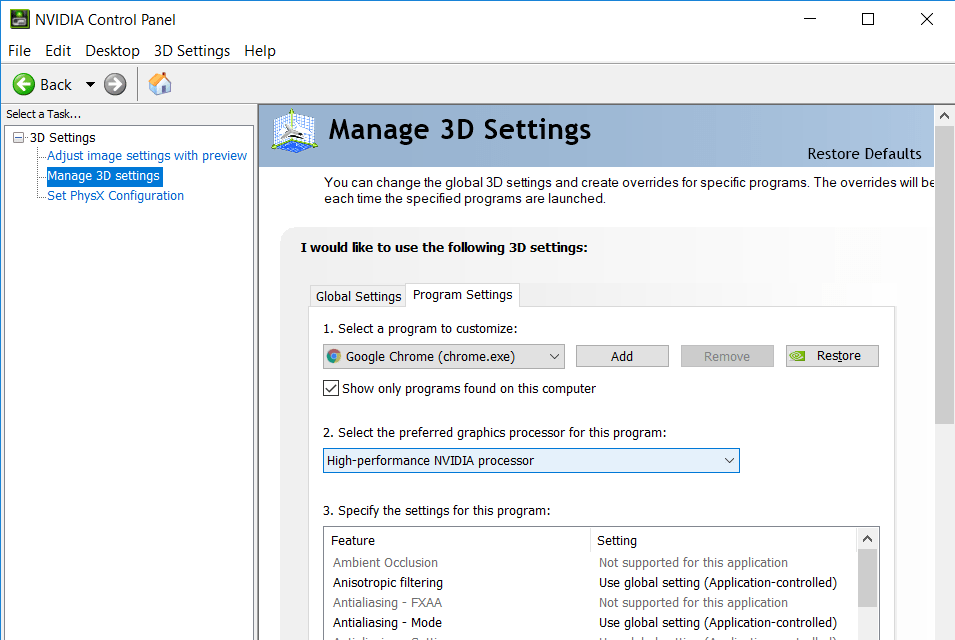
3. If you want to set the graphics processor for any particular app, click on the program settings tab. Here you can see the list of installed apps. You need to select the app and then set the graphics processor for the app.
Similarly, you can set for each app and it will pick the GPU when running on your Windows.
Please note the interface might vary based on the GPU you have installed, but the process is the same.


On my Windows 10 Pro, Intel Core i7 9700 PC (6 mos old), in the Nvidia Control panel, under Manage 3D settings there is nothing called Preferred Graphics Processor. Every site I’ve looked at says to select the Nvidia processor. Since that selection does not exist how do I make sure my Nvidia RTX 2060 Super is being used instead of the Intel UHD Graphics 630?