Windows 10, the latest version of Windows from Microsoft has a lot of features including along with performance optimizations. But in case you are having issue with memory on your Windows 10 PC, then you can have a check of the memory performance using the memory diagnostic tool of Windows 10. The OS comes with a built in tool to diagnose memory problems on Windows 10. So in this post, we will have a look at how to use this tool.
If Windows detects possible problems with your computer’s memory, it will prompt you to run the Memory Diagnostics Tool. You can either reboot the system and run the memory diagnostic tool or schedule it for the next reboot.
How to Diagnose Memory Problems on Windows 10
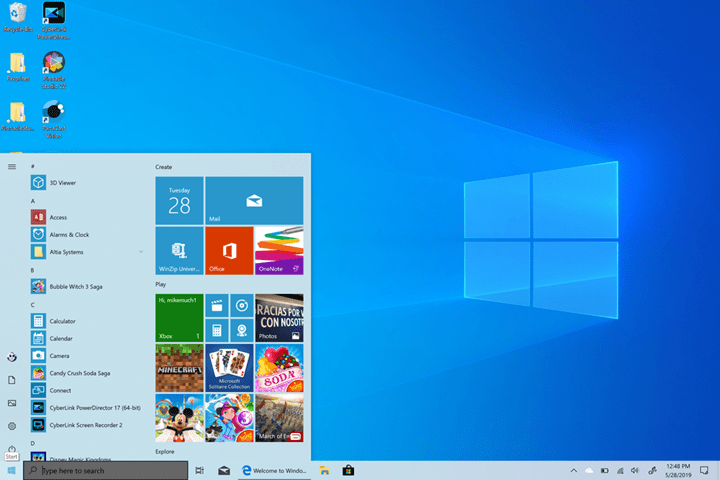
To start the tool manually, click start menu, select run (Win Key + R) and type mdsched.exe and press enter.
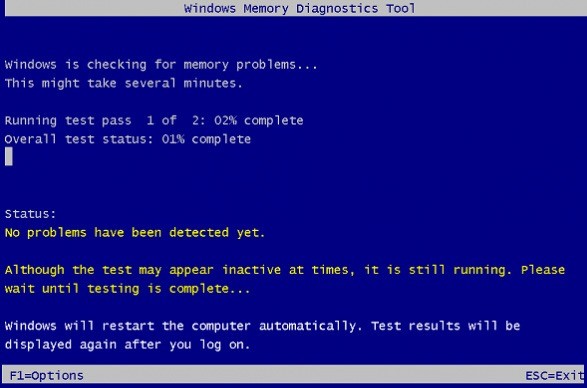
You can see this Windows memory diagnostic tool pop up. Here you need to click “Restart now and check for problems” option. Now, your PC will reboot and will diagnose the PC for any memory issues.
Windows 10 also offers advanced options for running the Memory Diagnostics Tool. It is recommended that you let the Memory Diagnostics Tool run automatically. However, advanced users might want to adjust the tool’s settings. Here’s how:
- When the Memory Diagnostics Tool starts, press F1.
- You can adjust the following settings:
- Test mix. Choose what type of test you want to run: Basic, Standard, or Extended. The choices are described in the tool.
- Cache. Choose the cache setting you want for each test: Default, On, or Off.
- Pass count. Type the number of times you want to repeat the test.
- Press F10 to start the test.
Once the tool does the diagnostics, it boots the OS and informs you about any issues regarding the memory.

