Batteries are one of the most important aspects of your laptop. Similar to smartphones, laptop batteries also degrade in performance over a few years. Unlike smartphones, laptop batteries last for more time and need replacement in like 2-3 years. With each battery charging cycle, the performance of the battery goes down. Each battery cycle is when you discharge the battery from 100% to 0%. Even if you discharge from 100-75% and then charge the battery to full and in the next cycle if you discharge from 100-25%, then it will also be called a battery cycle. Ideally, the lower the number of battery cycles, the higher is your battery performance. So how do you check battery cycles in Windows 10?
How to Check Battery Cycles on Windows 10:
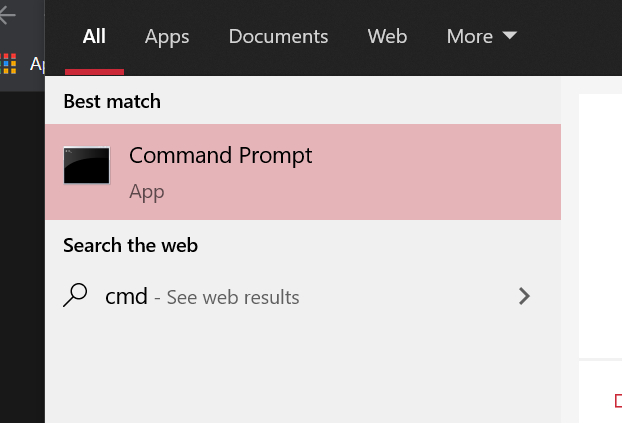
Step 1: Click on the start menu and type cmd. You will be able to see the command prompt listed on the start menu. Right-click on this entry and select “Run as administrator”
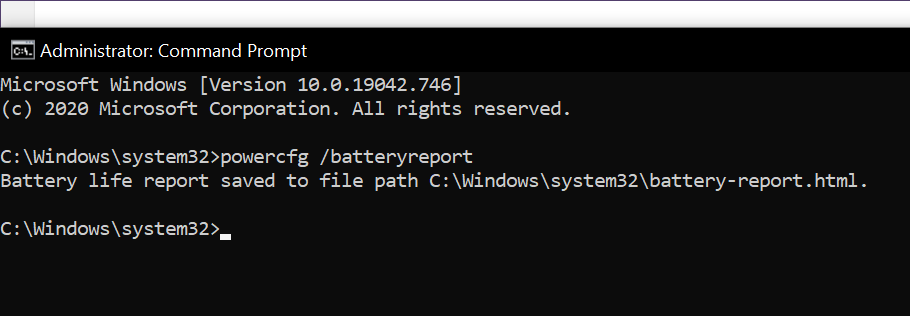
Step 2: In the command prompt type powercfg /batteryreport and press enter. This will generate the battery report of your laptop.
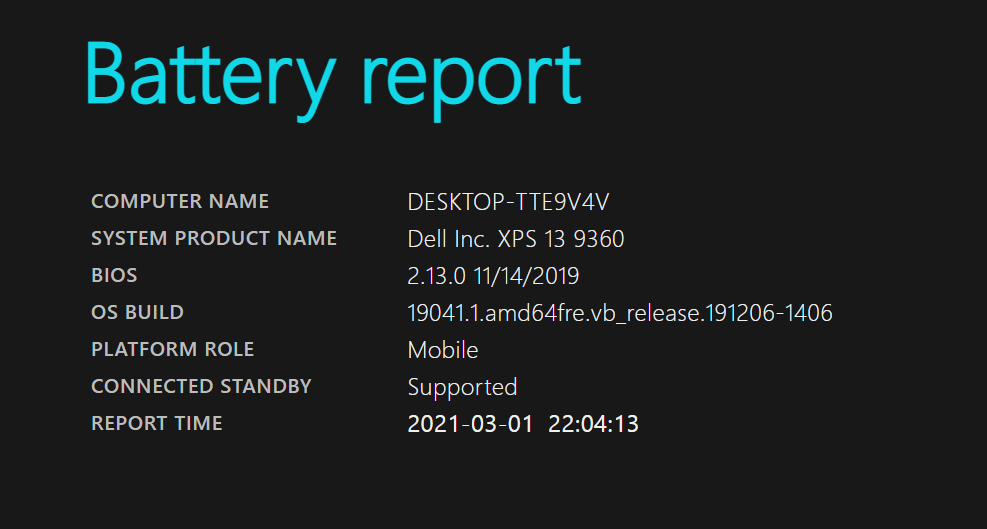
Step 3: The battery report will be saved in C:/Windows/system32/battery-report.html. Navigate to this folder and open the battery report.
Step 4: In the battery report you will be able to see the number of cycles for your laptop battery.


