Outlook is one of the most feature-rich and powerful email clients available for Windows and macOS. Outlook is also available as a part of the Office 365 suite of applications. When you install Outlook on your PC, it creates a PST file that will be used to download all the emails you receive on your email account. All the emails will be downloaded to this file and over a period of time, the PST file size will increase considerably amounting to several GBs. Now, what if you are using a PC with low internal storage, like a 256GB SSD? This can be a cause of concern as the size of the PST file will keep on increasing and if your email account is a very old account, the number of emails and attachments will also be huge. So how do you choose a date range for emails to download on Outlook?
Thankfully, Outlook offers the option to select a date range for downloading emails on your PC. It is available in Outlook settings and here is how to do it.
How to Choose Date Range for Emails to Download on Outlook:
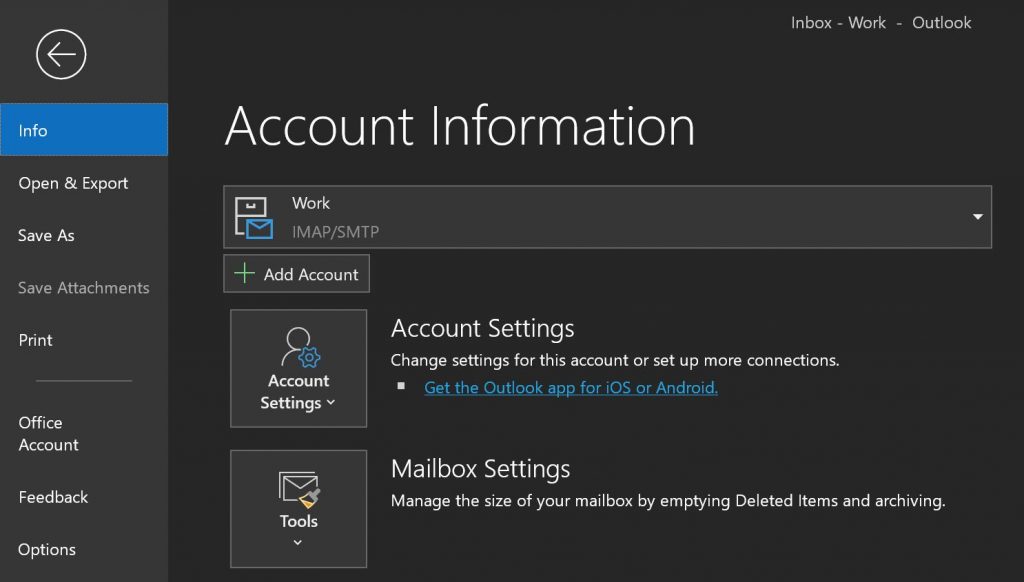
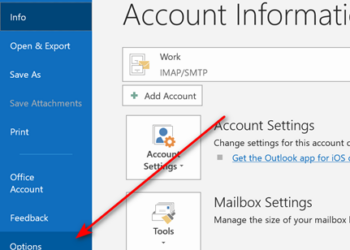
Step 1: The first step is to open Outlook and then select File and under info, you will be able to see Account Settings.
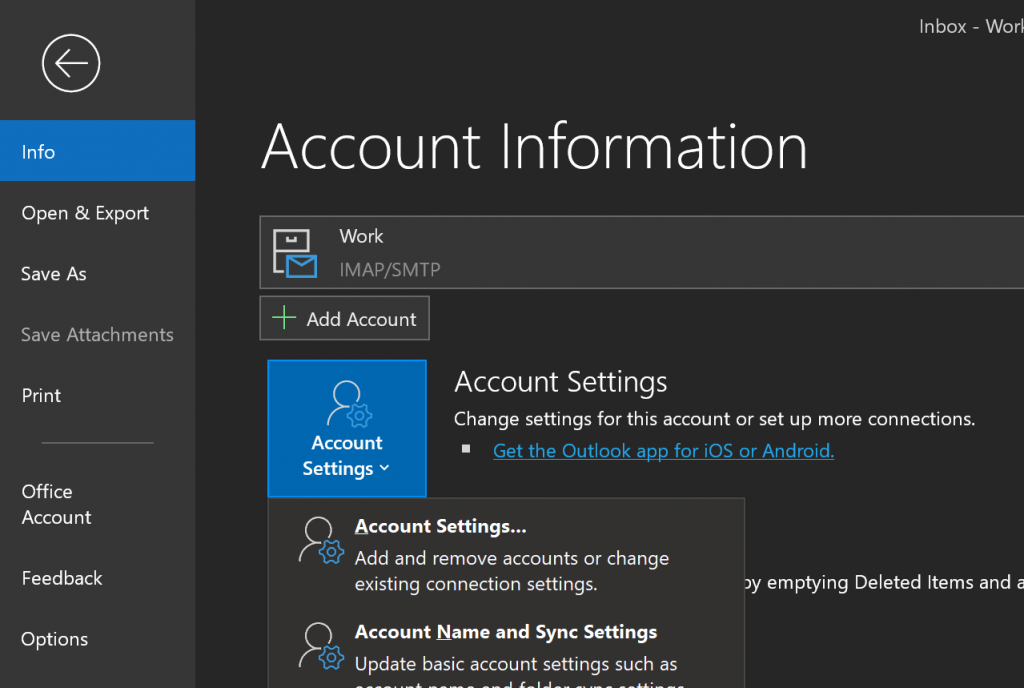
Step 2: Click on the Account Settings button and you will see the menu where you can see Account settings where you can add or edit existing accounts configured.
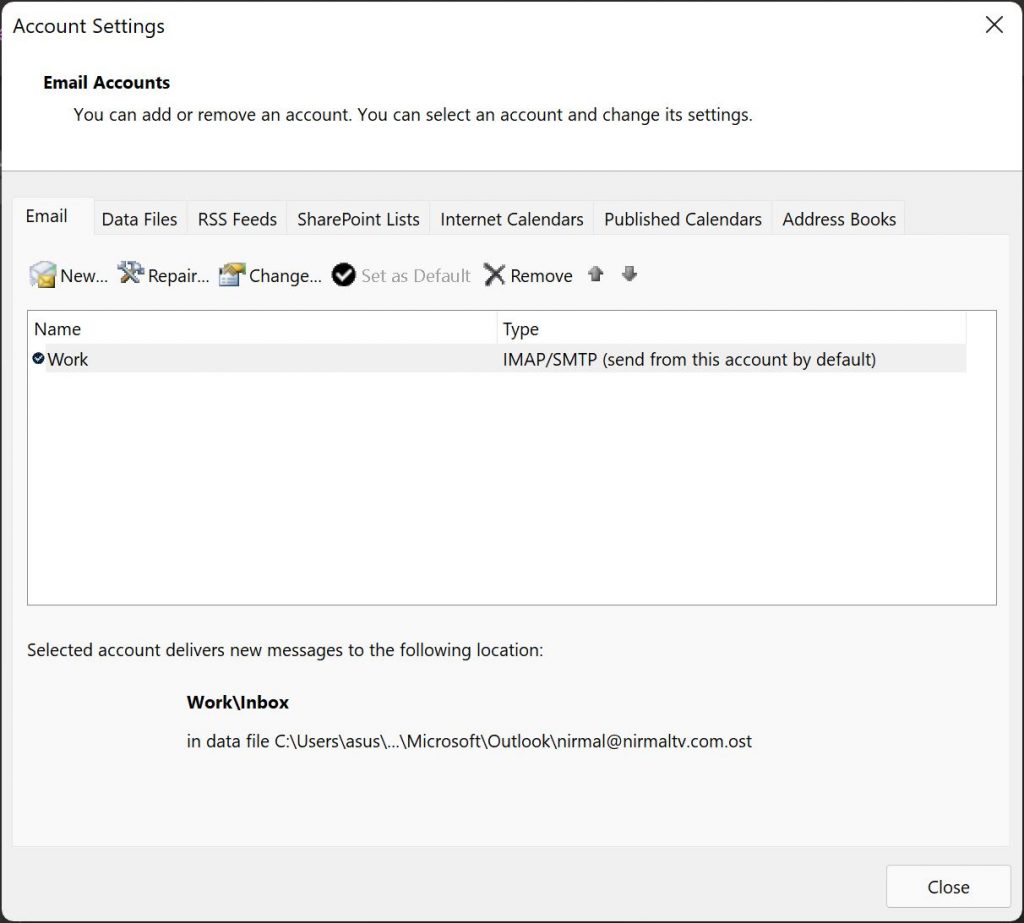
Step 3: In the account settings panel, select the account you want to make the change and click on the Change button on the top section.
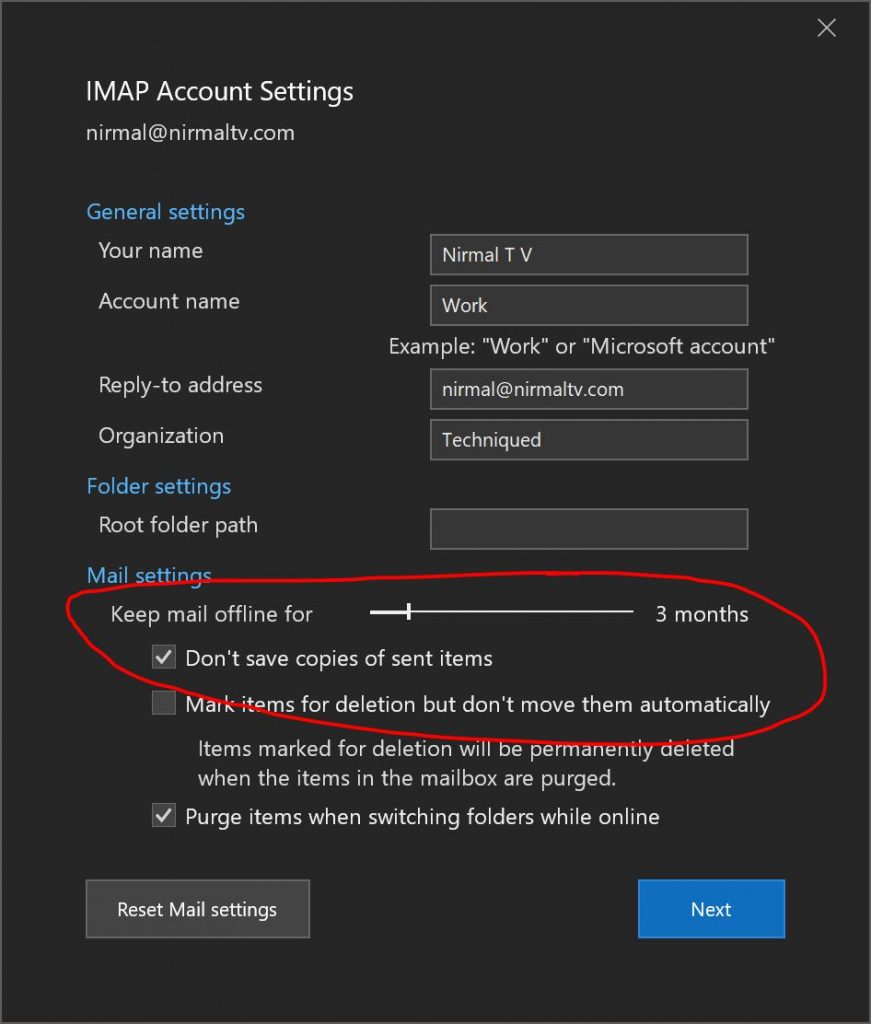
Step 4: Here you will be able to see the mail settings. There is a slider where you can select the max time to keep the emails offline. Here in our case, we have chosen 3 months, which means emails will remain on our PC for only 3 months, but they won’t be deleted from the server.
This is a very handy option from Outlook to save on hard disk space occupied by PST files in your PC.

