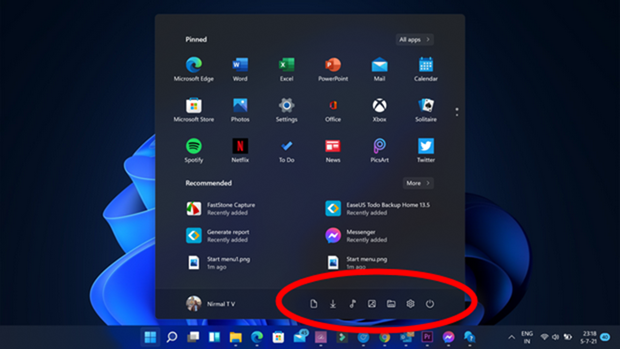
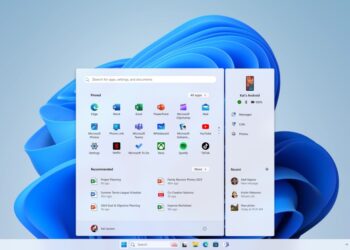
Windows 11 is the latest version of Windows and comes after Windows 10 launched few years back. Now, Window 11 comes with a host of changes to the UI including a new start menu, settings and also Microsoft store. Windows 11 also brings in a lot of improvements in terms of performance. The new start menu and taskbar in Windows 11 is centrally aligned and we had shared how to align it to the lest side. Today, we will have a look at how you can add folders to start menu in Windows 11.
These folders include frequently used folders like documents, pictures, videos, settings and more. These can be added based on which of these default folders you use mostly on Windows 11.
How to Add Folders to Start Menu in Windows 11:
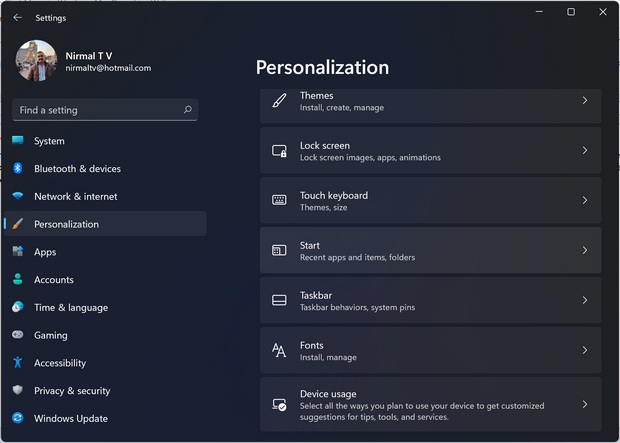
Step 1: The first step is to open Settings in Windows 11 and select Personalization from the side menu.
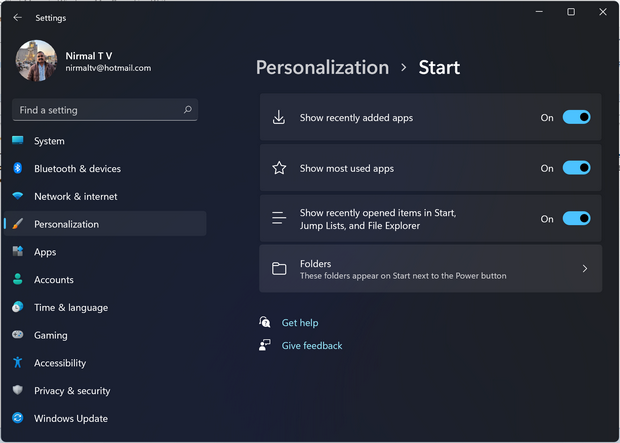
Step 2: Under the personalization menu, click on the start option on the right panel. This will show the options to customize start menu.
Step 3: Here you will see the option called Folders. Select this option and you will get to see the folders you can add to start menu.
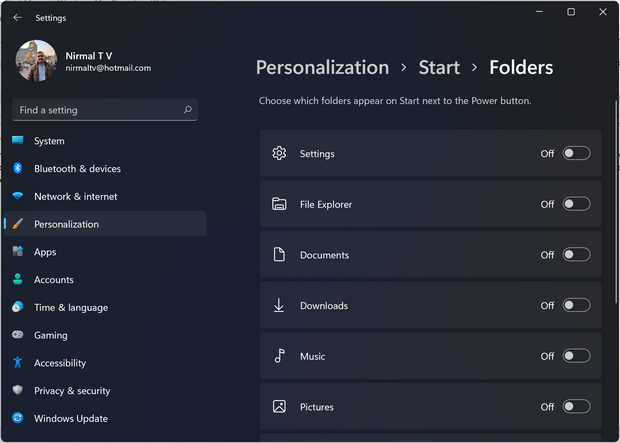
Step 4: Here you will get to see the folders including settings, file explorer, documents, downloads, music, pictures and few more options. You can turn on which all folders you want to appear in the start menu.
This is quite handy as these shortcuts will enable you to quickly access these folders.

