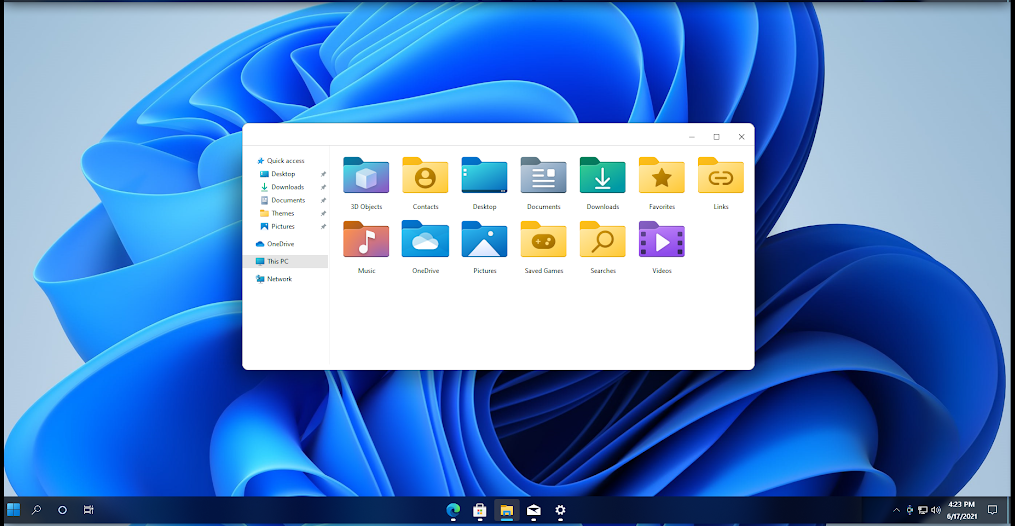
Microsoft announced the new version of Windows 11, the successor to Windows 10. Windows 11 comes with new UI, especially the start menu and taskbar and along with it, there is also changes to settings and performance improvements as well. Windows 11 will also be a free upgrade for all eligible PCs from older version of Windows. Now if you want to try out Windows 11 look and feel on Windows 10 right now, you can download the Windows 11 Theme for Windows 10. This theme brings in the UI features, look and feel of Windows 11 to Windows 10. This is not a direct Windows 10 theme, but involves patching of system files. So let’s see how we can get this theme installed.
Install Windows 11 Theme for Windows 10:
How to Install Custom Themes:
To install custom themes, you need to patch system files. For this, the best tool is UltraUXTheme Patcher. Once installed, it will patch the files and you need to reboot the system. Now you can copy the custom themes to “%windir%/Resources/Themes” folder. Now you can start using the new custom themes on Windows 10. The process to patch the themes is simple and once you have installed the app, you can install custom theme in Windows 10.
Step 1: To install the theme on your Windows 10 PC, first patch the system files using the app mentioned above.
Step 2: Copy all the file in Theme folder to “%windir%/Resources/Themes”
Step 3: Now you can open the Personalization option in settings and you will see the new theme listed. You can click on the theme and apply it to your Windows 10.
This theme works on all Windows 10 versions including build 1803, 1809, 1903, 1909, 2004, 20H2, 21H1.
You can download this theme from this link.

