Ever since the launch of Windows 11, we have been hearing more about TPM or Trusted Platform Module. It is a hardware chip to protect and store security keys and other sensitive user data. TPM is available in almost all modern computers. Windows 11 also comes with a new app that allows you to do TPM diagnostics in Windows 11. This is not installed by default on Windows 11, but you can install it on your PC, here is how to do it.
How to Install TPM Diagnostics in Windows 11:
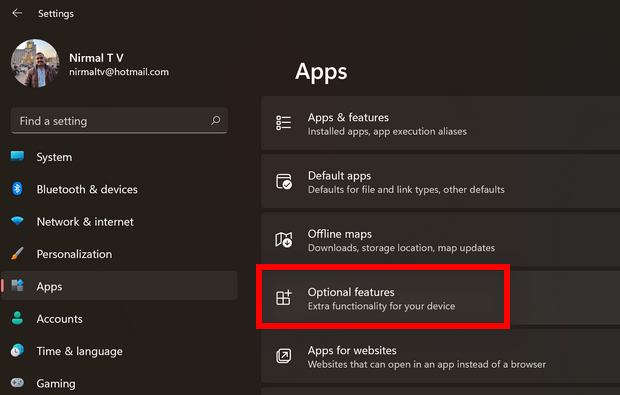
The option to install TPM diagnostics in Windows 11 is available in the settings panel in the OS.
Step 1: Open the settings in Windows 11.
Step 2: In the settings, click on the App on the left-hand panel, and under apps, you will be able to see the Optional features mentioned.
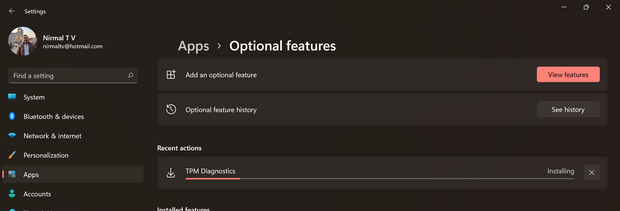
Step 3: Under the optional features, click on the View features button.
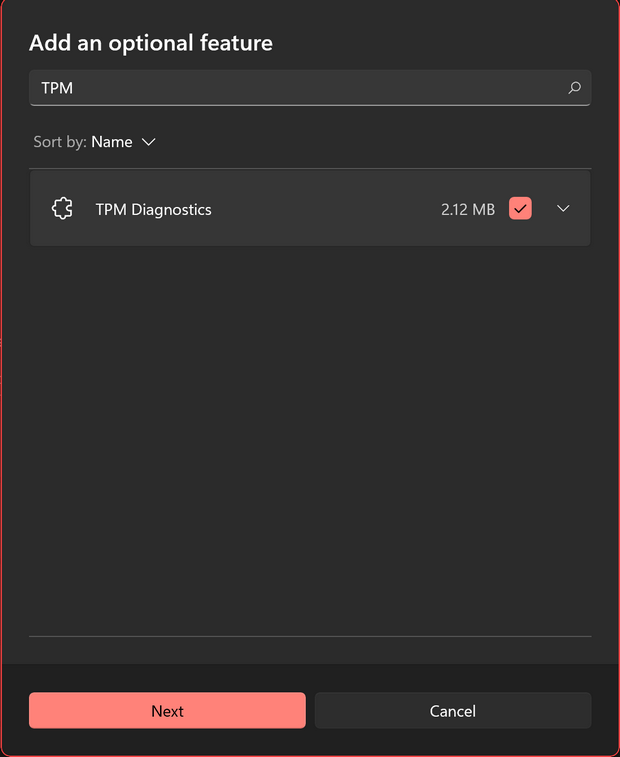
Step 4: Here you will be able to add an optional feature. You can use the search option to type TPM and it shows the TPM Diagnostic, just check the box against it and click the next button.
Step 5: In the final step, Windows 11 will install the TPM diagnostics app on your PC.
In case you want to uninstall this app any time in the future, follow the same process and uninstall it from the optional features list.


