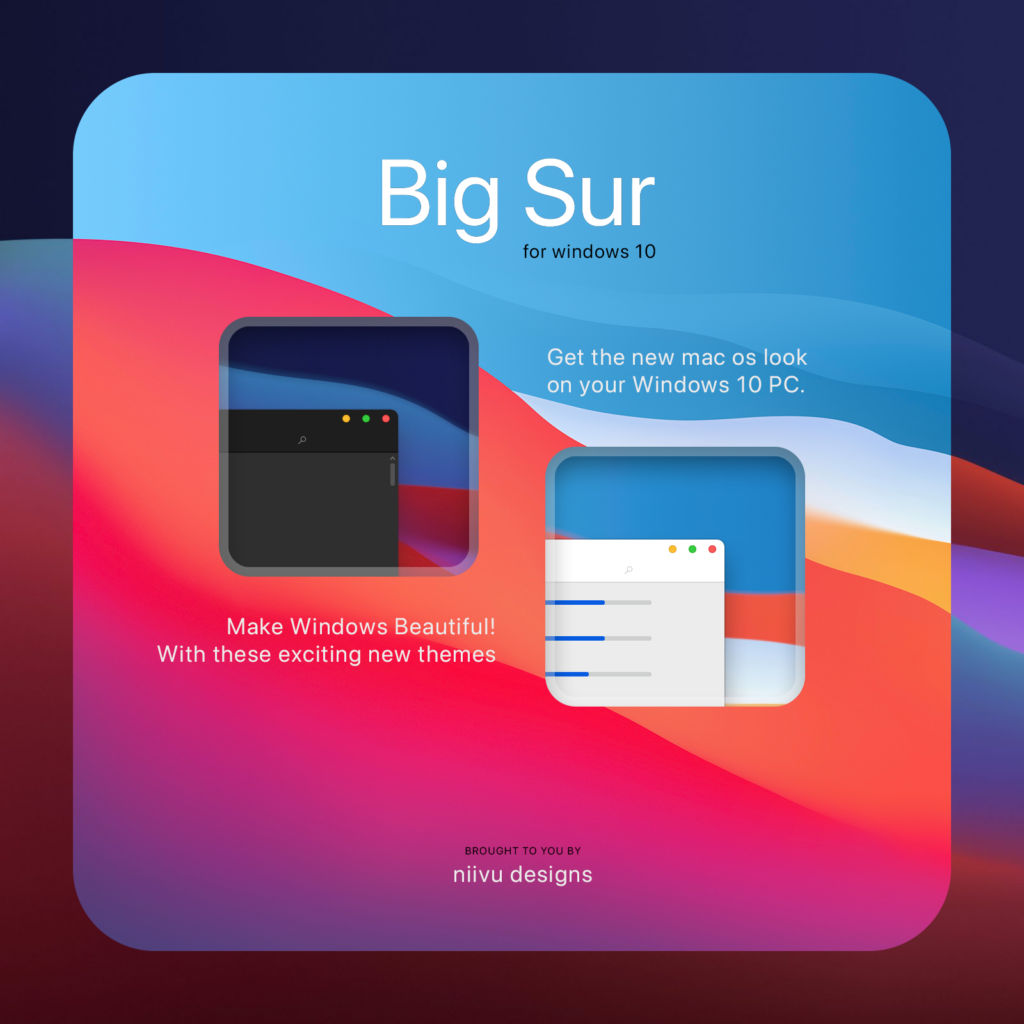
One of the good things about Windows 10 is the ability to customize the look and feel and get themes running on your OS. We have covered a lot of custom themes for Windows 10 including custom ones. You can also get the new Windows 11 theme for Windows 10. macOS Big Sur was launched last year for Mac devices and it comes with a refreshed look and feel. If you liked the Big Sur look and feel, you can bring it to Windows 10 as well with this custom theme. Big Sur for Windows 10 is new theme which can get you the look and feel of macOS Big Sur. So let’s see how you can get this theme working.
macOS BigSur Theme for Windows 10:
How to Install Custom Themes:
To install custom themes, you need to patch system files. For this, the best tool is UltraUXTheme Patcher. Once installed, it will patch the files and you need to reboot the system. Now you can copy the custom themes to “%windir%/Resources/Themes” folder. Now you can start using the new custom themes on Windows 10. The process to patch the themes is simple and once you have installed the app, you can install custom theme in Windows 10.
Before installing, make sure you create a system restore point in Windows 10, so that in case of any issues you can always restore it back.
Step 1: To install the theme on your Windows 10 PC, first patch the system files using the app mentioned above.
Step 2: Copy all the file in Theme folder to “%windir%/Resources/Themes”
Step 3: Now you can open the Personalization option in settings and you will see the new theme listed. You can click on the theme and apply it to your Windows 10.
More details on the theme and download links are available here.

