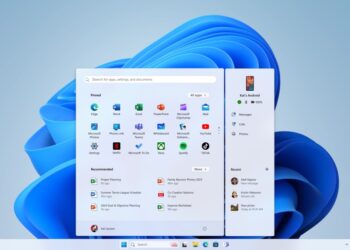
Windows 11 has been announced by Microsoft as an upgrade to Windows 10. The new OS comes with a lot of new features including the new start menu, taskbar, settings panel, and more. Windows 11 is also offered as a free upgrade to eligible PCs. Now, in Windows 11, it is always better to create a Microsoft account as your user account as it has a lot of benefits. But at the same time, you might want to create a local account for some reason. So how to create a local account in Windows 11.
How to Create a Local Account in Windows 11:
There are multiple ways to create a local account in Windows 11, it can be done via the settings page, from the account settings, or even the command prompt. Here we will show you the easiest way to do it in Windows 11.
Step 1: Open the run command in Windows 11 using Win + R key.
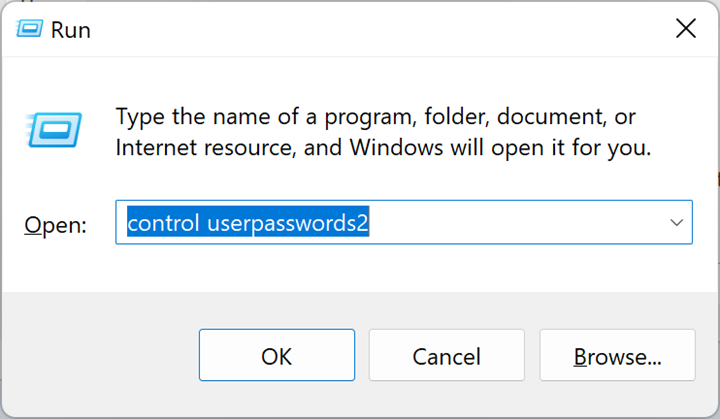
Step 2: In the run command, type control userpasswords2 and press enter.
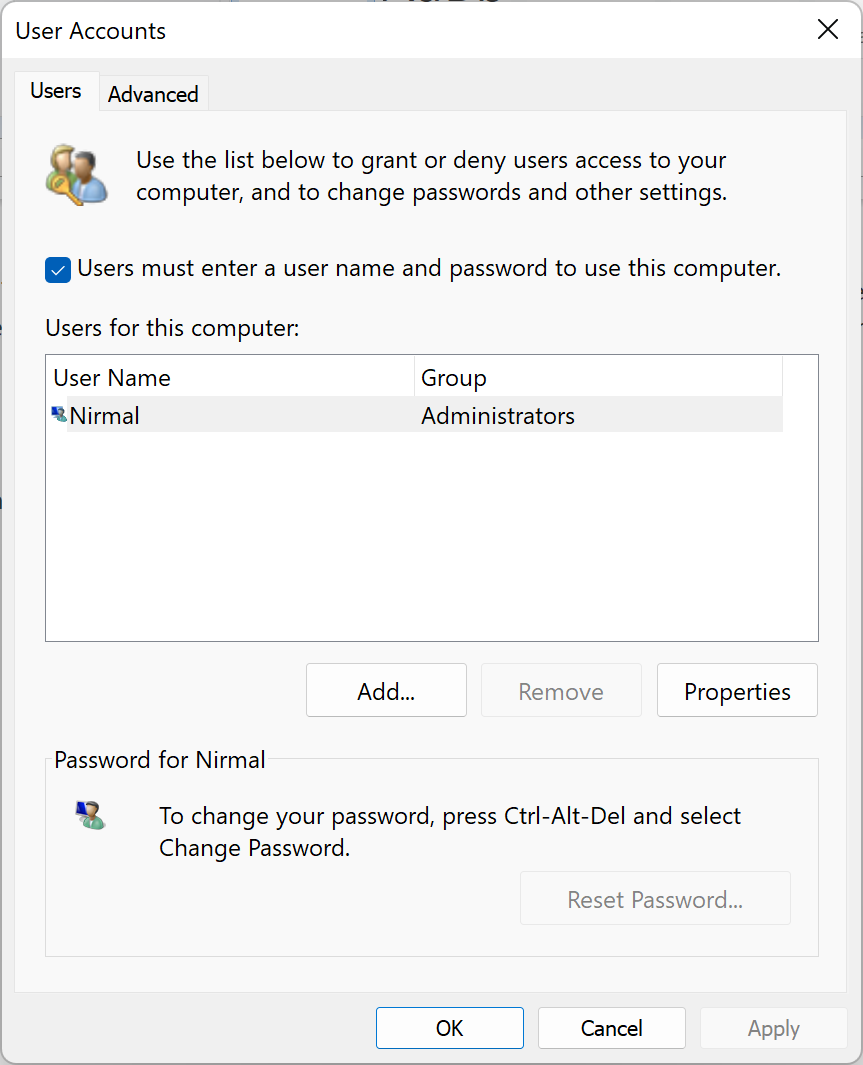
Step 3: This will open a window where you will see the existing accounts. Click on the Add button.
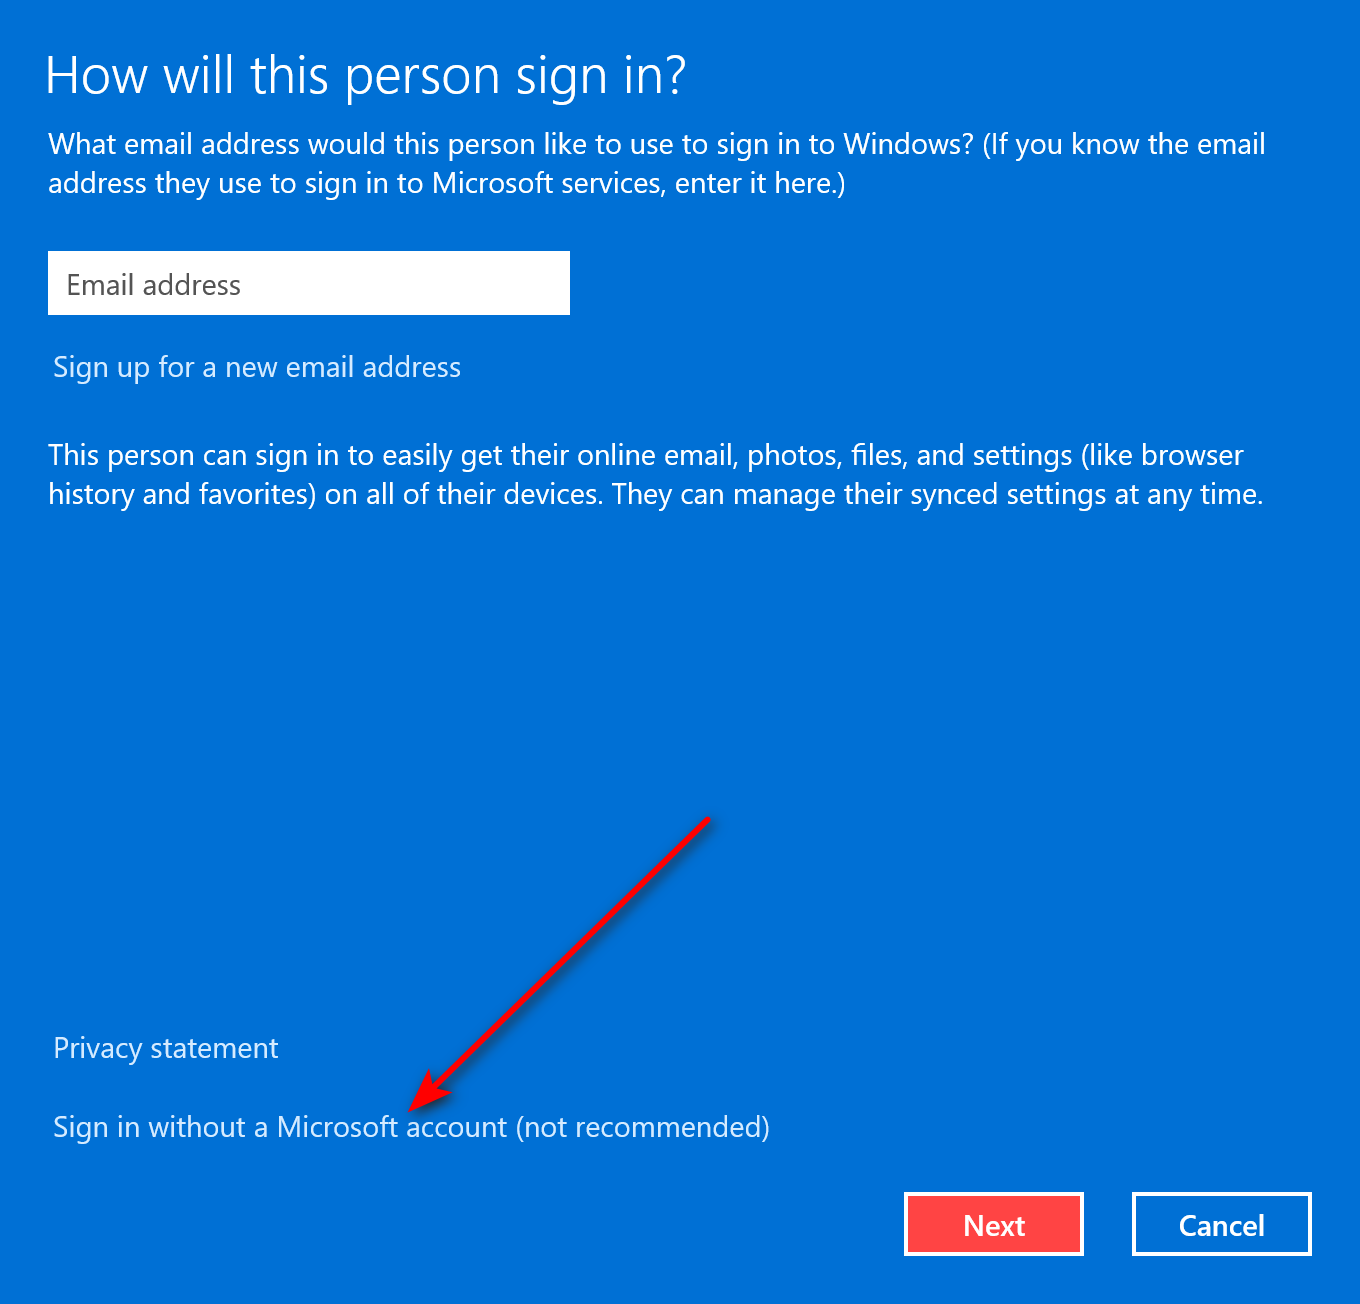
Step 4: In the next step, click on Sign in without Microsoft account listed at the bottom section of the screen.
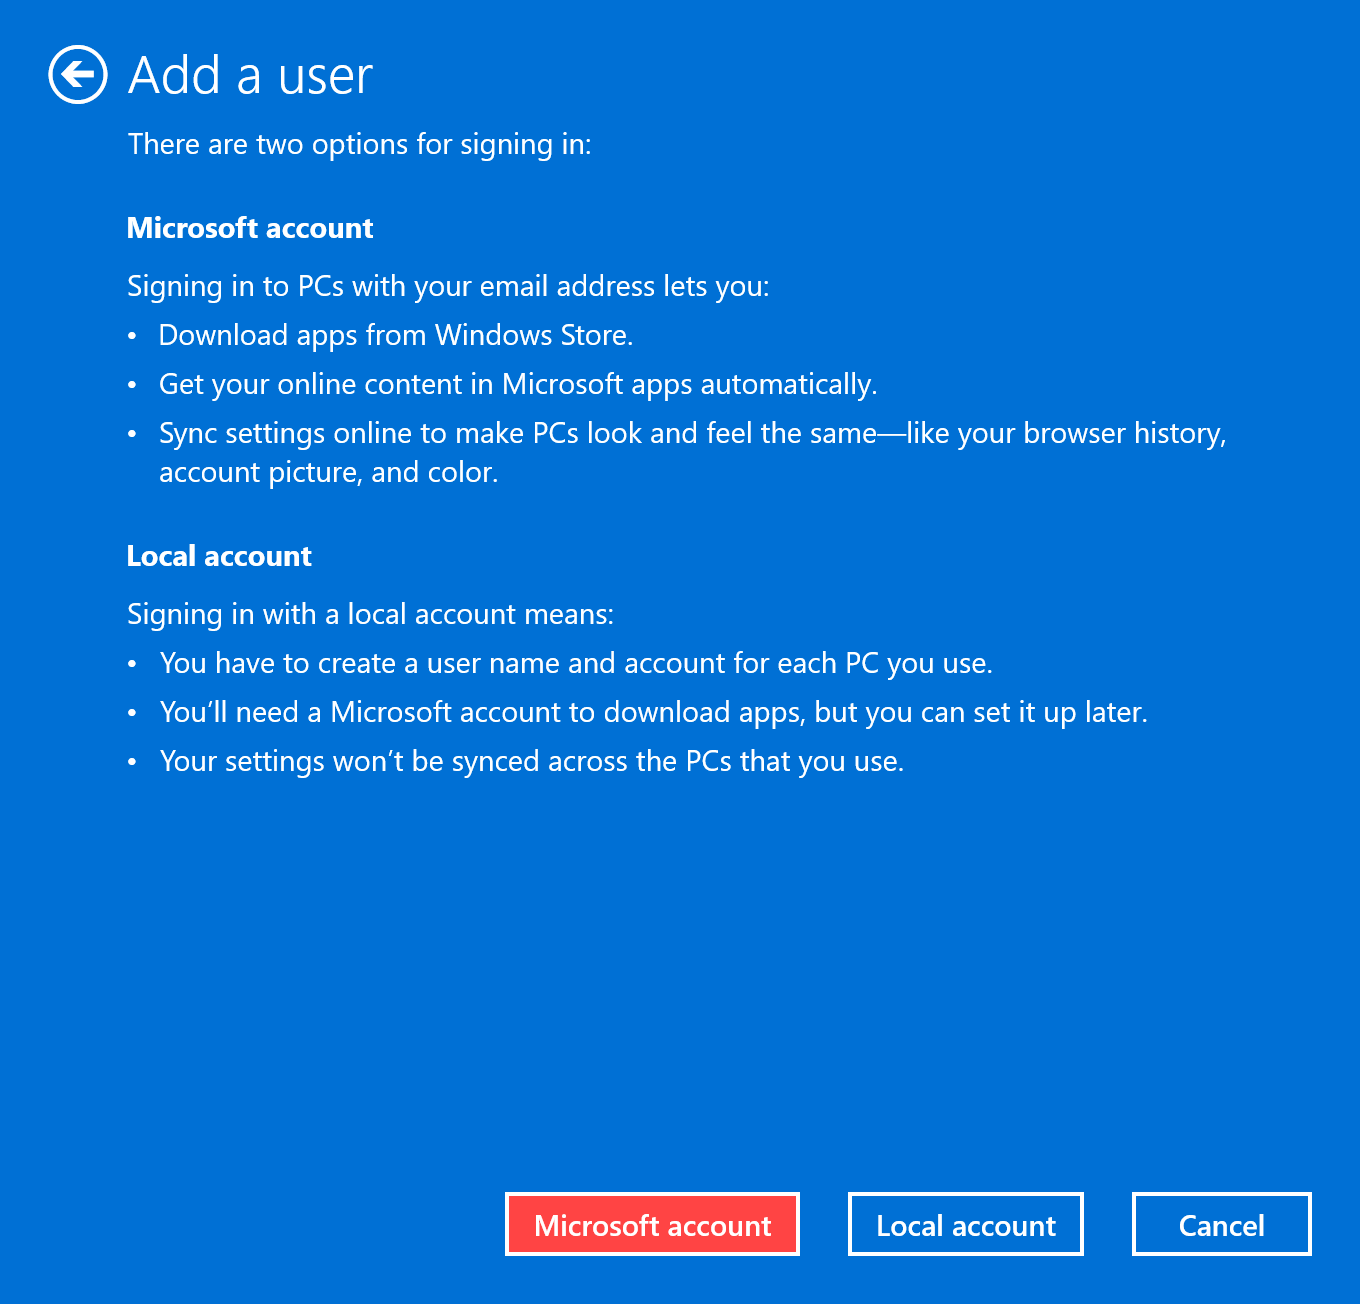
Step 5: In the next step, click on Local account.
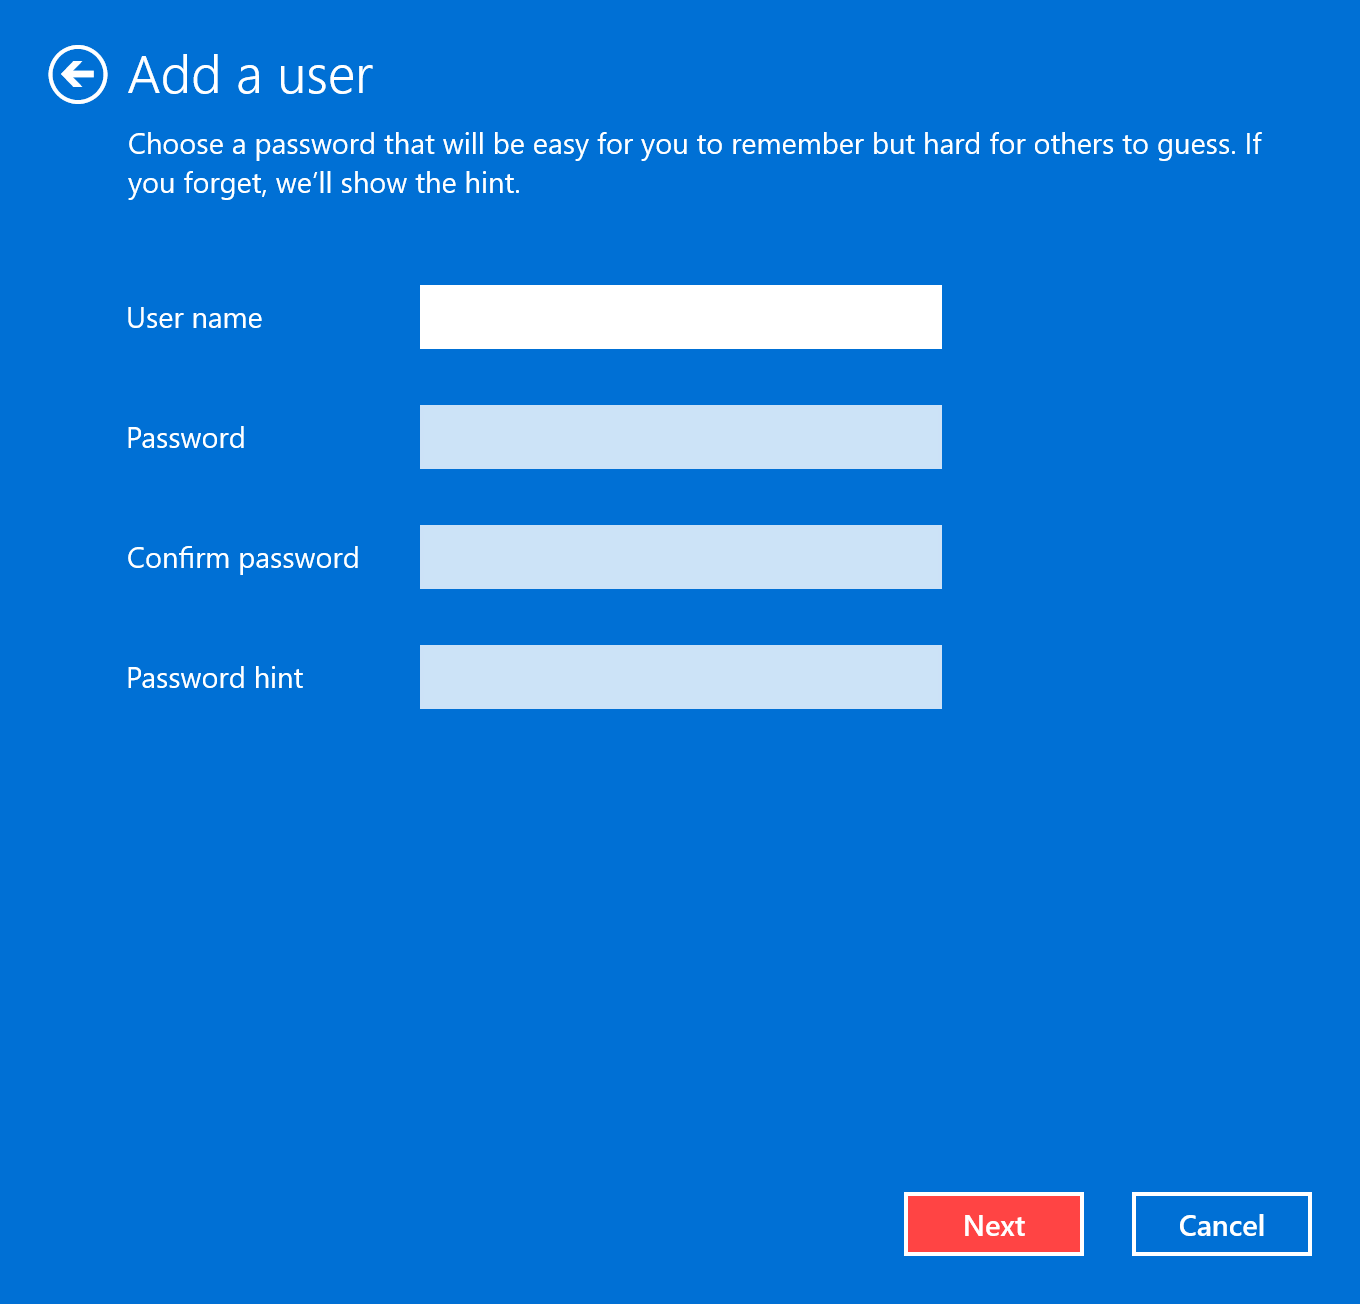
Step 6: In the next step, you need to enter the user name, password, and also password hint.
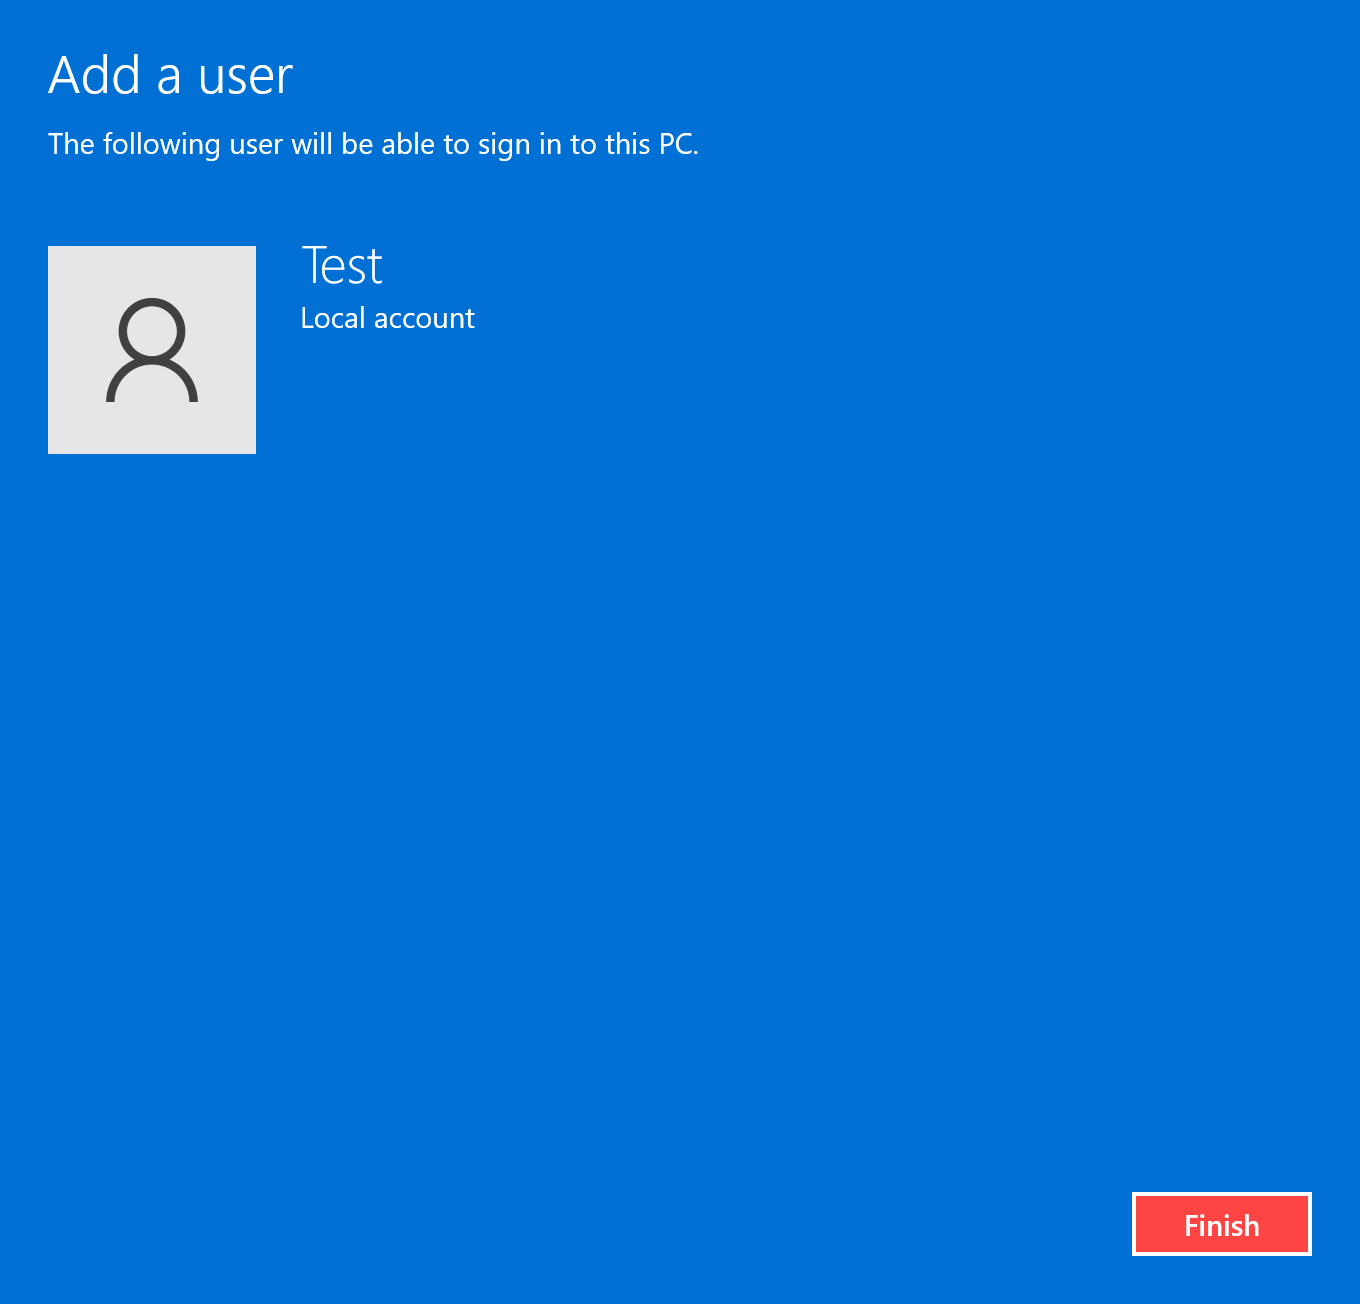
Step 7: In the final step, click on the finish button and your local account will be added to Windows 11.
