If you are already using Windows 10, you might be knowing about Storage Sense feature. Windows Storage Sense is basically an assistant for storage, that works with OneDrive or cloud storage to automatically free up space by making locally available files that you aren’t using anymore. Online-only files stay safe in OneDrive or cloud storage and are visible on your device. Storage Sense is also useful to reclaim storage used by temporary files and Windows upgrade files. So how do you enable Storage Sense in Windows 11?
How to Enable Storage Sense in Windows 11:
Storage Sense might be disabled by default, but you can enable it and automatically manage your storage options. Here is how to enable storage sense in Windows 11.
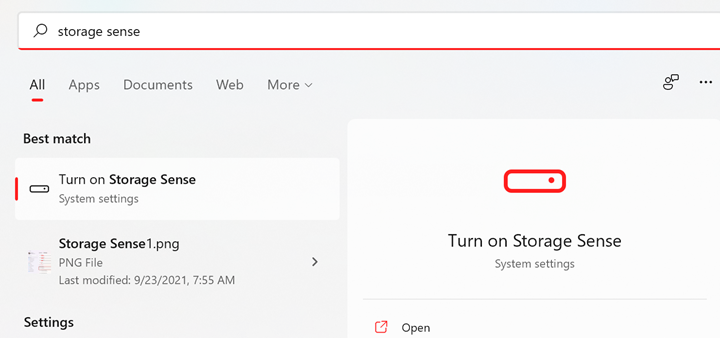
Step 1: Open the start menu in Windows 11.
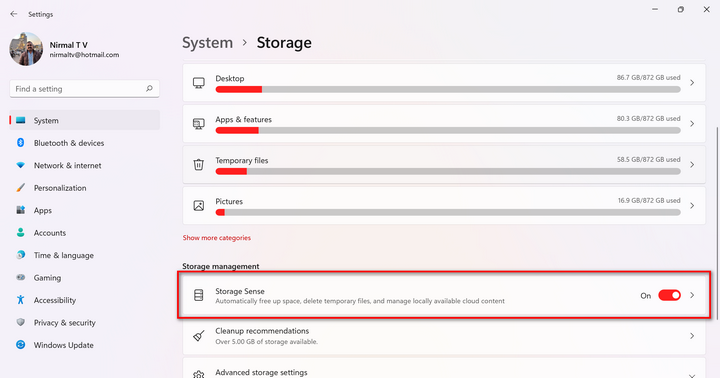
Step 2: Type storage sense in the start menu and you will see the results, click on it. Alternatively, you can also go to Settings-> Storage to access storage sense.
Step 3: In the Storage options, scroll down and you will see an option to enable Storage Sense.
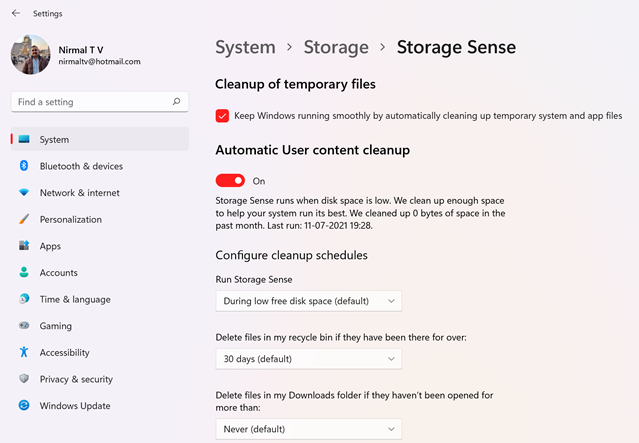
Step 4: When you click on this option, you will get more options to customize Storage sense. You can decide when to run storage sense and when to delete the files.
Step 5: You can also select which cloud storage you want to move your files to before storage sense cleans up your unwanted files. You can also enable the option to clean up temporary files automatically to keep Windows running smoothly.
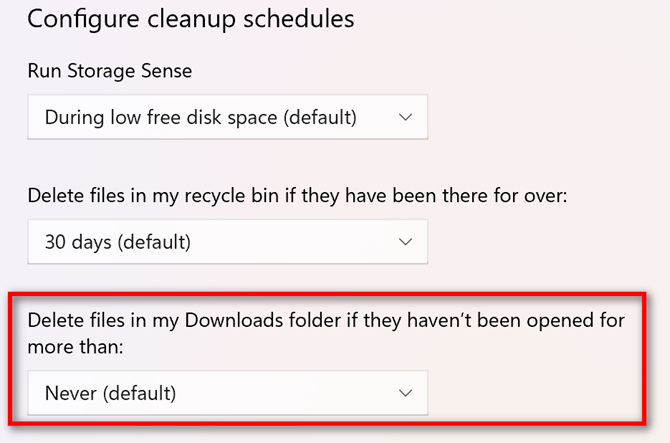
One of the important settings you should consider is for the downloads folder. Storage Sense might delete your downloads folder if you have not opened it for a particular number of days. So for the downloads folder, you can set storage sense to never delete.
Storage Sense is one of the really good options in Windows 11 to manage storage especially if you have a laptop with a lower storage options like 256GB or 512GB.

