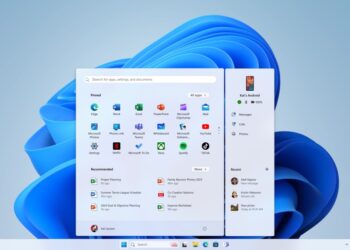
Just like any OS, over a period of usage, there will be a lot of temporary and junk files accumulated in your Windows 11 too. These temporary files can be system error dump files, upgrade logs, previous versions of Windows, thumbnails, and more. These temporary files will take up a lot of storage in your Windows 11. We had recently covered the Storage Sense feature in Windows 11. But you can also manually clean temporary files in Windows 11, here is how to do it.
Clean Temporary Files in Windows 11:
Temporary files accumulate in your PC over a period of time and it is always good that you do a clean-up once in a while. Here is how to clean temporary files and recover storage.
Step 1: Open the Settings panel in Windows 11.
Step 2: Now navigate to the Storage option under System settings.
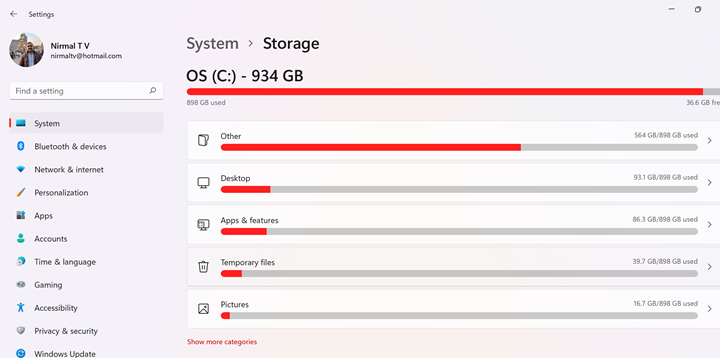
Step 3: Wait for Windows to scan the files and it will show the temporary files in your Windows 11. You can click on the temporary files to view them.
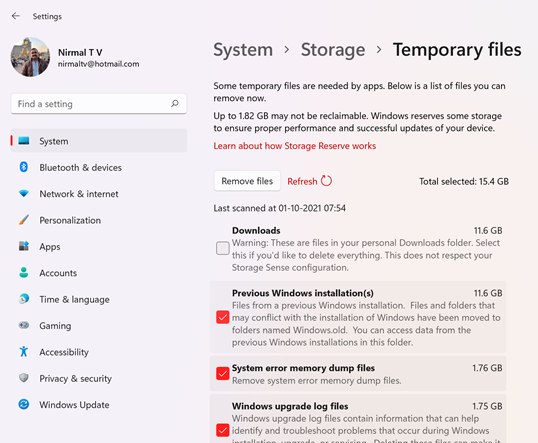
Step 4: Once Windows has completed the scanning, it shows all the temporary files and the total size it occupies on the right side.
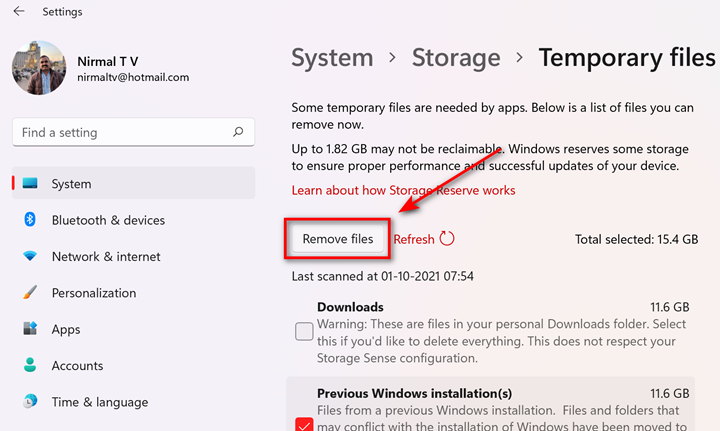
Step 5: Select all the items which you wish to delete from the system and then click on the remove files button on the top.
Step 6: This will clean up the unwanted files in Windows 11.

