When you are using an iPhone as your smartphone and Windows PC as your primary work machine, then you might already know that it is not a seamless experience. We had already covered how to sync iPhone with Windows 11. Now if you want to transfer or import pictures from iPhone to Windows 11 PC, then actually you don’t need to install iTunes. While you can directly copy files from the Windows File Manager, it may not be the best experience. Here is how to transfer images from iPhone to Windows 11.
Import Pictures from iPhone to Windows 11 PC:
In this process, you do not have to install any third-party apps or tools, all you need is to connect the iPhone to Windows 11 using the cable. Let’s see how it can be done.
Step 1: Connect the iPhone to Windows 11 using the lightning cable included in the box of the iPhone.
Step 2: Once connected, you will get a prompt on your iPhone asking if you want to trust this PC, select this option.
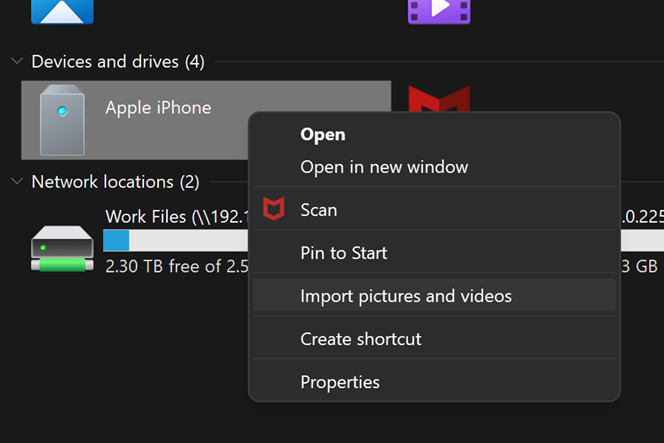
Step 3: Now you will be able to see Apple iPhone listed in Windows Explorer.
Step 4: In the next step, you need to right-click on the Apple iPhone in File manager and select the Import pictures and videos option.
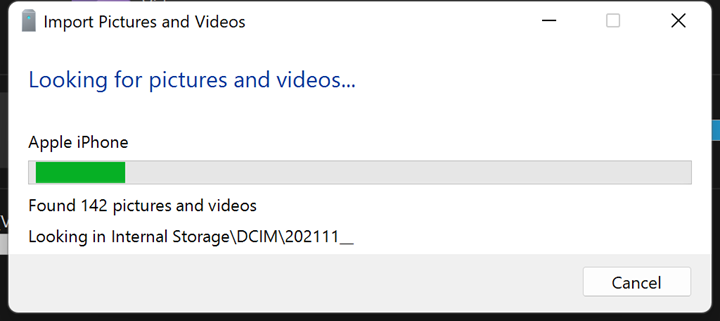
Step 5: In the next step, Windows 11 will search your iPhone for all pictures and videos available for importing.
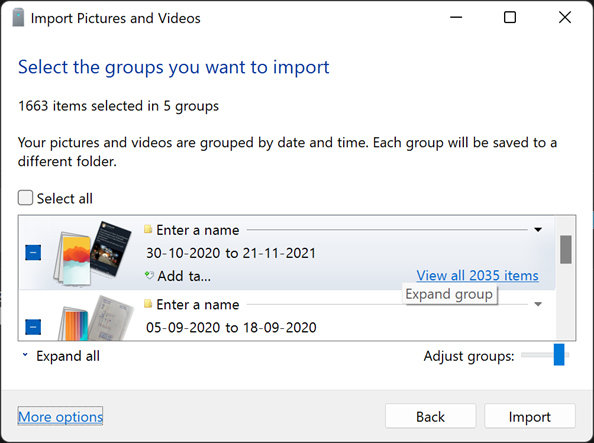
Step 6: Now you are ready to import. You can select how you want to import the images and group them. You can either review them or import all the new items.
Step 7: You can click the More options link at the bottom and get more options to import, including the file name, folder, grouping, etc.
Step 8: In the next step, you can see how many groups will be available based on the options you have selected. You can also reduce or increase the groups using the slider below. This is basically based on the date or months.
Step 9: In the final step, you need to click import and Windows 11 will start the import process.
Step 10: Once the import is completed, you will be able to see all the iPhone images grouped as per the options and folder you have selected.


