Windows 11 is the latest version of Windows from Microsoft and it has been offered as an update to Windows 10. If you are already using Windows 11, you might have seen the new UI, features, and also performance improvements. If you are facing any issues with Windows 11, then one of the options is to reset the PC. But many of the users think that resetting the PC will lose all your personal files including documents and images. But Microsoft offers an option to reset Windows 11 without losing files, here is how to do it.
How to Reset Windows 11 Without Losing Files:
While you can keep your personal files including documents, images, and videos, all apps installed by you will be removed and cleared when you reset the PC. Here is how to start the reset process in Windows 11.
Step 1: Open the start menu and search for the Settings app.
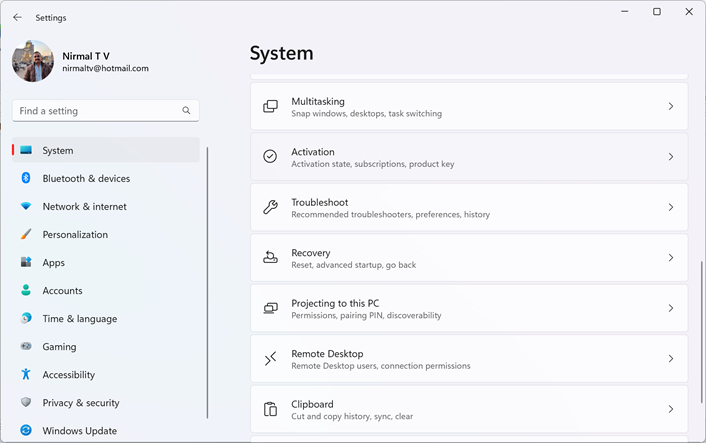
Step 2: Once you open the Settings app, select the System option on the left side, and on the right panel select the Recovery option.
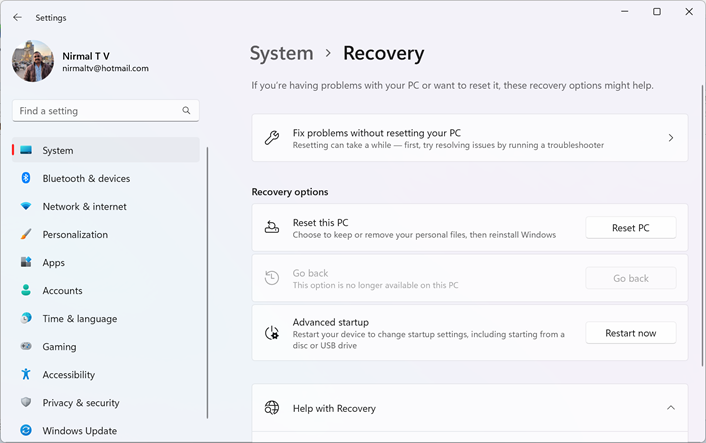
Step 3: When you select Recovery, you will see more options under it. You will be able to see the Reset PC option with a button against it. Click on this button.
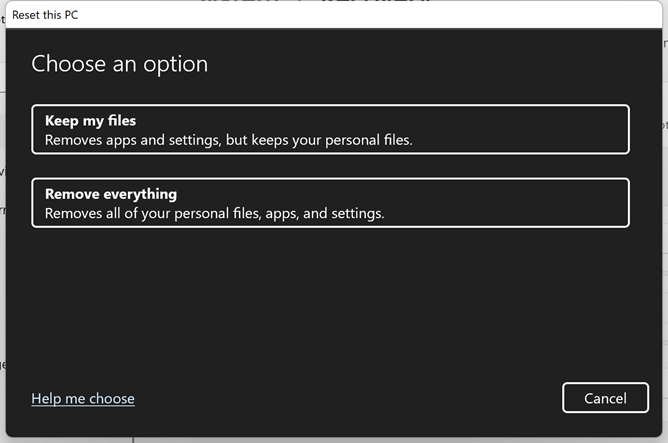
Step 4: In the next step, Windows will ask you if you want to keep your personal files or remove everything. Here you need to select the first option- “Keep my Files”.
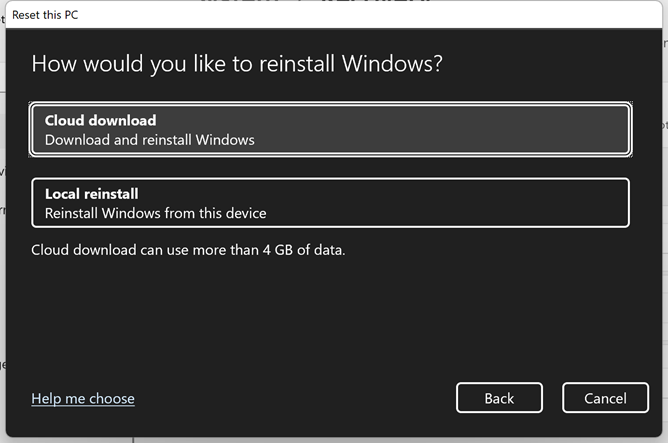
Step 5: Now the app will ask you if you want to reinstall Windows from the cloud (connected to the internet) or Local reinstall. The cloud download will take 4GB of data so you can go with a local reinstall.
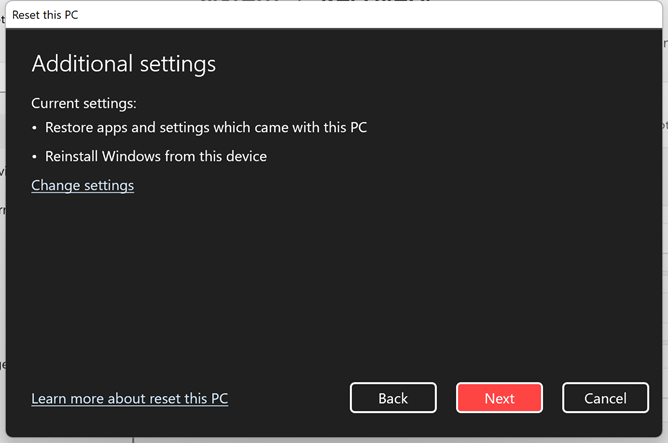
Step 6: In the next step, you will get a final confirmation on what the PC is going to do. Click on the Next button and the PC will be ready to start the Reset process.
The reset process will take some time and once completed you will get the list of apps that were removed by the PC during the reset process.


