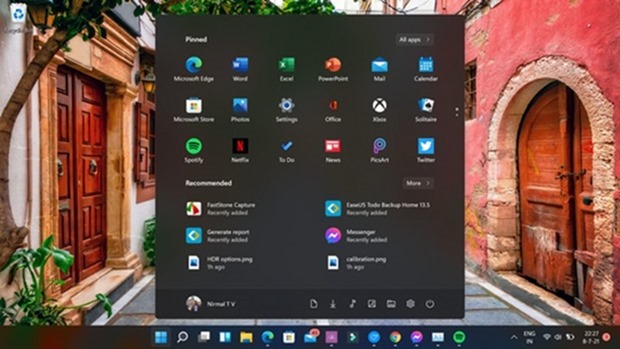
Windows 11 start menu is one of the important tools when it comes to the usability of Windows. We access all the programs, settings, and more from the start menu. The start menu has also improved drastically over the last few years and now it is more refined and user-friendly. With the latest version of Windows 11, Microsoft has added a feature wherein you can create a folder in the start menu and group similar apps. This is a handy feature to have since you can easily open apps when they are grouped. So here is how to create a folder in Windows 11 start menu.

While you cannot create a folder directly on the start menu, you can make a folder using existing apps, here is how to do it.
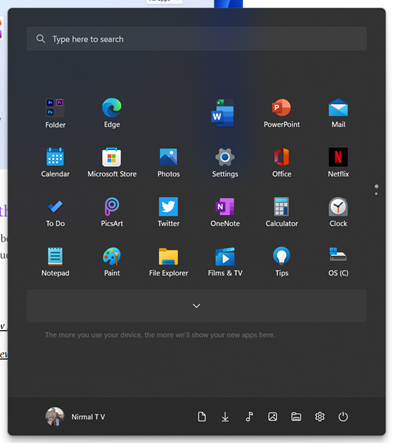
Step 1: Open the start menu and add the applications you want to group together to the pinned list.
Step 2: Now that all the apps you want to group are available in the start menu, drag and drop an app on top of the other app.

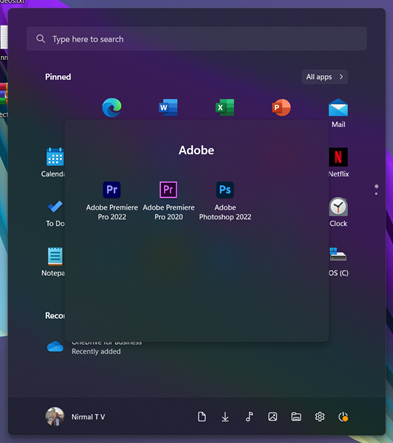
Step 3: This will create a folder in the start menu with the two apps you have used to create it. Now you can drag and drop other similar apps.

Step 4: Once you have grouped all the apps into a folder, you can name the folder. Now, you will be able to see your favorite apps grouped into a folder.


