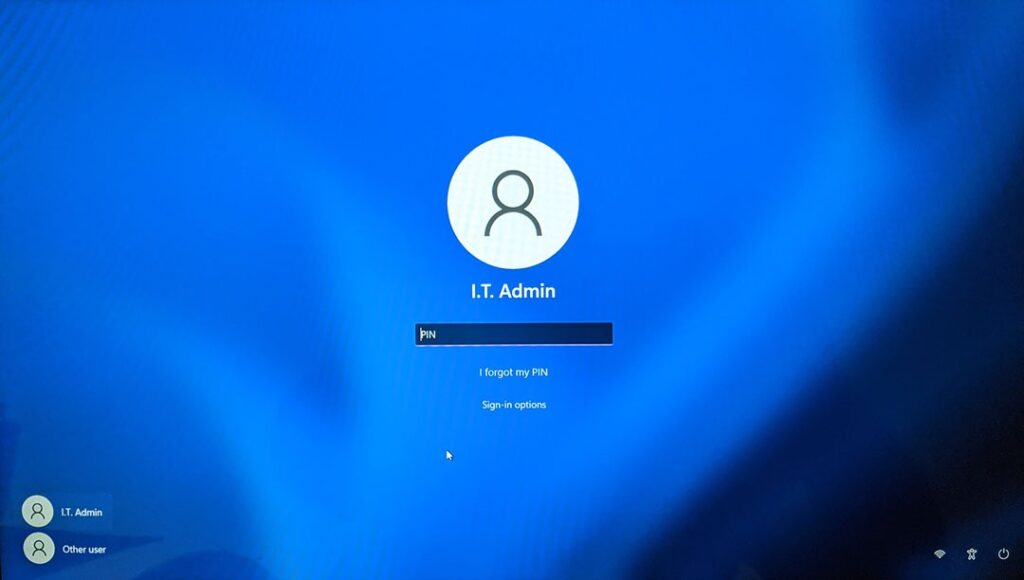
A lot of desktop users might want to quickly log into Windows 11 to start work instead of entering the password. While this is not a recommended way to log in, there is an option in Windows 11 wherein you can automatically log in without entering the password each time. You can enable Windows 11 automatic login using the default option available in the OS. Automatic login will skip the process of asking for the password for your account. Although automatic log-in is convenient for most users, please note that this decreases the security of your laptop or desktop especially when someone else accesses it.
So in case, you want to go ahead and disable the login password and automatically login to Windows 11, here is how to do it.
Related Reading: How to Recover Wi-Fi Password on Windows 11
How to Enable Windows 11 Automatic Login
In order to enable automatic login, follow the steps below.
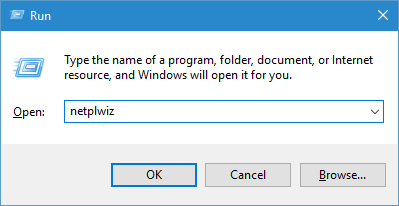
Step 1: Open the run command (Win Key + R) and type netplwiz and press enter. This will bring in the user accounts option in Windows.
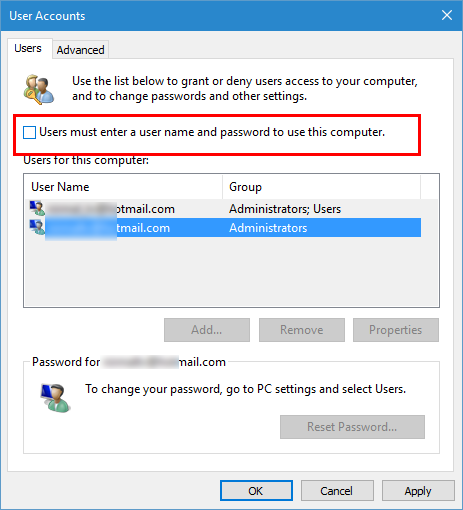
Step 2: In the user account option, select the user name for which you want to disable the login password (in case you have multiple accounts). On the top, you will see an option “Users must enter a username and password to use this computer”. Uncheck this option and click apply.
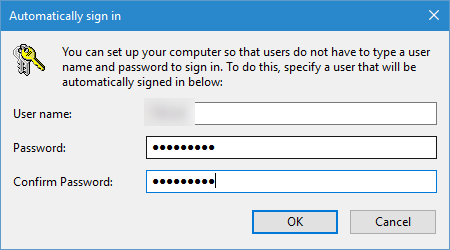
Step 3: In the final step, you need to enter your current password for the account you want to enable auto-login. Click ok and this will enable automatic login into Windows 11.
Next time you boot Windows 11, you will not be prompted for the password for this account and the system will automatically login to your account.

