When using your Windows 11 PC, you might sometimes encounter the error “Windows can’t connect to this Network” and this error generally occurs when connecting your PC to the internet. Other than telling that there is some issue with the network connection, the error does not share any other details. If you encounter this error, you will not be able to connect your PC to the internet. In case you have been in this situation, here are some fixes which will help you connect your PC to the Internet. These fixes will work on both Windows 10 and Windows 11.
Related Reading: Fix Not able to Connect to Network Drive in Windows 11 [Error message 0x80070035]
How to Fix “Windows Can’t Connect To This Network” Error:
Since Windows has not given any clear indication of why the error is happening in Windows, you can try one of these fixes.
Forget Network Connection:
Since you are already connected to the network and it is not working, we are going to forget the network and add it again.
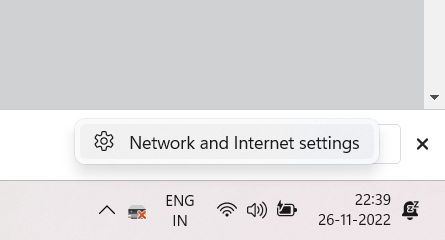
Step 1: Right-click on the wireless network connection on the Windows 11 taskbar and select “Network and Internet Settings”.
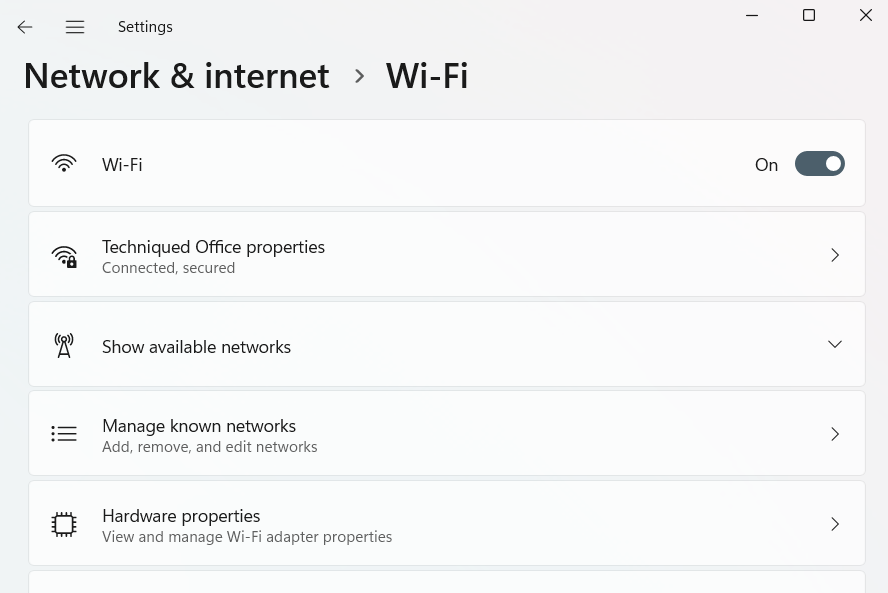
Step 2: This will open the Network settings. Here you need to select the Wi-Fi network and then select “Manage Known networks.
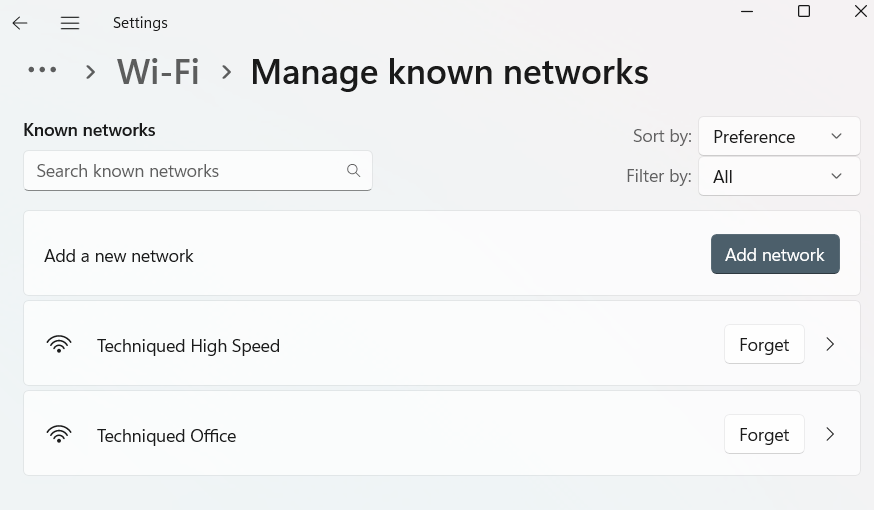
Step 3: Here you need to click on the Forget button against the network where you are facing this issue. Once you have removed the network, go back to the Wi-Fi connection and add it again. Now check if the network issue is solved.
Turning on Airplane Mode:
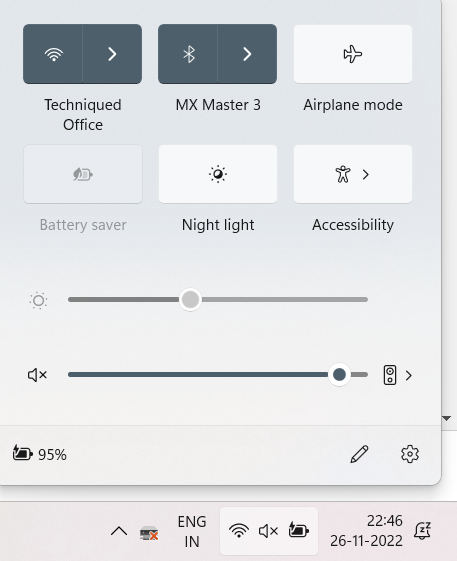
If the first option did not work, you can quickly toggle the Airplane mode and see if the issue is solved. You need to click on the network icon. Here you will see the Airplane mode, just turn this on for a few minutes and then turn it back to see if the issue is solved.
Network Reset Method:
If your issue is still not solved, you can try for a network reset.
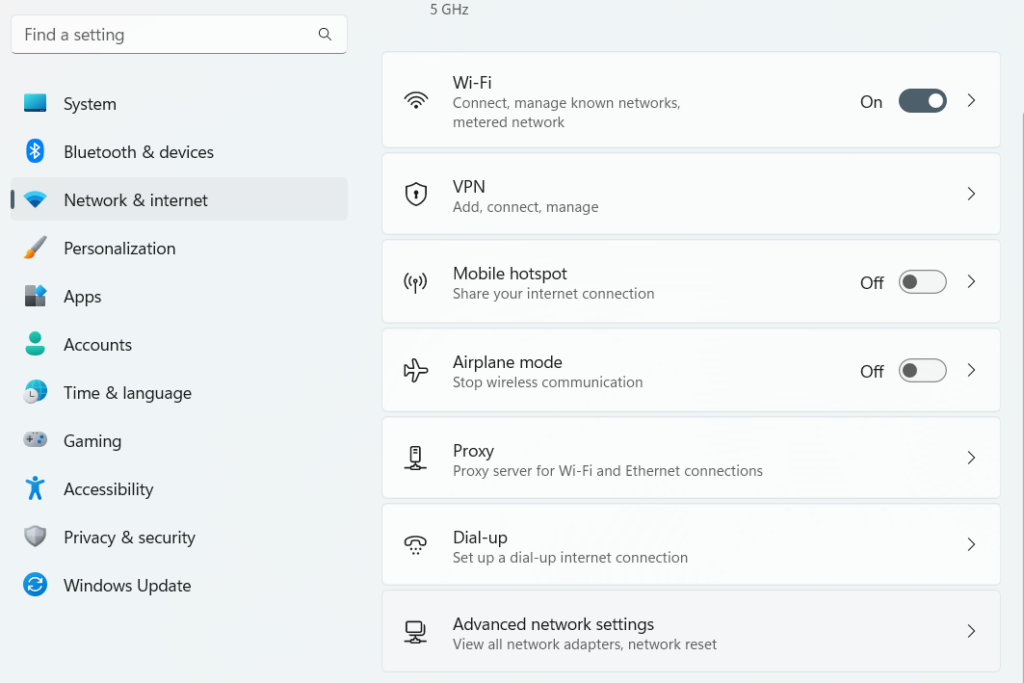
Step 1: Open the Settings panel in Windows 11. You need to select the Network and Internet settings on the left sidebar.
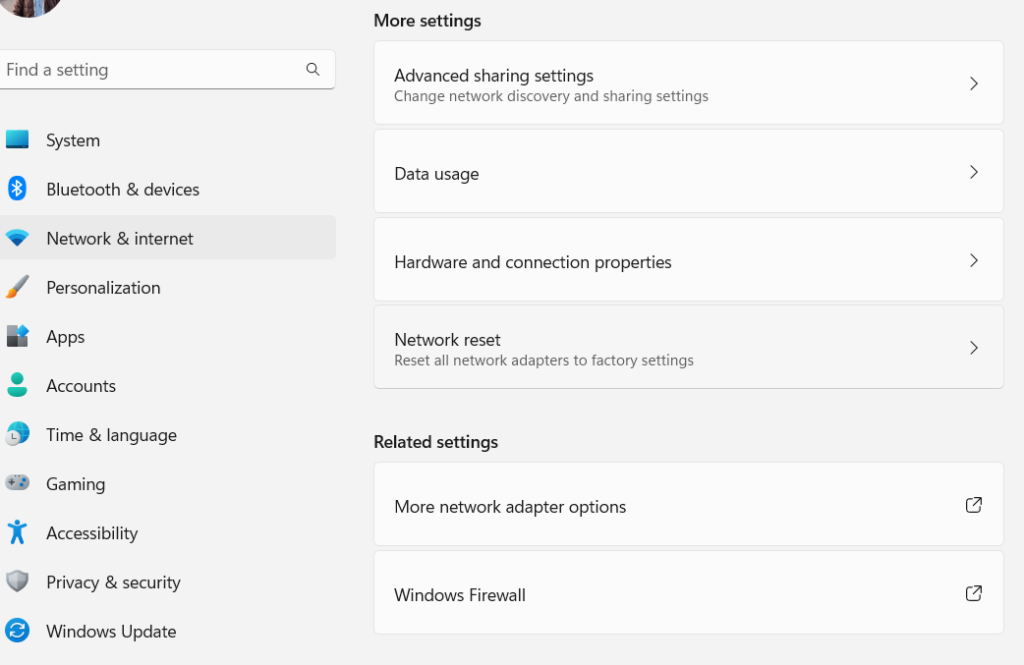
Step 2: Now you need to scroll down and select Advanced Network settings. Here you will be able to see Network reset option, select this.
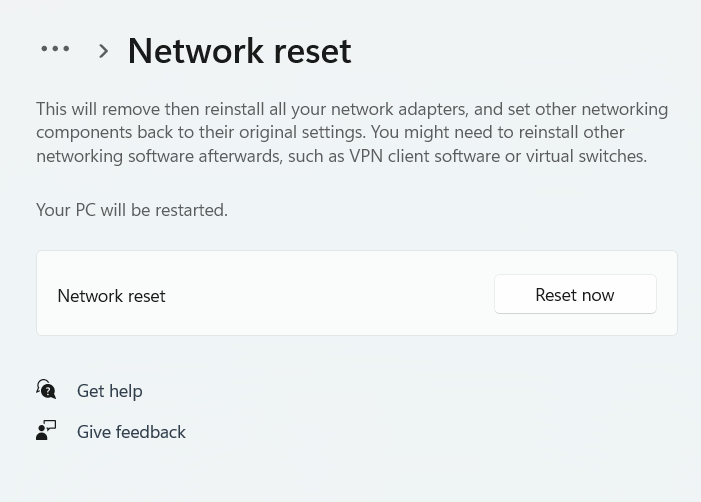
Step 3: In the final step you need to click on the Reset now button and this will perform a network reset and restart your Windows 11 PC. After the reboot, your issue will be fixed.
Network Troubleshooter:
Windows 11 by default has a network troubleshooter which can help you in solving issues with the network.
Step 1: Open the Settings in Windows 11 and select the System->Troubleshoot option.
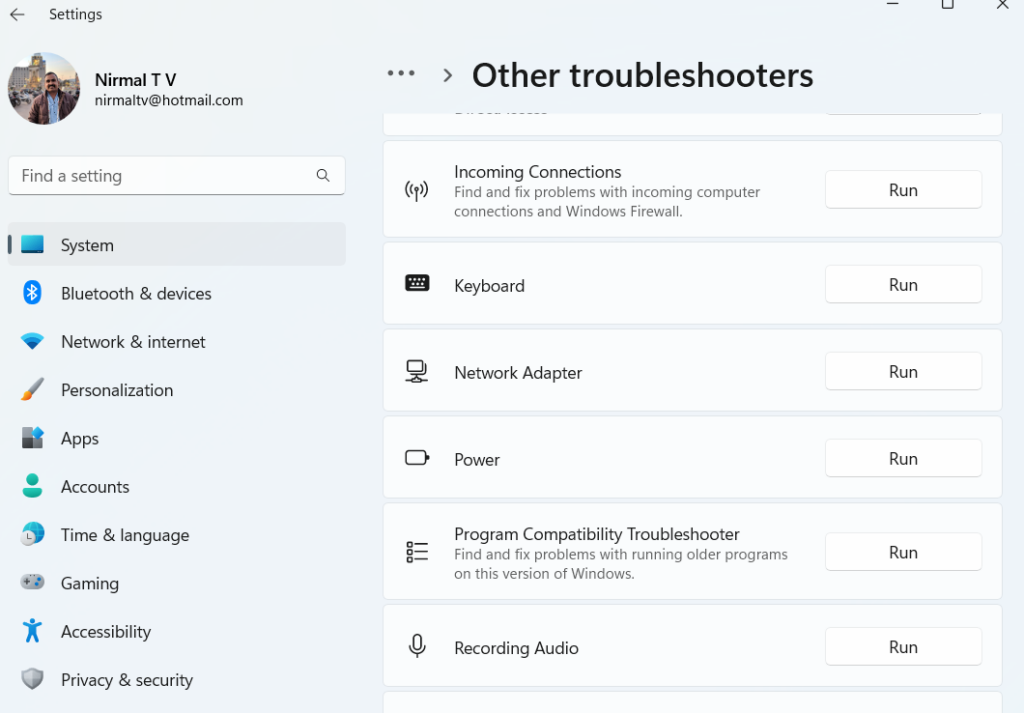
Step 2: Under the troubleshooter, you will need to select Other troubleshooters.
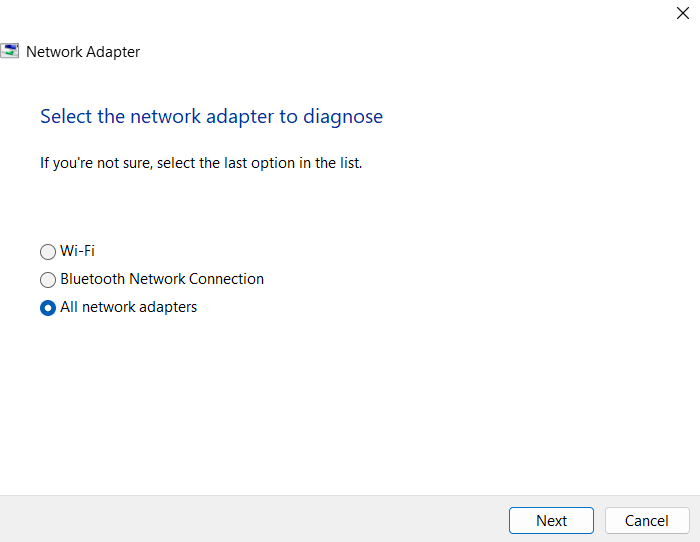
Step 3: Here you will need to select Network Adaptor in the next step.
Step 4: Follow the process and you can go ahead fixing the network issue on your Windows 11 PC.
These are some of the easier options available to solve this error.

