Windows 11 is the latest version of the OS from Microsoft and comes with a lot of new features and we have covered the features in this blog. If you have installed Windows 11 on your PC or bought a new Windows 11 PC, you might have seen that you will need a Microsoft account to set up Windows 11. During the installation process of Windows 11, you will be prompted to enter the Wi-Fi network and then add a Microsoft account to finish the setup. In case you do not have a Microsoft account, you can also create one. But what if you want to install Windows 11 without a Microsoft account? Here is how to do it.
Related Reading: How to Restart Windows 11 File Explorer
How to Install Windows 11 Without a Microsoft Account:
There are multiple ways to install Windows 11 without a Microsoft account.
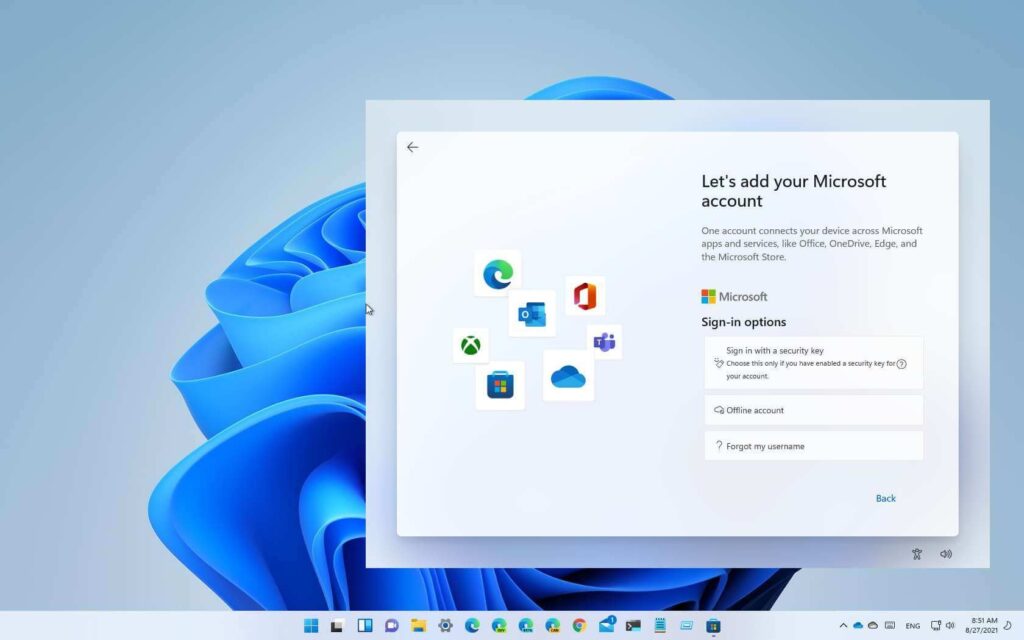
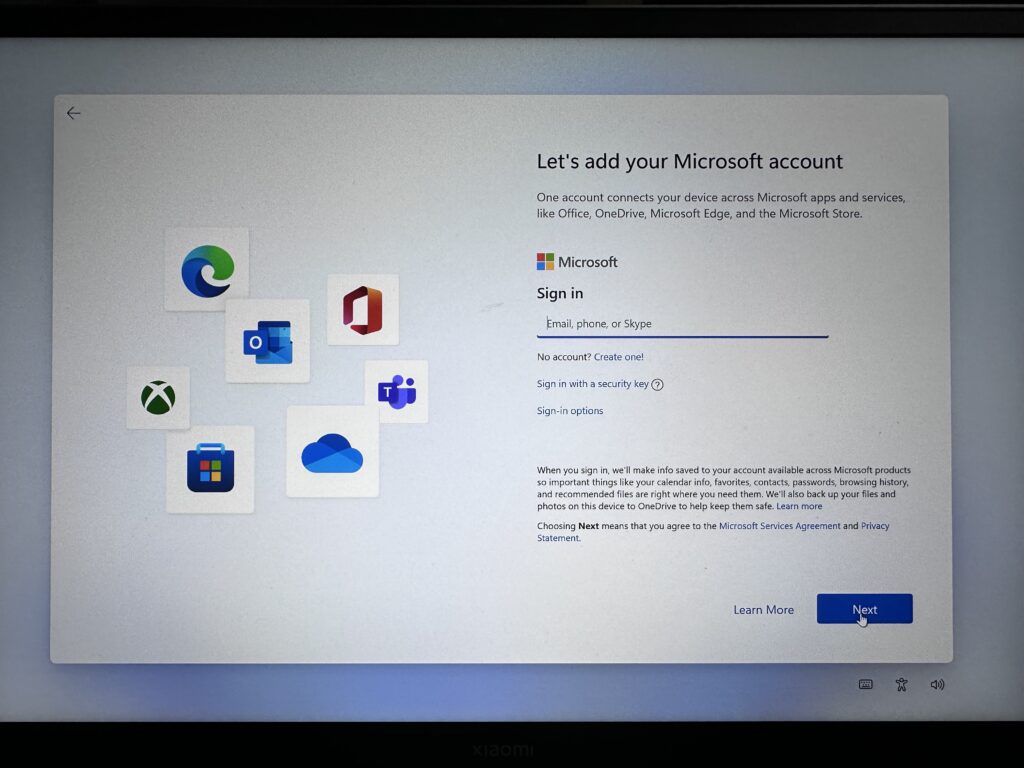
Step 1: During the installation process, the setup will ask for the Wi-Fi password. Once this is complete, the next step will be the account-adding process. Here the setup will ask you to enter the Microsoft account.
Step 2: In the next step, Hit Shift + F10 and a command prompt appears.
Step 3: Here you need to type ipconfig /release and hit the enter key. This will disable internet access on your PC.
Step 4: Now close the command prompt and you need to hit the back button on the setup page. It will be shown in the top left-hand corner.
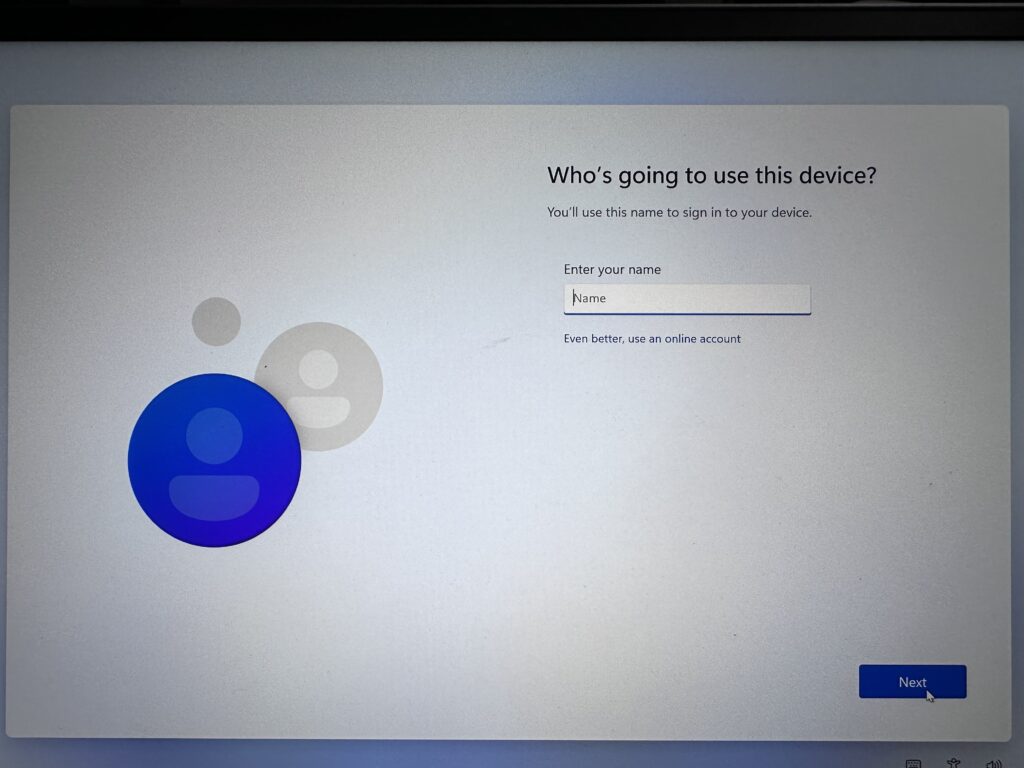
Step 5: Now you will get a prompt asking who is going to use this device. Here you need to enter the name.
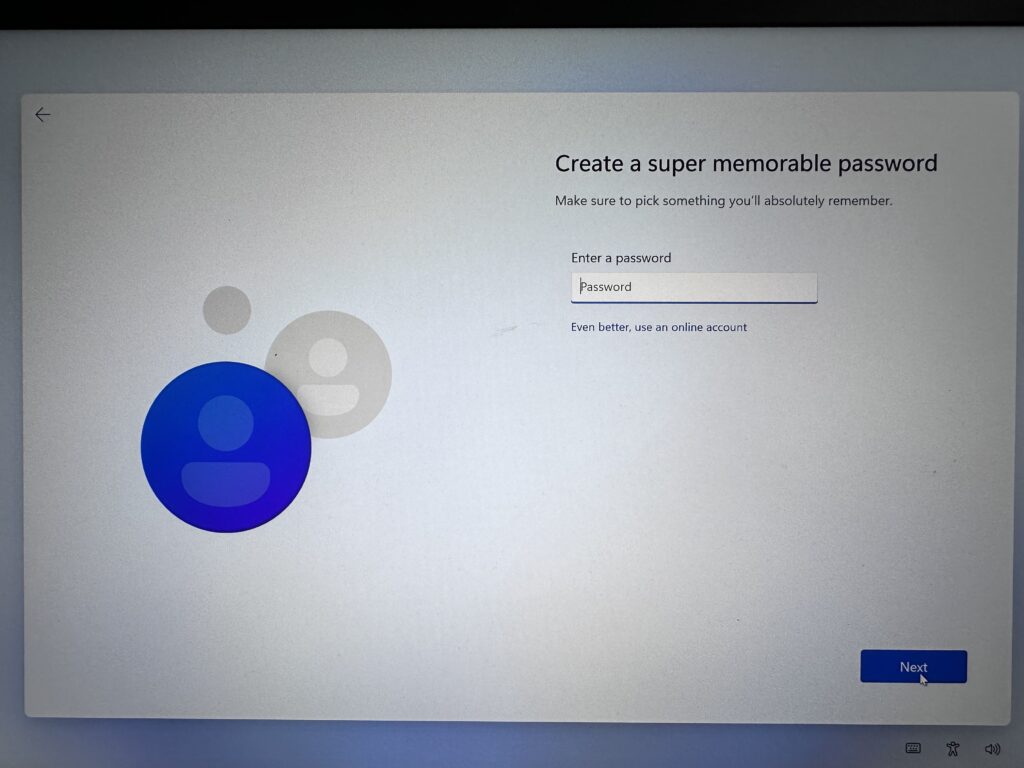
Step 6: In the next step, you need to choose a password for your account. You can choose to leave it blank, but we would suggest you choose a password.
Once the process is complete you will have the local account configured on your Windows 11 PC. In case you want to set up a Microsoft account later, you can do it from the settings. You can also change the local account to a Microsoft account later. There is also another option without using the command prompt.
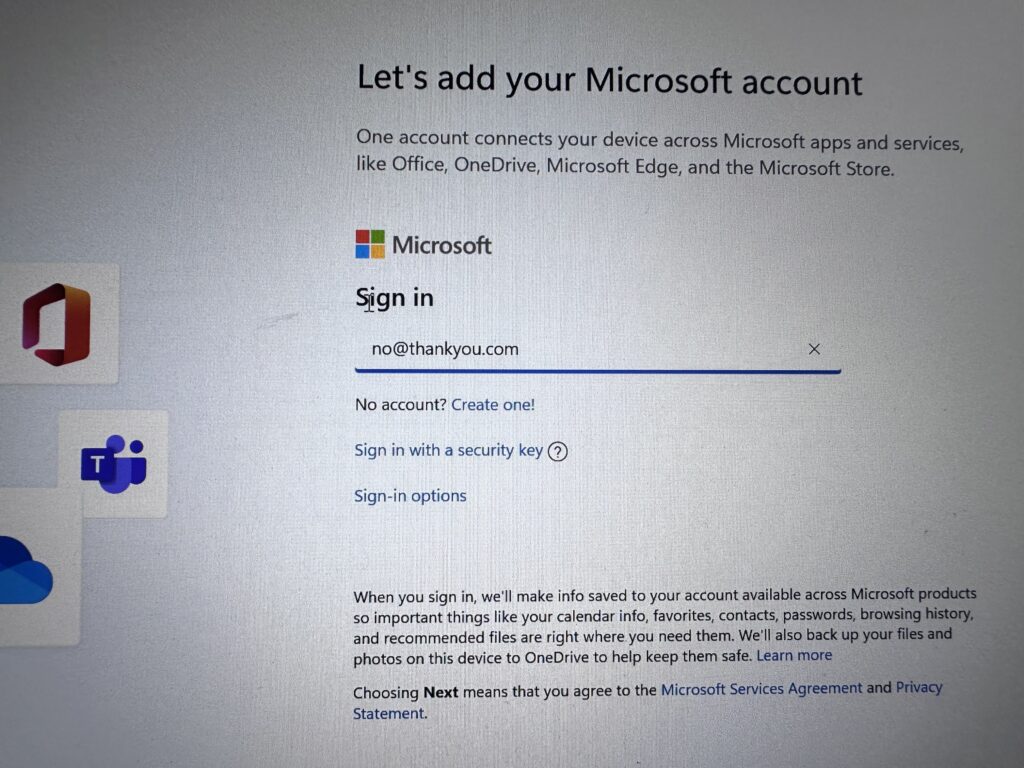
Step 1: Once you have reached the page where the Microsoft account is needed, you need to enter [email protected] as your email ID.
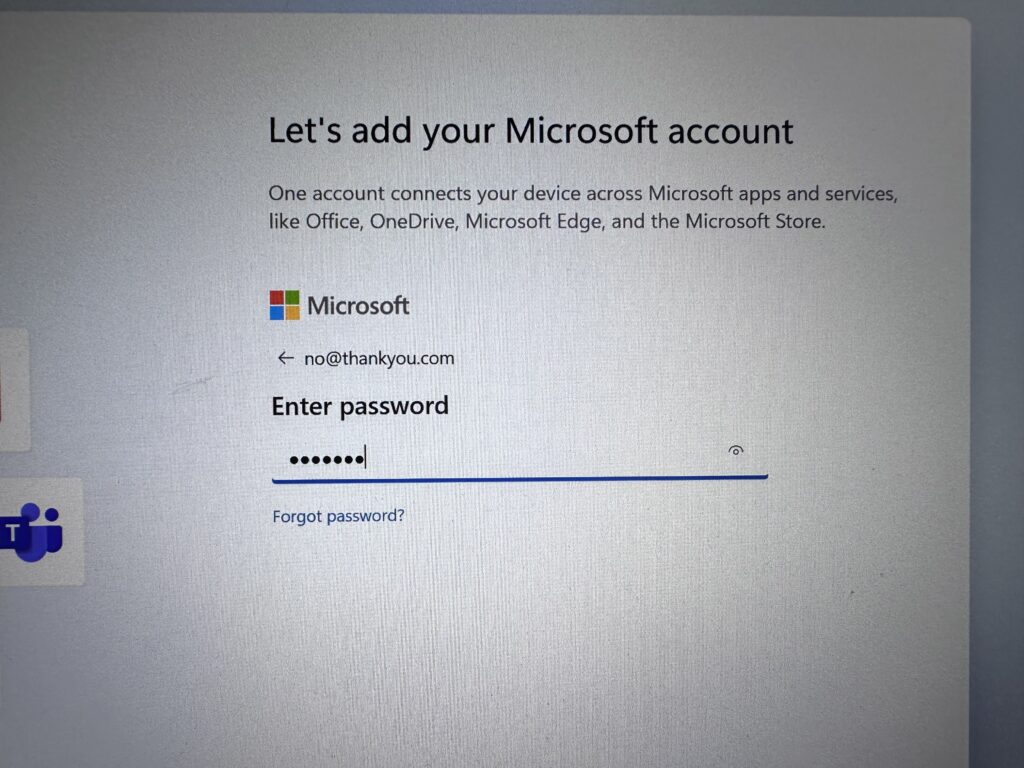
Step 2: In the next step, you will be asked for the password for this account. You can enter anything in the password section and click the next button.
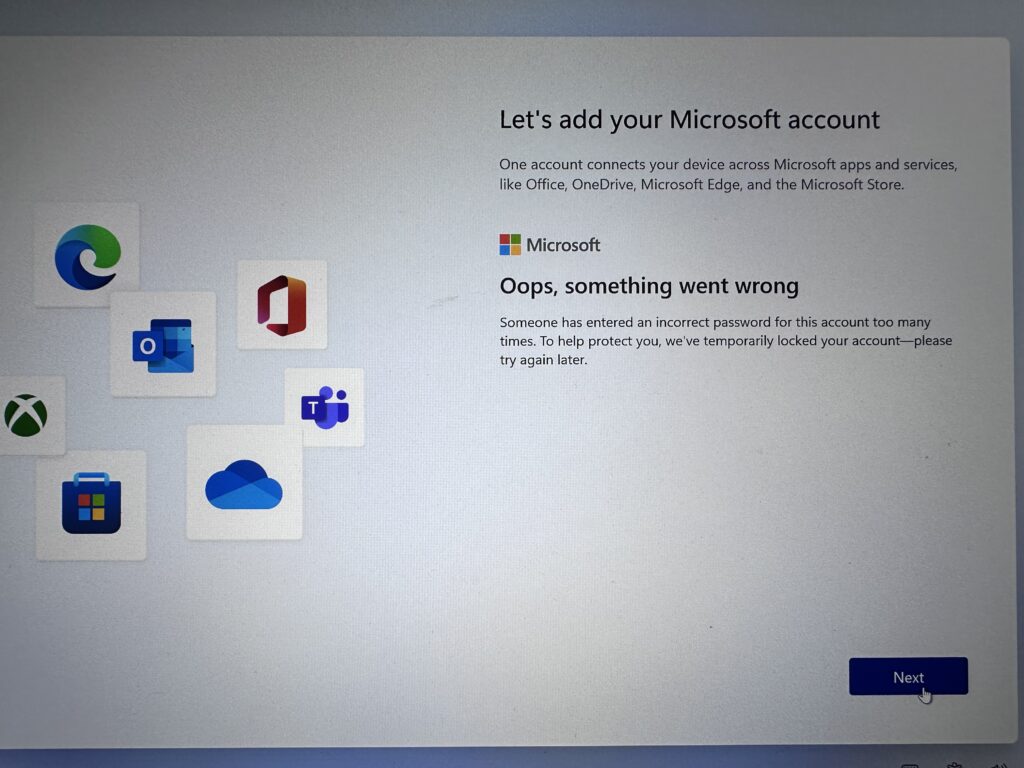
Step 3: The setup will check for the account and since the account does not exist, it throws an error.
Step 4: Now you need to click on the Next button and it asks who is going to use this device. Here you need to enter the name.
Step 6: In the next step, you need to choose a password for your account. You can choose to leave it blank, but we would suggest you choose a password.
Now you have the local account on your Windows 11, bypassing the Microsoft account setup page.

