When you buy a new Windows 11 laptop or desktop, you might have to set up the OS with your account and then start using it. But in case you are selling this laptop after a while or giving it to someone else, then it is always advisable to do a factory reset. A factory reset will wipe out all the files in your PC, which are your personal files, and reinstall Windows with the backup available and it will be just the way how you got it when you purchased it. We have already covered how to reset Windows 11 without losing files, but here is how to factory reset Windows 11 PC.
Related Reading: How to Reset Windows 11 without Losing Files
How to Factory Reset a Windows 11 PC:
Step 1: In order to factory reset Windows 11, the first step is to open the Settings app.
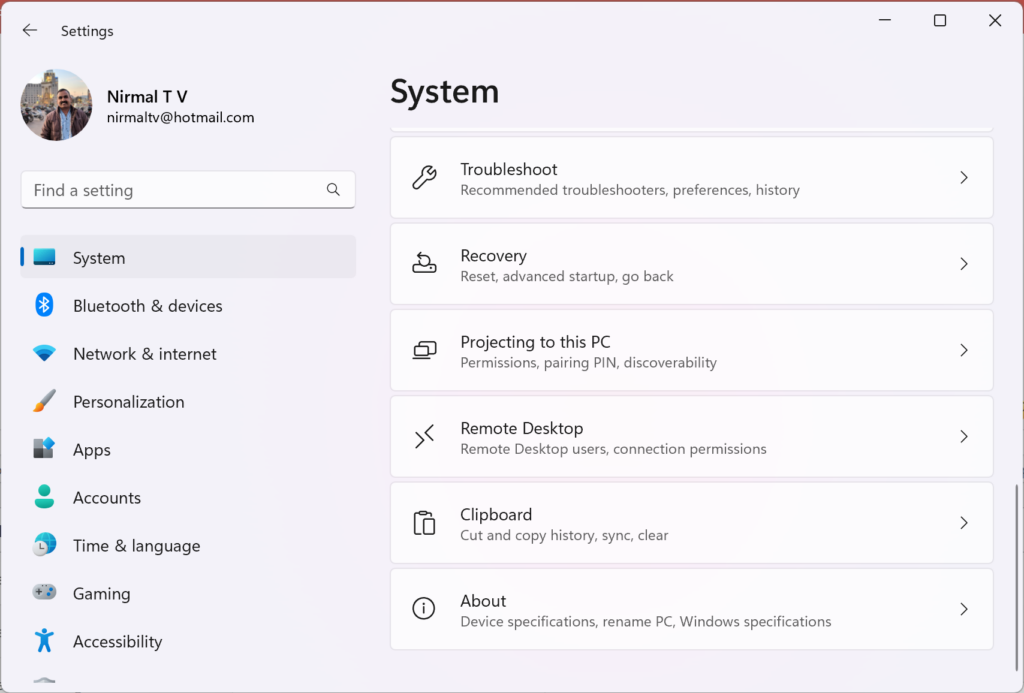
Step 2: Now you need to select System from the left sidebar.
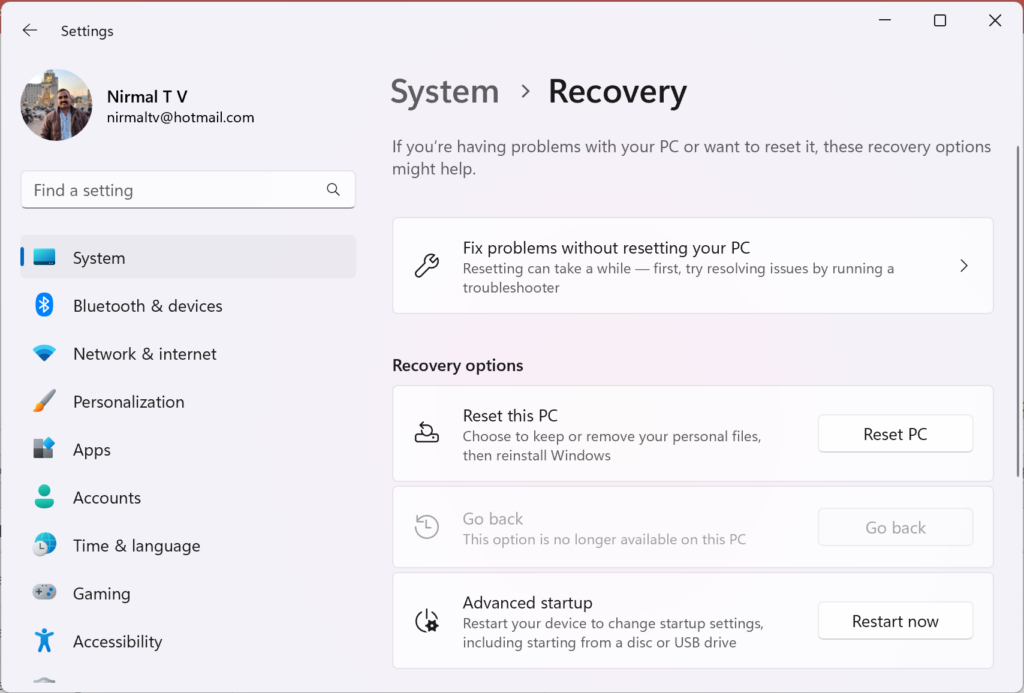
Step 3: Under the System settings, select the Recovery option listed.
Step 4: Under the Recover option, you will be able to see the Reset PC button, click on it.
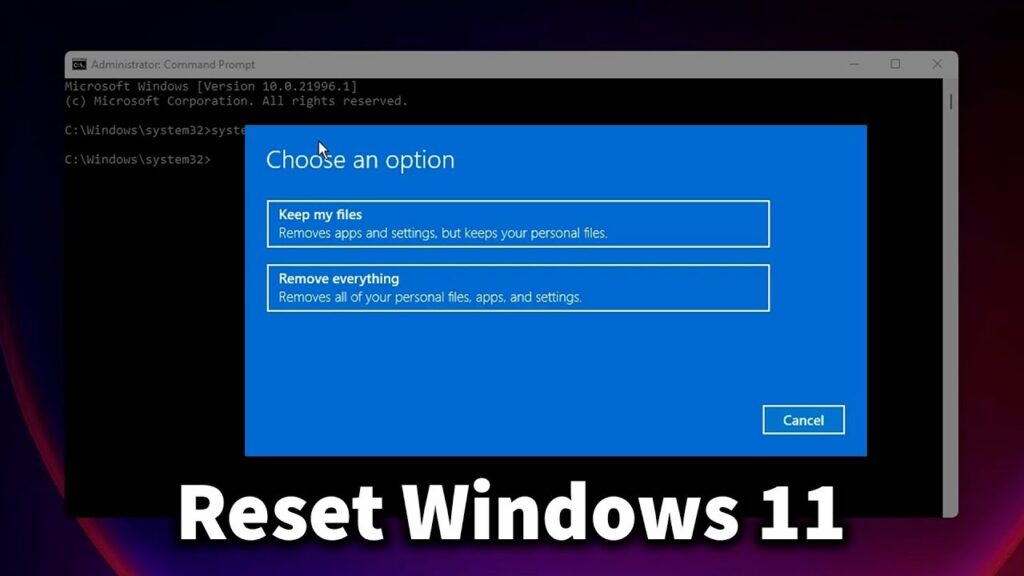
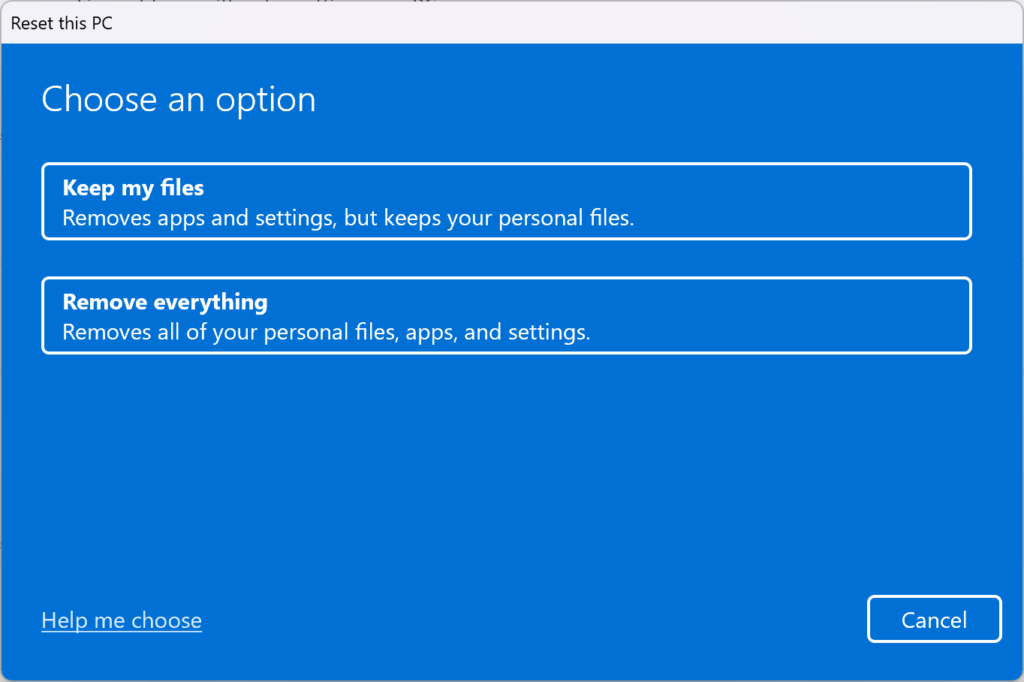
Step 5: This will bring a pop-up where you get two options, the first one is to keep your files and the second is to remove everything. Since you are doing a factory reset, you need to select the second option to remove everything.
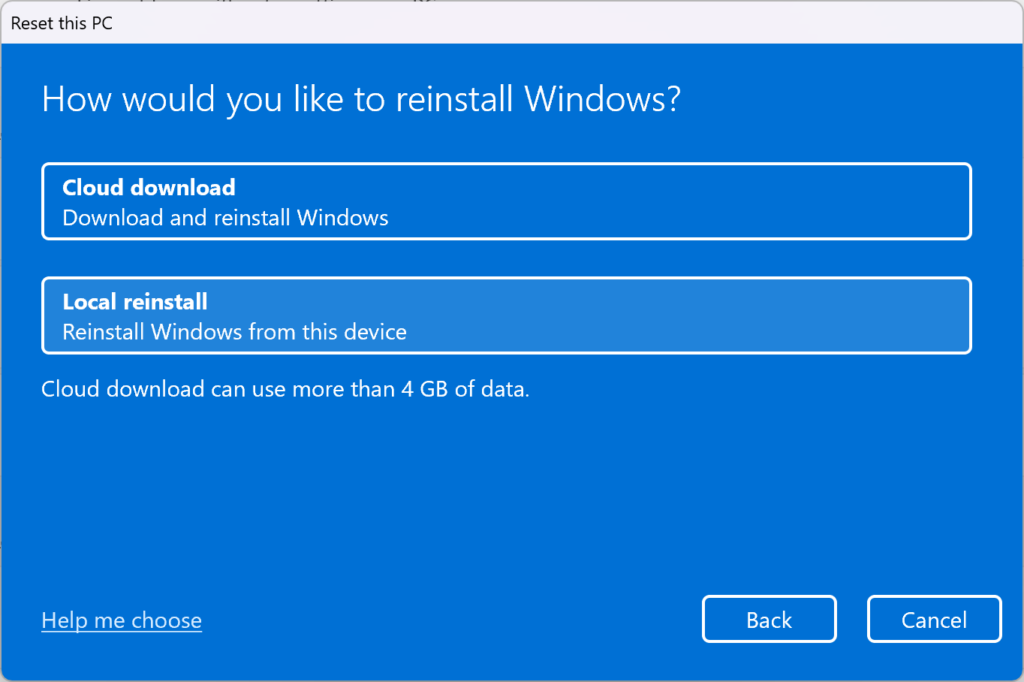
Step 6: In the next step, you can choose either a cloud install of Windows 11 or a local install.
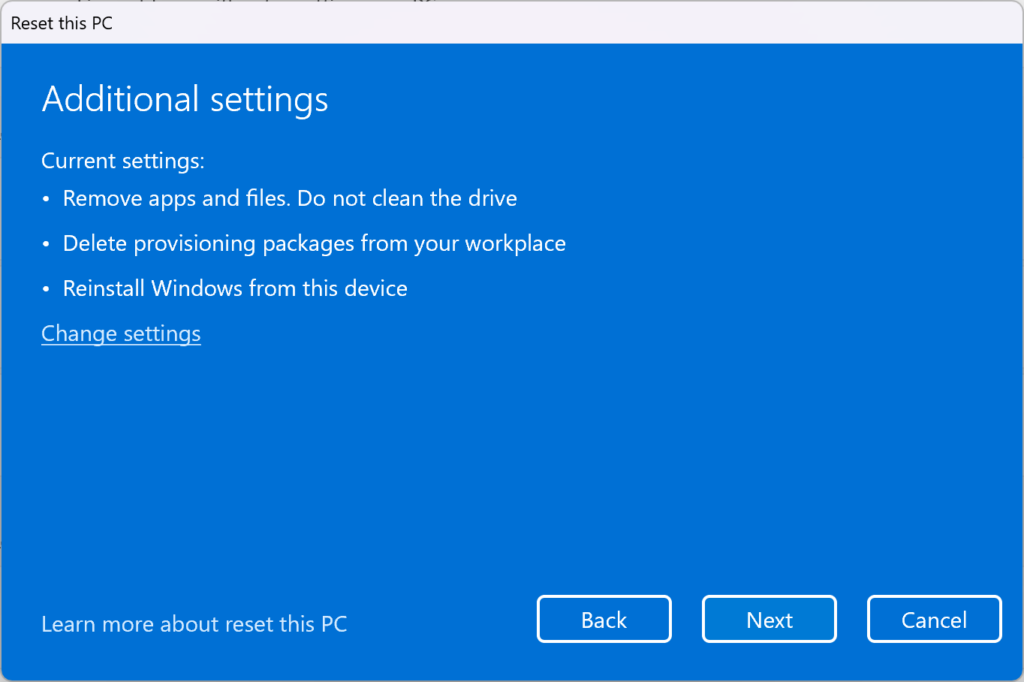
Step 7: Now your PC will share some additional settings and remind you of the options which you have chosen.
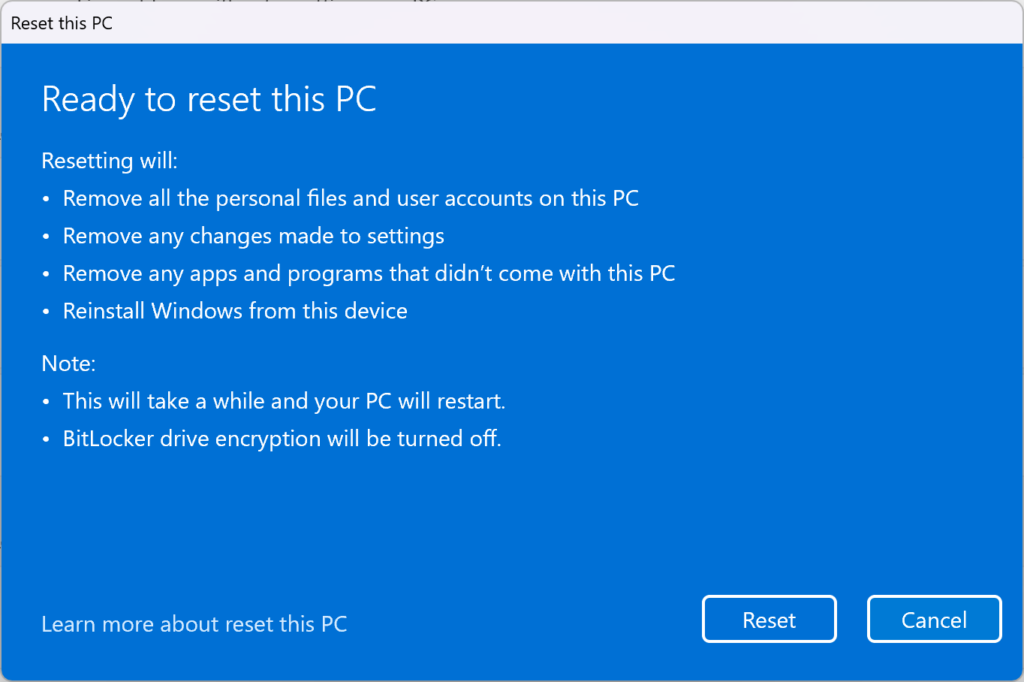
Step 8: In the final step, you need to confirm that you are ready to go with the Factory Reset option on your Windows 11 PC.
This entire process will take some time based on the files you have on your PC, once it is completed, you will have a fresh PC ready to start the setup.




Comments 1