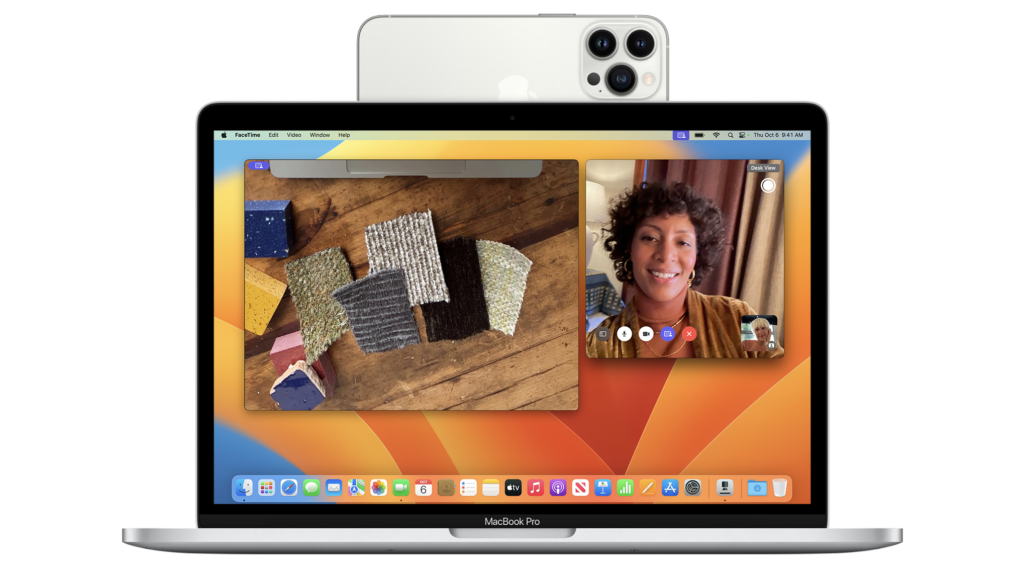
Continuity Camera is a new feature announced by Apple for macOS and iPhone/iPad users. Mac users will be able to use the iPhone camera as a webcam using this feature. Apart from using it as a webcam, you can also use the connected iPhone or iPad for other purposes like taking a quick capture using iPhone, scanning a document, and more. With Continuity Camera, you can use your iPhone or iPad to scan documents or take a picture of something nearby and have it appear instantly on your Mac. Here is how to scan documents on your macOS using iPhone.
Related Reading: How to Change Start-Up Items in macOS Ventura
Use Continuity Camera to scan or take a picture in these supported apps:
- Finder
- Keynote 8.2 or later
- Messages
- Notes
- Numbers 5.2 or later
- Pages 7.2 or later
- TextEdit
So in order to scan a document on macOS using a continuity camera, you can either use any of the apps or you can even start from the desktop.
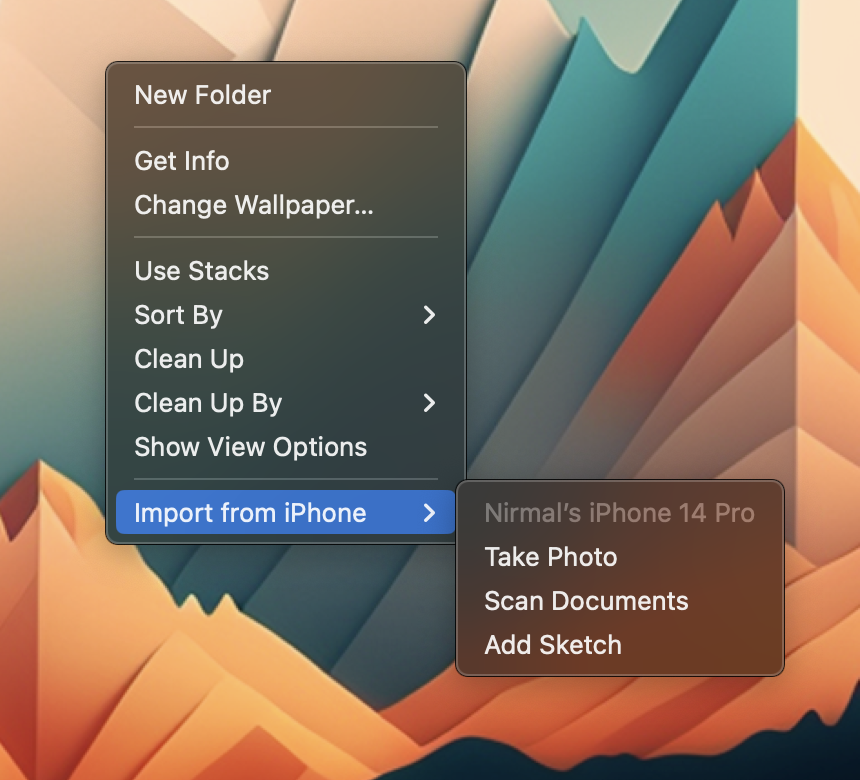
On the macOS desktop, Control Click on the desktop and you will see the menu. Here you will be able to see the option “Import from iPhone”. This option will only be available if you have the same account on both the devices and iPhone is near to your Mac or connected to the Mac.
Here you will be able to see three options- Take photos, scan documents and add a sketch. If you click on any of these options, you will see the respective app opening on your iPhone. For example, if you want to scan a document, then your iPhone will open once the command is fired, with the camera app for scanning documents. Once you click on the capture button on your iPhone, it will be transferred to the desktop.
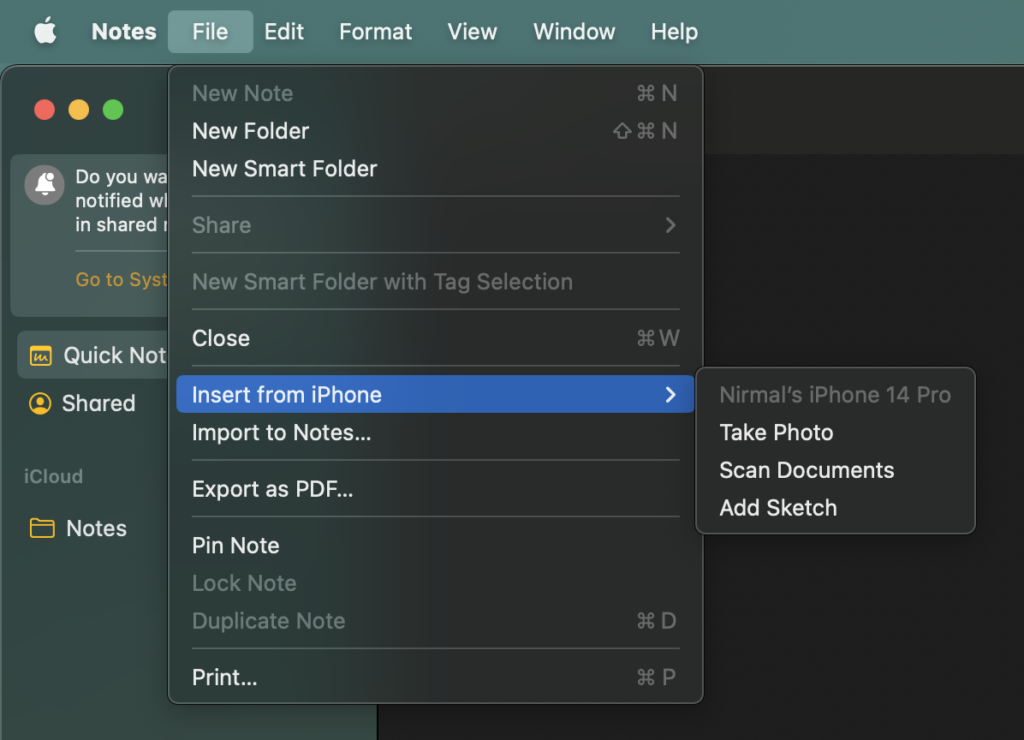
Similarly, you can also use this option from the supported apps listed above. In the app, you need to select the File menu and click Insert from iPhone.
This is a very useful option to scan documents, especially if you do not have a scanner at home, this method utilizes the camera on your iPhone.


