Windows 11 is the latest OS from Microsoft running on millions of PCs across the globe. Windows 11 comes loaded with lots of features, but some of these features are not installed on the OS by default. These are called optional features and they are installed only when the user requires them. So what are optional features and how to install optional features in Windows 11? Let’s find out.
Related Reading: How to Fix DNS Issues in Windows 11
How to Install Optional Features in Windows 11:
The optional features are not required for day-to-day usage of Windows 11 and they are installed only when the user has a specific need to install them. Some of these features are to give additional control for the user and some of them are even legacy features of older OS and if the user wants them, they can get them using optional features. Some of the optional features include Microsoft Defender guard, Hyper-V, NET Framework, Windows Subsystem for Linux, and more.
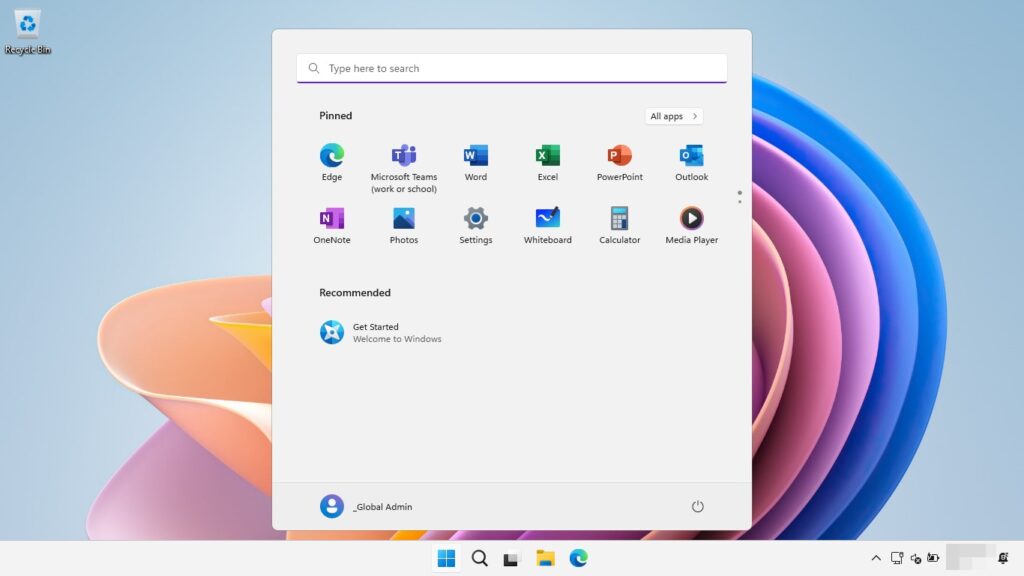
Step 1: In order to install optional features, open the settings panel in Windows 11.
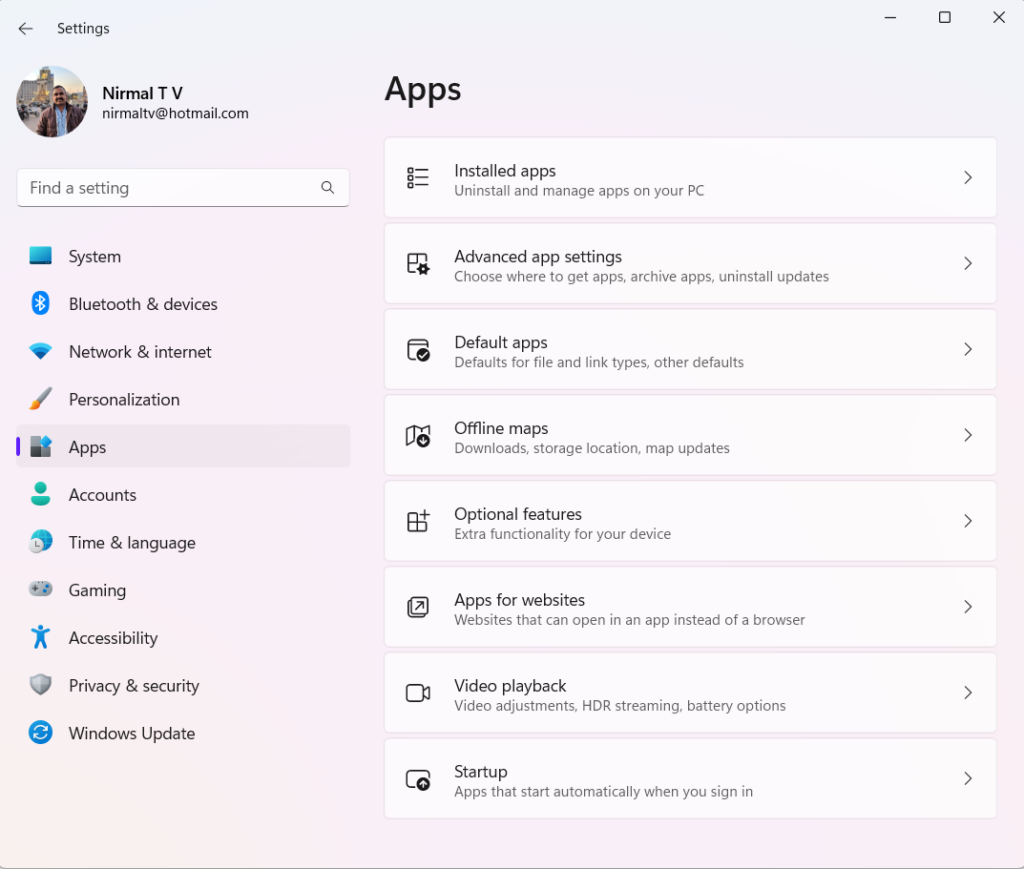
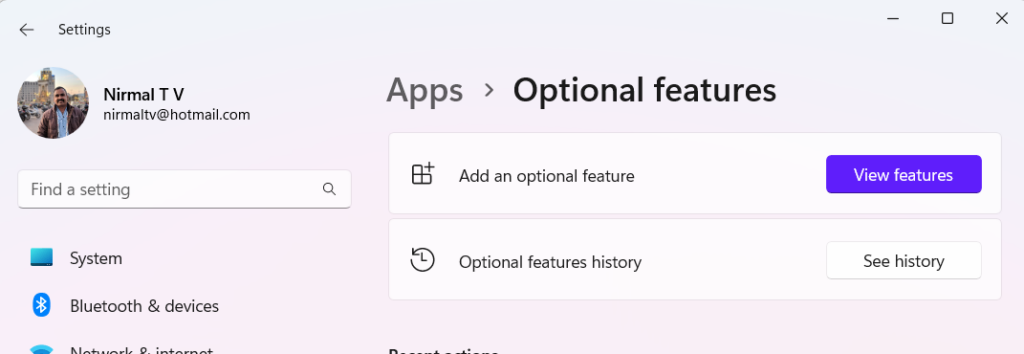
Step 2: Now navigate to the apps menu on the left side. Now you will be able to see optional features listed on the right side.
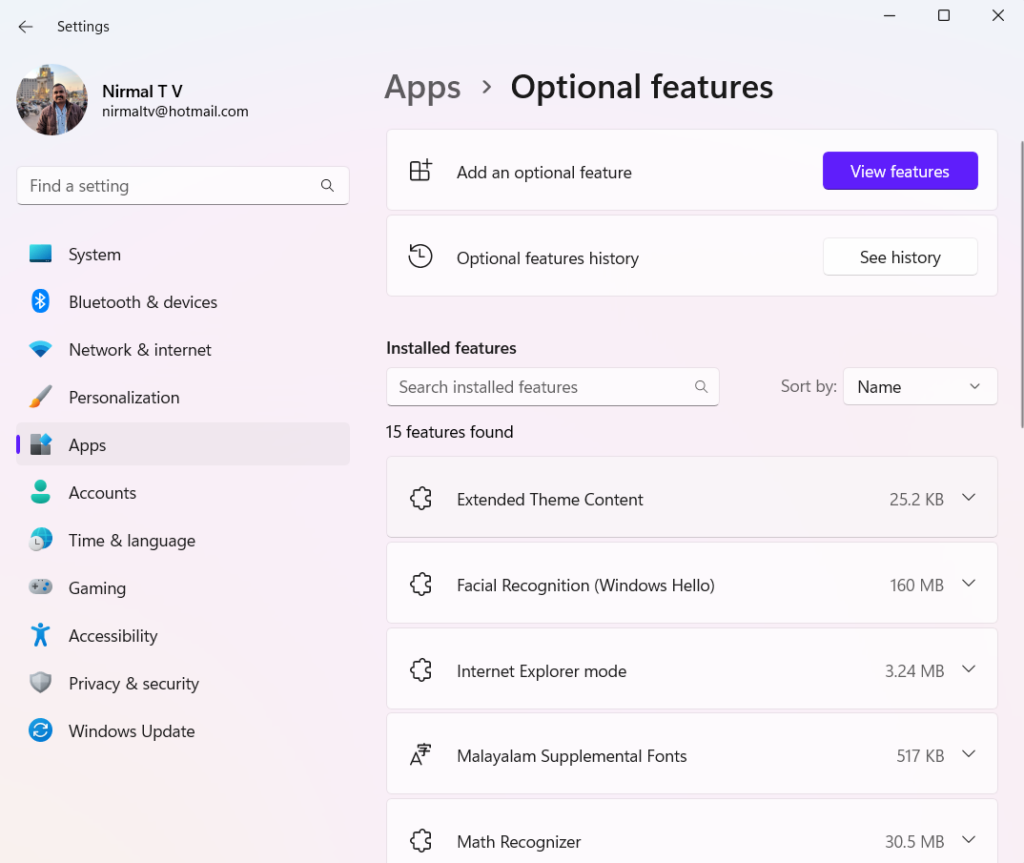
Step 3: When you select the optional features, you will a page where you can see all the installed optional features on your PC. Here you will be able to see an option to add an optional feature. Click on the view features button next to it.
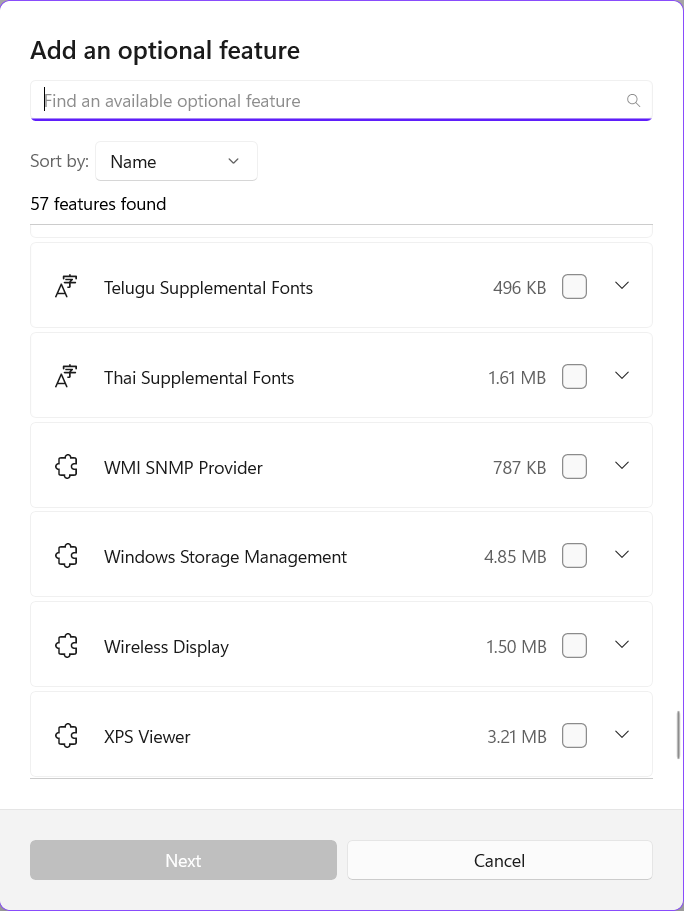
Step 4: In the add an optional feature window, you can see the list of all features available and you can check the box against the feature you want to add. Click on the next button to start the installation process.
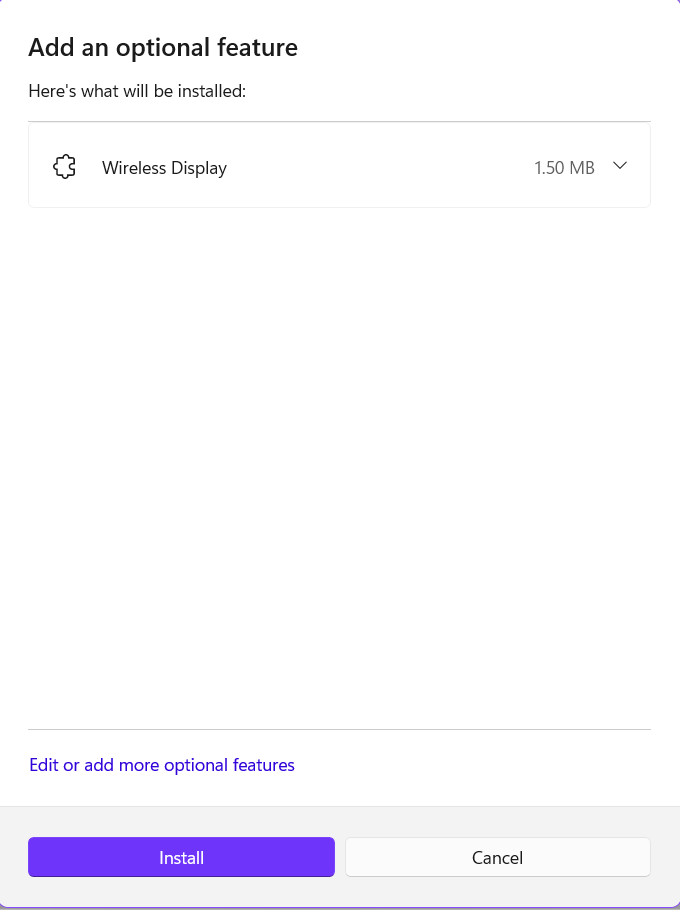
Step 5: You will get a confirmation on the optional feature which is added. Now, click on the Install button.
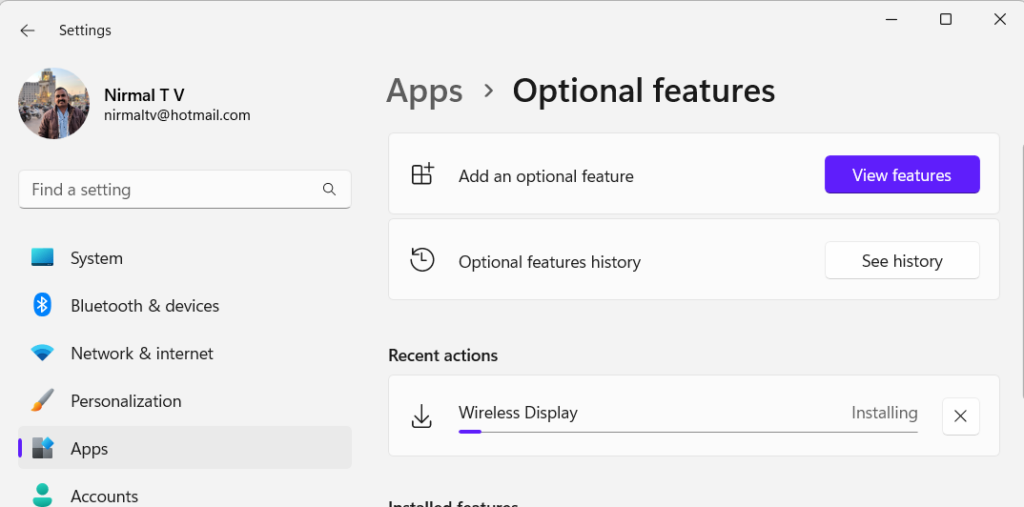
Step 6: Once you confirm, the feature will be installed on your PC.
Step 6: If you want to see the list of all optional features installed, you can click the See history button and it will show all the features installed on your Windows 11.

