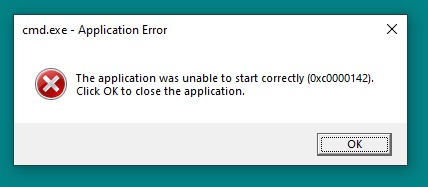
If you are using a Windows PC as your primary device, you might have encountered many errors while using the PC. Most of these errors might occur due to a corrupted file system or update issues or OS related. There is another error that occurs when you try opening an app installed in Windows. The error says “The Application Was Unable to Start Correctly (0xc0000142)” and hence you won’t be able to open the app in Windows 11. So how do you go about fixing this error in Windows and run the application without any issues? Let’s find out.
Related Reading: How to Fix Windows Update Error 0x800f080a
How to Fix “The Application Was Unable to Start Correctly (0xc0000142)” Error in Windows:
There are many ways to fix this error as this error can happen due to multiple issues in Windows and hence we will check out the different options available to fix the error.
1. Restart the PC:
This is probably the best solution for most of the issues as rebooting your PC clears the cache and Windows loads all the files once again hence you might be able to sort this issue. To restart your PC, click on the start menu and click on the icon and you will find the option to restart the PC.
2. Run the App as Administrator:
This is another good option to fix this error by giving the application administrator rights. By running the app as administrator, the app is given full access and if you are able to run the app in administrator mode, this means there are some access issues with your app.
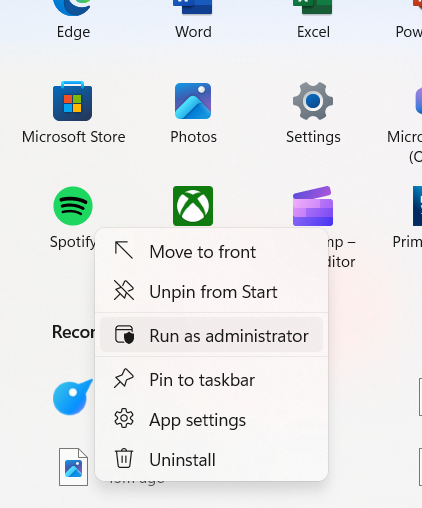
Step 1: You need to locate your app in the start menu.
Step 2: Right-click on the app in the start menu and then select the “Run as administrator” option from the context menu. This will run the app with administrator privileges.
3. Compatibility Mode:
Windows has a compatibility mode, which allows users to run the app for previous versions of Windows. For example, if the app was designed for Windows 7 and you are trying to run it in Windows 11, then there are chances of compatibility issues and this method will be able to sort such errors.
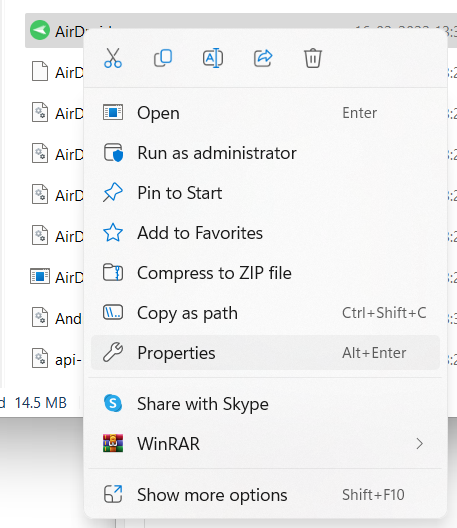
Step 1: You need to find the app shortcut either on the desktop or in the app folder. Right-click on the shortcut and select the properties menu.
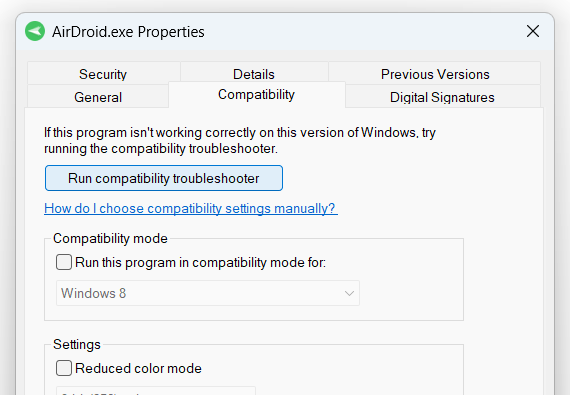
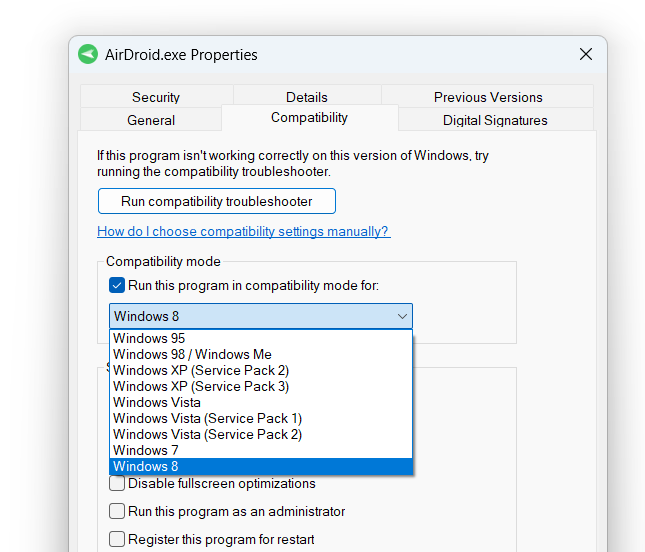
Step 3: This will open the properties window and you need to select the Compatibility tab here. There are two options, the first one is to run the compatibility troubleshooter and see if this error is fixed.
Step 4: The second option is to run the app in compatibility mode. You can check the box against “Run this program in compatibility mode for” and select the OS which you want to use.
4. Check for Windows Update:
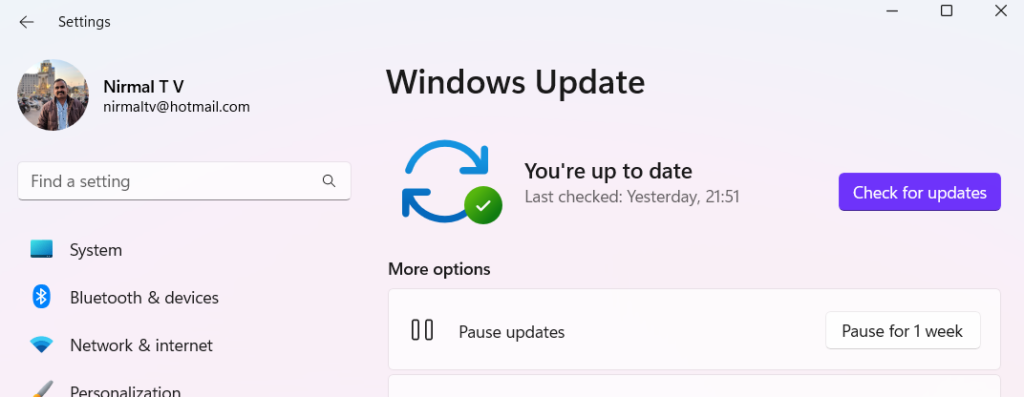
There are chances that your issue might be fixed with the latest update for Windows. So you need to navigate to system settings and select Windows Update. You need to check if there are any updates available for your system. If you figure out any updates, you need to install the updates.
5. Uninstall the App and Re-install it:
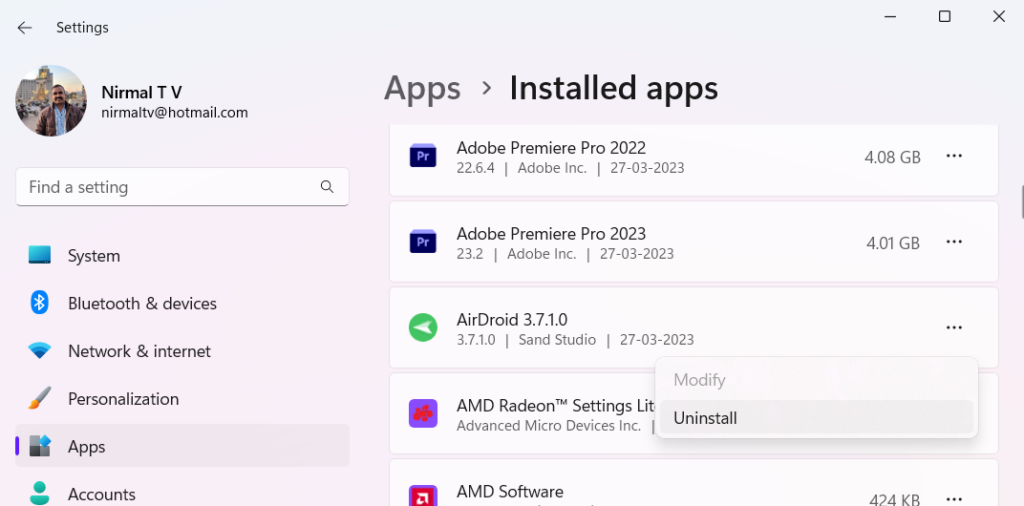
Sometimes there are chances that the app version you installed is outdated or not working. In such cases, it is worth trying this solution where you will need to download the app again from the author’s website and install it. Before doing that, you need to go to Settings-> Apps- Installed Apps and then select the option to uninstall the app.
You can also check if the Microsoft .Net framework and C++ redistributables on your PC are the latest ones. This can be checked in the app list in the Control panel.

