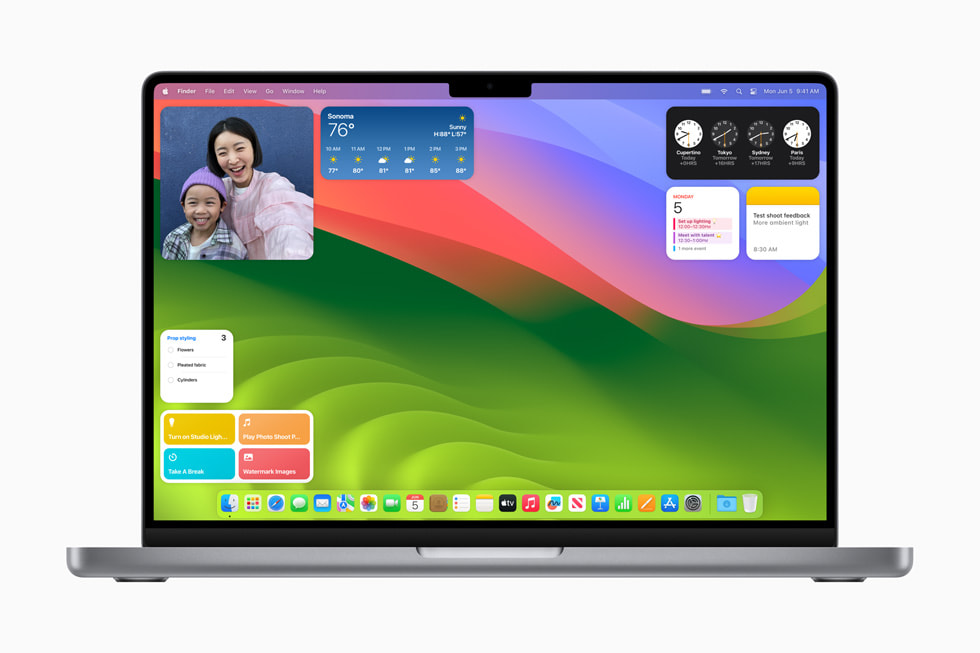
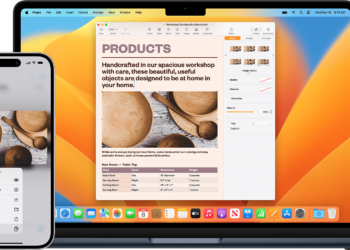
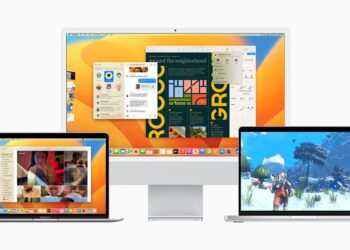
macOS Sonoma is the latest version of the OS which has been officially released by Apple. Macbooks and other desktops running macOS can upgrade to the latest version of this software. If you are a macOS user, you might already know that Apple releases a major version of the OS every year with upgrades and new features as well. This year also we have a bunch of new features added including the option to add widgets to your desktop and also widgets from your iPhone. So let us see how to add widgets to macOS Sonoma.
Related Reading: How to Remove Startup Items in macOS
How to Add Widgets to macOS Sonoma:
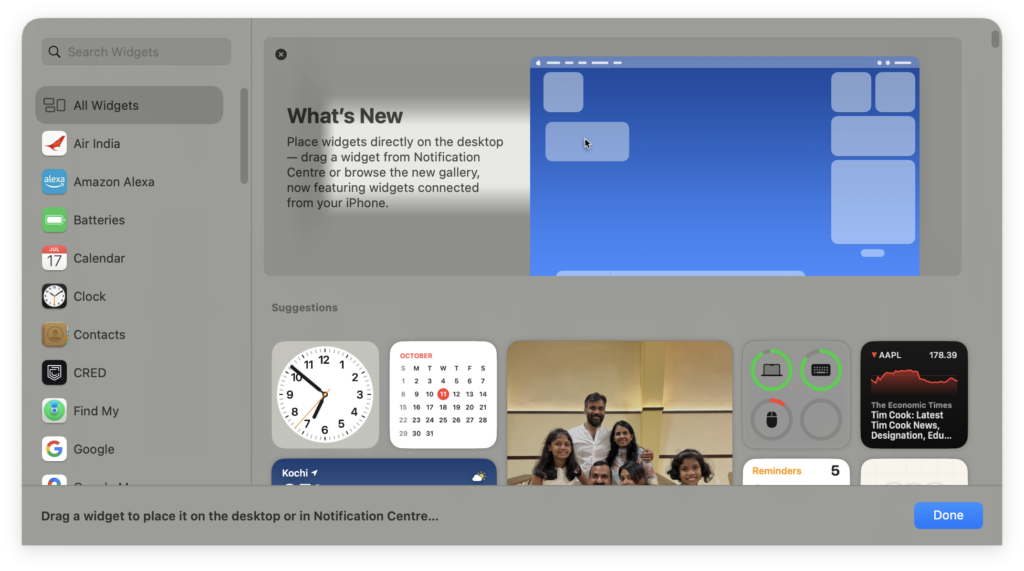
Step 1: Navigate to the desktop on macOS Sonoma.
Step 2: You can click on the time and date section on the top menu and here you will see your widgets. At the bottom, you will be able to see the option to edit widgets.
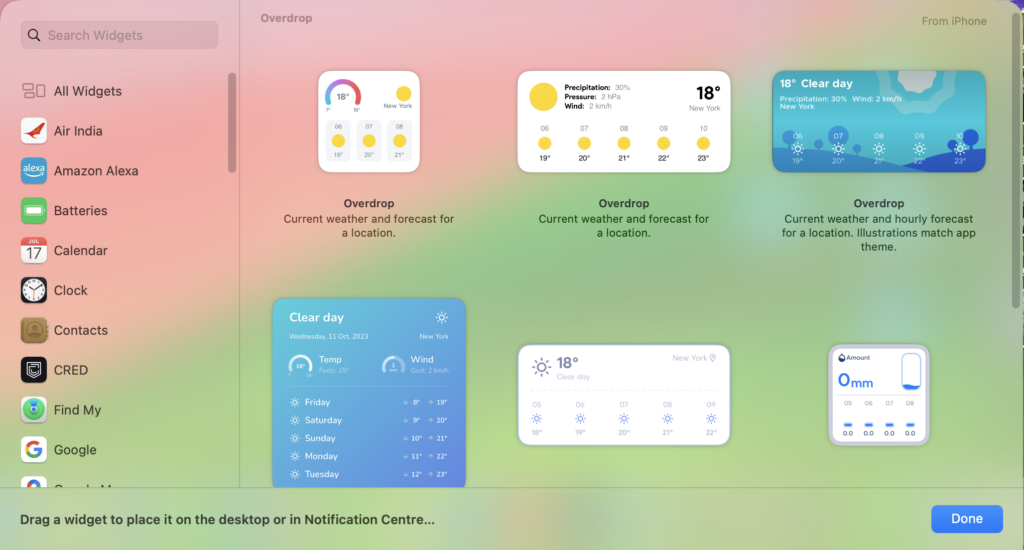
Step 3: This will open the widgets box with all the available widgets you can add. The option will also show you the widgets available from your iPhone (if any). You’ll be able to see that widgets are available in different sizes and styles. For example, the Clock widget comes with multiple options that display the time and date for different cities.
Step 4: You can select any widget from the list and drag and drop it onto the desktop.
Step 5: Once you have added the widget to the desktop, you can also edit it using the right-click or control-click option. Here you will see additional options to edit or remove the widget.
Step 6: If you go to the settings app on macOS, you will find additional options for widget display. You can show widgets on the desktop and also the stage manager. You can enable or disable the option to use iPhone widgets.
Step 7: In the widget style, you have options for the color appearance of widgets:
- Automatic: Adjusts the appearance between Full-color and Monochrome.
- Monochrome: Displays the widget as it looks when it’s dimmed all the time.
- Full-color: Displays the full set of colors all the time.
These are the options to add and customize widgets in macOS Sonoma.

