Instagram is now the most popular social networking app with the option to add reels, stories, and posts. The popularity of Instagram is rising day by day and people are spending a lot of time on the app. If you are a creator on Instagram, you can also upload reels, videos, stories, and posts. If your account is popular, you might want the account to have a proper name. If your existing name isn’t good enough for your account, you can always change it and Instagram give you an option to change it. Here is how to change your Instagram name.
Related Reading: How to Change Your Name on Facebook [2024]
How to Change your Instagram Name:
Changing the name on Instagram is relatively easy process, here is how to do it.
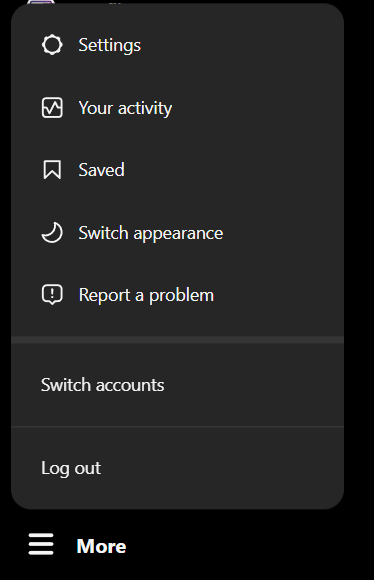
Step 1: Open Instagram on your browser and log in to your account. Once you have logged in, click on the More button at the bottom left corner.
Step 2: This will bring up a menu, here you need to select Settings.
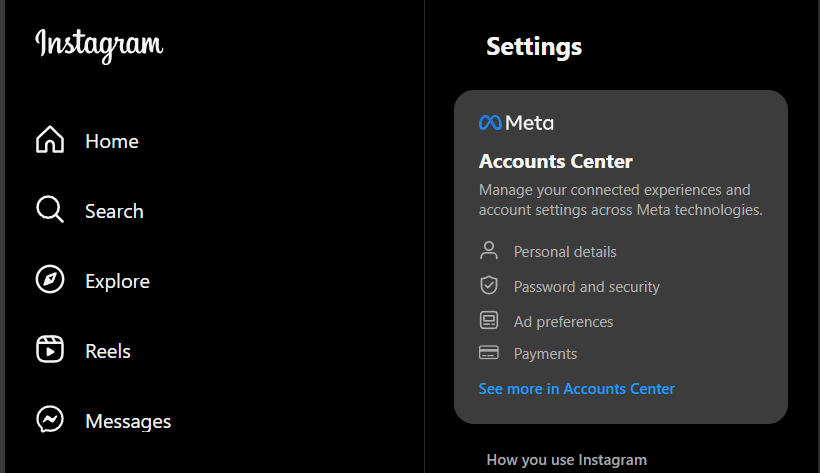
Step 3: Once you have got into the settings page, you will see the Account Center listed under the settings. Now you need to click on the Personal details link available here.
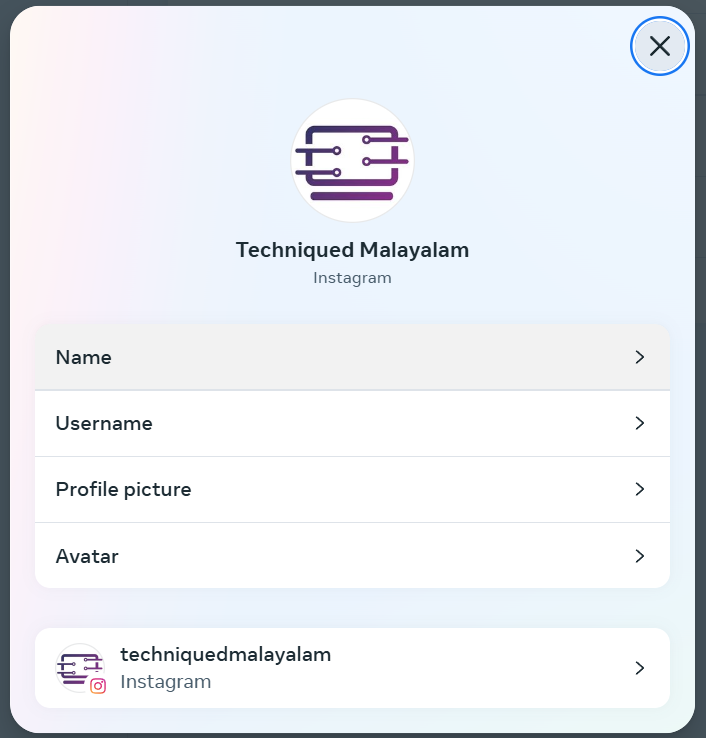
Step 4: In the accounts center, click on the profile button and you will be able to see all the profiles under your name.
Step 5: Select the account which you want to change the name.
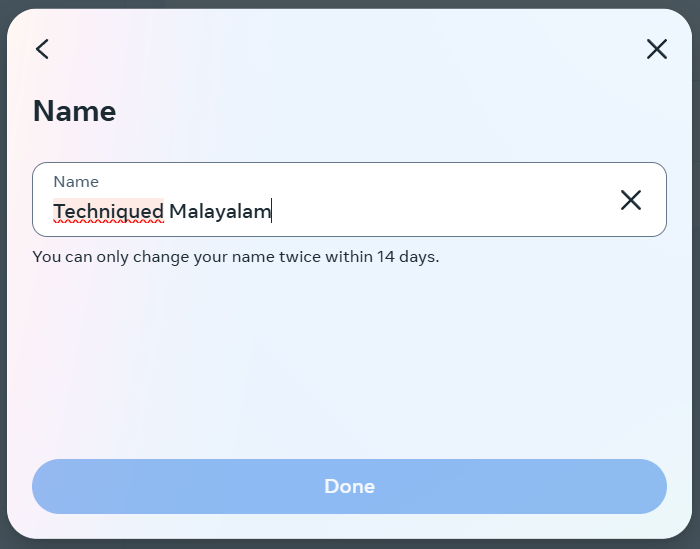
Step 7: Finally, you will be able to see the option to change the name. You can type your new name and click Done. Your new name will be saved in your Instagram account.
Please note that you can change your name only twice in 14 days time. So once you change it make sure you have selected the correct name. While Facebook allows you to change the name once in 60 days, Instagram is more liberal in this case and allows two times in 14 days.


